×
ToyotaParts- Hello
- Login or Register
- Quick Links
- Live Chat
- Track Order
- Parts Availability
- RMA
- Help Center
- Contact Us
- Shop for
- Toyota Parts
- Scion Parts
My Garage
My Account
Cart
OEM Toyota Fuel Injector
Gas Injector- Select Vehicle by Model
- Select Vehicle by VIN
Select Vehicle by Model
orMake
Model
Year
Select Vehicle by VIN
For the most accurate results, select vehicle by your VIN (Vehicle Identification Number).
175 Fuel Injectors found

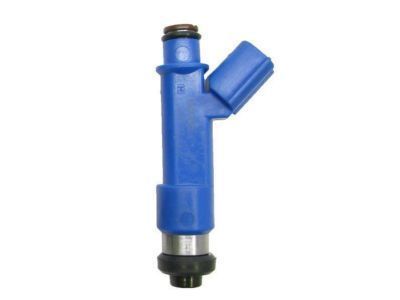
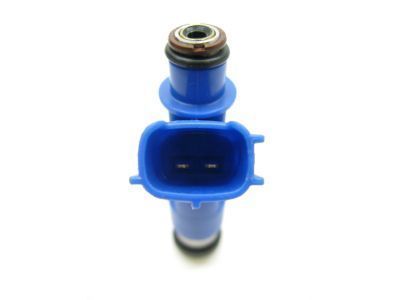
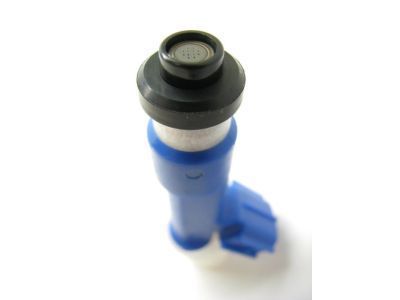
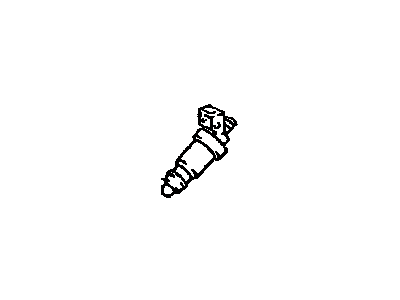
Toyota Injector
Part Number: 23209-0D050$189.30 MSRP: $270.28You Save: $80.98 (30%)Ships in 1-2 Business DaysProduct Specifications- Other Name: Injector Set, Fuel; Fuel Injector; Injector Assembly, Fuel
- Manufacturer Note: (L)
- Replaces: 23209-22090
Toyota Injector
Part Number: 23209-0D010$182.43 MSRP: $260.47You Save: $78.04 (30%)Ships in 1-3 Business DaysProduct Specifications- Other Name: Injector Set, Fuel; Fuel Injector; Injector Assembly, Fuel
- Manufacturer Note: (L)
- Replaces: 23209-22010
Toyota Injector
Part Number: 23209-16150$180.56 MSRP: $257.80You Save: $77.24 (30%)Ships in 1-3 Business DaysProduct Specifications- Other Name: Injector Set, Fuel; Fuel Injector; Injector Assembly, Fuel
Toyota Injector
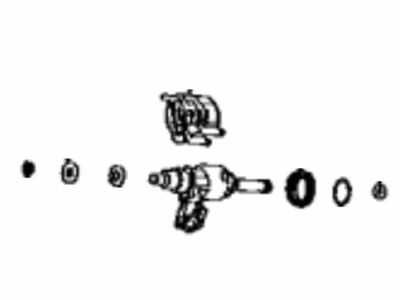
Part Number: 23209-F0010-06$342.08 MSRP: $501.32You Save: $159.24 (32%)Ships in 1-3 Business DaysProduct Specifications- Other Name: Injector Set, Fuel; Fuel Injector; Injector Assembly, Fuel(For Direct)
- Replaces: 23209-25010-06
Toyota Injector Assembly, Fuel(For Direct)
Part Number: 23209-24010-09$344.23 MSRP: $504.48You Save: $160.25 (32%)Ships in 1-3 Business DaysProduct Specifications- Other Name: Injector Set, Fuel; Fuel Injector
Toyota Injector
Part Number: 23209-18010-03$348.24 MSRP: $510.34You Save: $162.10 (32%)Ships in 1-3 Business DaysProduct Specifications- Other Name: Injector Set, Fuel; Injector Assembly, Fuel(For Direct)
- Manufacturer Note: MARK 3,REFER REPAIR MANUAL
Toyota Injector
Part Number: 23209-18010-02$344.57 MSRP: $504.98You Save: $160.41 (32%)Ships in 1-3 Business DaysProduct Specifications- Other Name: Injector Set, Fuel; Injector Assembly, Fuel(For Direct)
- Manufacturer Note: MARK 2,REFER REPAIR MANUAL
Toyota Injector
Part Number: 23209-F0010-01$342.08 MSRP: $501.32You Save: $159.24 (32%)Ships in 1-3 Business DaysProduct Specifications- Other Name: Injector Set, Fuel; Fuel Injector; Injector Assembly, Fuel(For Direct)
- Replaces: 23209-25010-01
Toyota Injector
Part Number: 23209-F2010-06$349.00 MSRP: $511.46You Save: $162.46 (32%)Ships in 1-3 Business DaysProduct Specifications- Other Name: Injector Set, Fuel; Injector Assembly, Fuel(For Direct)
Toyota Injector
Part Number: 23209-18010-07$348.24 MSRP: $510.34You Save: $162.10 (32%)Ships in 1-3 Business DaysProduct Specifications- Other Name: Injector Set, Fuel; Injector Assembly, Fuel(For Direct)
- Manufacturer Note: MARK 7,REFER REPAIR MANUAL
Toyota Injector
Part Number: 23209-18010-08$344.57 MSRP: $504.98You Save: $160.41 (32%)Ships in 1-3 Business DaysProduct Specifications- Other Name: Injector Set, Fuel; Injector Assembly, Fuel(For Direct)
- Manufacturer Note: MARK 8,REFER REPAIR MANUAL
Toyota Injector
Part Number: 23209-F0010-03$345.60 MSRP: $506.48You Save: $160.88 (32%)Ships in 1-3 Business DaysProduct Specifications- Other Name: Injector Set, Fuel; Fuel Injector; Injector Assembly, Fuel(For Direct)
- Replaces: 23209-25010-03
Toyota Injector
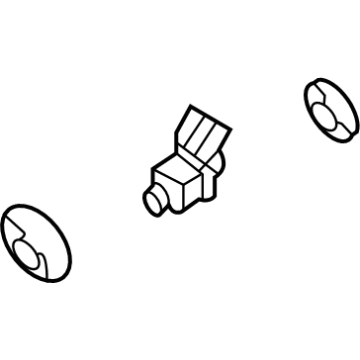
Part Number: 23250-77010$407.57 MSRP: $597.29You Save: $189.72 (32%)Ships in 1-3 Business DaysProduct Specifications- Other Name: Injector Assembly, Fuel; Central Port Fuel Injector
Toyota Injector
Part Number: 23209-18010-01$347.98 MSRP: $509.97You Save: $161.99 (32%)Ships in 1-3 Business DaysProduct Specifications- Other Name: Injector Set, Fuel; Injector Assembly, Fuel(For Direct)
- Manufacturer Note: MARK 1,REFER REPAIR MANUAL
Toyota Injector
Part Number: 23209-18010-09$349.00 MSRP: $511.46You Save: $162.46 (32%)Ships in 1-3 Business DaysProduct Specifications- Other Name: Injector Set, Fuel; Injector Assembly, Fuel(For Direct)
- Manufacturer Note: MARK 9,REFER REPAIR MANUAL
- Product Specifications
- Other Name: Injector Set, Fuel; Injector Assembly, Fuel(For Direct)
- Product Specifications
- Other Name: Injector Set, Fuel; Fuel Injector; Injector Assembly, Fuel
- Product Specifications
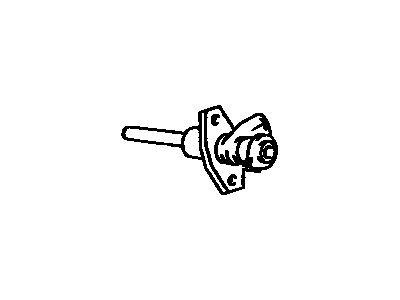
- Other Name: Injector Assembly, Cold; Injector Assembly, Cold Start Fuel
- Product Specifications
- Other Name: Injector Assembly, Cold Start Fuel
- Product Specifications
- Other Name: Injector Assembly, Cold
- Replaces: 23260-19035
| Page 1 of 9 |Next >
1-20 of 175 Results
Toyota Fuel Injector
OEM parts deliver unmatched quality you can rely on. They pass extensive quality control inspections. Toyota produces them to the official factory specifications. This process helps prevent defects and imperfections. So you can get exceptional lifespan and a flawless fit. Need new OEM Toyota Fuel Injector? You'll love our wide selection of genuine options. Shop in minutes and skip the hunt. Our prices are unbeatable, you'll save time and money. It's easy to shop and find the right piece. Our committed customer service team gives professional help from start to finish. Every part includes a manufacturer's warranty. We ship quickly, your parts will arrive fast at your door.
Toyota Fuel Injector fires accurate bursts of fuel to burn clean and respond to throttle fast. Toyota emerged out of a Japanese startup in 1937 to become a global giant because of its ability to eliminate waste, empower factory teams, and never baby also-ran processes. Drivers choose the brand since a Camry in Kansas or Hilux in Nairobi will remain economical on fuel, can withstand abuse, and can retain values friendly over the years, despite roads deteriorating, climatic changes, or random and unpredictable spikes in the cost of gas. Toyota continues to push; hybrid adjustments in 2022, the cross-cutting TNGA platform demonstrate a tendency to put new technology into sedans, crossovers, and pickups without turning them into science projects. The 2024 plug-in RAV4 rolling 42 electric miles demonstrates that Toyota does not consider efficiency a marketing slogan but a moving target. Within any gasoline engine today, a Fuel Injector opens under advice of the engine control module which reads load, speed, and temperature and atomizes fuel in milliseconds to match the incoming air and slam power out of each stroke. A direct Fuel Injector is aimed directly at the chamber to cool the charge and provide more compression, whereas an indirect type sprays upstream into the intake port to provide more swirl when cold. Dose sequential commands ensure that each Fuel Injector provides its dose immediately before spark, causing the mixture to remain tight and emissions to remain low. Maintain fuel and have Fuel Injector in good state or clog blocks will cause cylinders to stutter, waste fuel, and activate dash lights in all Toyota cars on the road.
Toyota Fuel Injector Parts and Q&A
- Q: How to test and replace a front fuel injector on a Toyota MR2?A:Disconnect the electrical connector from the cold start injector, noting that the wire clip must be expanded before unlocking the plug from the injector terminal. Ground the connector with a test light and turn the ignition key to Start; the light should illuminate if the circuit is functioning properly. If it does not, inspect the cold start injector electrical circuit for any issues such as an open, short, or bad connection. Remove the two mounting bolts and pull the injector out of the plenum without disconnecting the cold start tube banjo fitting. Reconnect the electrical connector to the injector, place a small container underneath, and turn the ignition key to Start; if the injector is working correctly, it will squirt fuel into the container. If it does not, it needs to be replaced. Disconnect the electrical connector again and check the injector for continuity with an ohmmeter, ensuring the resistance between terminals is between 3 to 5 ohms; if not, replace the injector. Temporarily install the injector mounting bolts, then use a backup wrench to break loose and disconnect the cold start injector tube banjo fitting. Disconnect the electrical connector, remove the two mounting bolts, and take out the injector. Installation follows the reverse order of removal.
- Q: How to check and replace the front fuel injector on a Toyota Supra?A:Unplug the electrical connector from the cold start injector. Using an ohmmeter, measure the resistance of the cold start injector and compare your measurement to the specific resistance; if the indicated resistance is outside the indicated range, replace the cold start injector. Relieve the system fuel pressure. Detach the cable from the negative battery terminal, taking caution if the stereo in your vehicle is equipped with an anti-theft system. For models from 1982 through 1986, remove the air intake chamber, as the cold start injector is located on the underside of the air intake chamber near the throttle body. Remove the banjo bolt and sealing washers, and detach the fuel hose banjo fitting from the cold start injector. Remove the cold start injector retaining bolts, then take out the cold start injector and gasket from the air intake chamber. Installation is the reverse of removal; ensure to use a new flange gasket and new sealing washers at the fuel line banjo bolt, and tighten the banjo bolt to the specific torque.
Related Toyota Parts
Browse Toyota Fuel Injector by Models
Tacoma 4Runner Camry Tundra Corolla RAV4 Highlander Prius Sienna Land Cruiser Pickup FJ Cruiser 86 Sequoia T100 Avalon Celica Supra Yaris MR2 Matrix Solara Venza GR86 Echo C-HR Cressida Paseo Previa Prius C Prius Prime Corolla Cross Corolla iM GR Corolla MR2 Spyder Mirai Prius V Starlet Tercel Van Yaris iA GR Supra Prius AWD-e RAV4 Prime
