×
ToyotaParts- Hello
- Login or Register
- Quick Links
- Live Chat
- Track Order
- Parts Availability
- RMA
- Help Center
- Contact Us
- Shop for
- Toyota Parts
- Scion Parts
My Garage
My Account
Cart
OEM Scion Oil Filter
Engine Oil filter- Select Vehicle by Model
- Select Vehicle by VIN
Select Vehicle by Model
orMake
Model
Year
Select Vehicle by VIN
For the most accurate results, select vehicle by your VIN (Vehicle Identification Number).
7 Oil Filters found

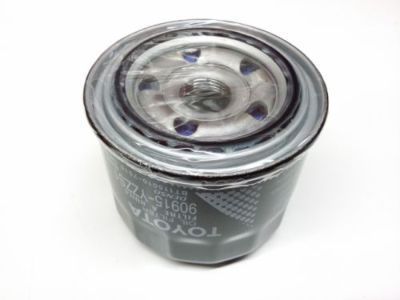
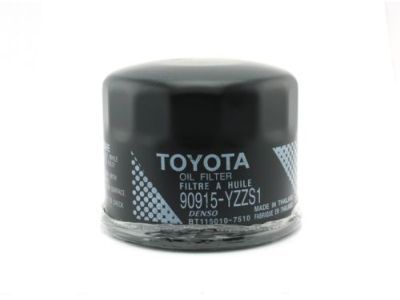
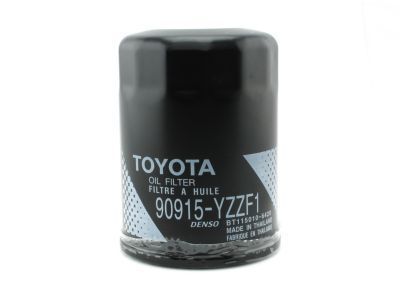
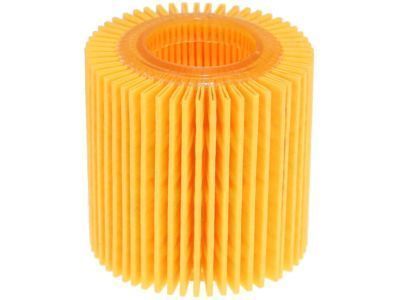
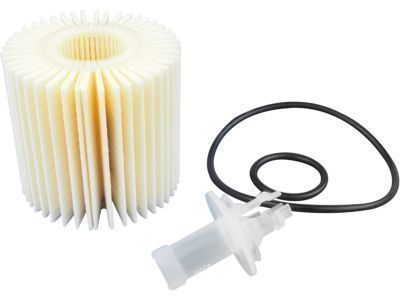
Scion Oil Filter
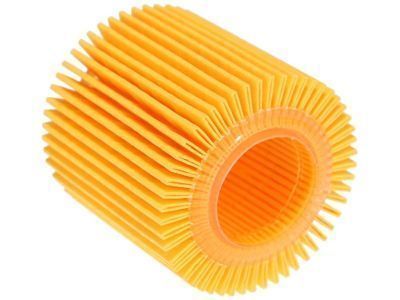
Part Number: 90915-YZZS1$4.70 MSRP: $6.57You Save: $1.87 (29%)Ships in 1-3 Business DaysProduct Specifications- Other Name: Filter, Oil; Engine Oil Filter; Filter Change Maintenance Kit
- Replaces: SU003-00311, SU003-08412

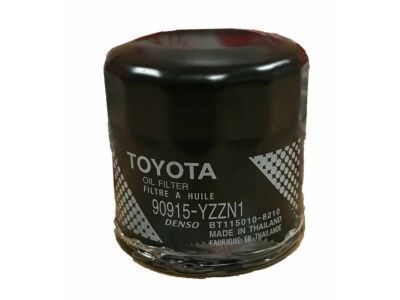
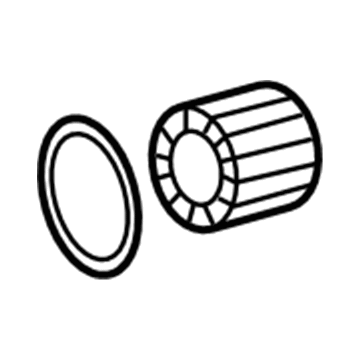
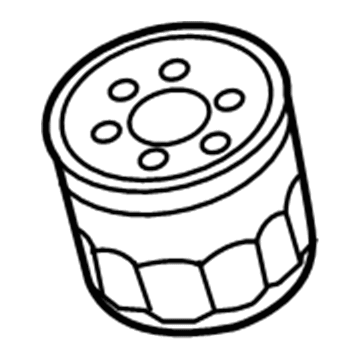
Scion Oil Filter
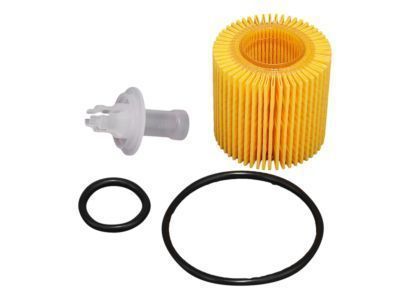
Part Number: 90915-YZZN1$4.70 MSRP: $6.57You Save: $1.87 (29%)Ships in 1-3 Business DaysProduct Specifications- Other Name: Filter, Oil; Engine Oil Filter; Filter Change Maintenance Kit; Filter Element
- Replaces: 15601-13011, 15600-13051, 90080-91058, 90915-YZZF2, 90915-YZZM1, 90080-91034, 90915-10009, 08922-02005, 15600-16020, 15600-16021, 15601-13010, 90915-10001, 90915-10003, 90915-TA001, 15601-01010, 90915-03001, 90915-YZZA2
 Product Specifications
- Other Name: Filter, Oil; Engine Oil Filter; Filter Change Maintenance Kit
- Replaces: 08922-02001, 08922-02002, 90080-91210, 90915-10004, 90915-CA001, 90915-YZZA1, 90915-03004, 90915-10002, 90915-TA002

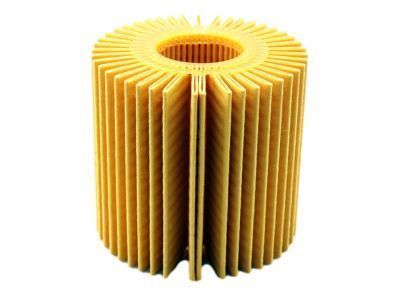
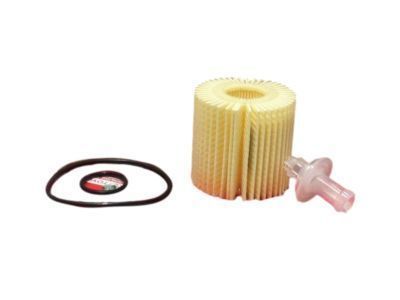
Scion Oil Filter
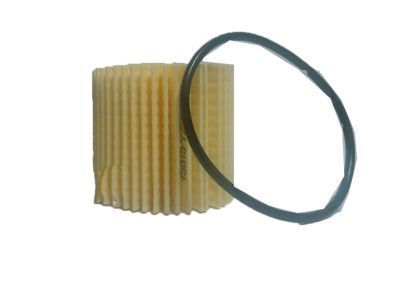
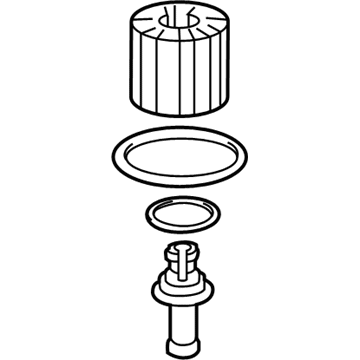
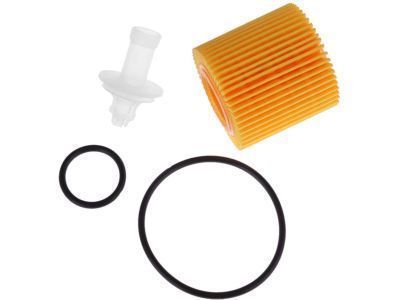
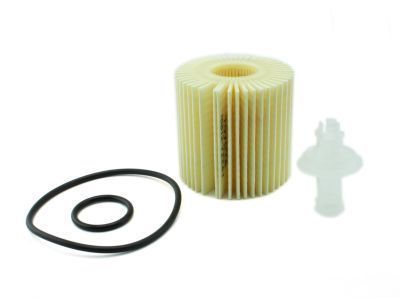
Part Number: 04152-YZZA7$4.70 MSRP: $6.57You Save: $1.87 (29%)Ships in 1-2 Business DaysProduct Specifications- Other Name: Oil Filter Element K; Filter Change Maintenance Kit; Engine Oil Filter
- Replaces: 04152-40060
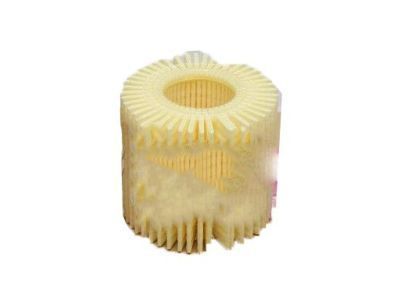
 Product Specifications
- Other Name: Replaceable Element; Engine Oil Filter Element; Filter Change Maintenance Kit; Engine Oil Filter; Oil Filter
- Replaces: 04152-37010
 Product Specifications
- Other Name: Filter Change Maintenance Kit; Engine Oil Filter; Oil Filter
- Replaces: 04152-0V010, 04152-31110, 04152-31090
- Product Specifications
- Other Name: Cartridge, Oil Filter; Engine Oil Filter; Filter Change Maintenance Kit
- Replaces: 90118-WB433, 90118-WBA42
Scion Oil Filter
OEM parts deliver unmatched quality you can rely on. They pass extensive quality control inspections. Scion produces them to the official factory specifications. This process helps prevent defects and imperfections. So you can get exceptional lifespan and a flawless fit. Need new OEM Scion Oil Filter? You'll love our wide selection of genuine options. Shop in minutes and skip the hunt. Our prices are unbeatable, you'll save time and money. It's easy to shop and find the right piece. Our committed customer service team gives professional help from start to finish. Every part includes a manufacturer's warranty. We ship quickly, your parts will arrive fast at your door.
Scion Oil Filter maintains a clean flowing engine oil, protecting against gritty and sludgy oils. In 2003, the brand came into the scene with a direct shot at younger buyers in the market who desired low-cost vehicles that they could customize without bargaining and it supported that with bold paint and limited runs of Release Series, and even with a virtual Scion City where buyers could do the shopping on a laptop before stepping into a real cabin. Scion served as the Toyota laboratory, where risky concepts were tested and proved to sell more than a million units and attract first-time buyers to upgrade, eventually, to larger Toyotas. Scion lives on, as it demonstrated to a giant carmaker how to remain small and tune to other niche audiences even after the badge was retired in 2016. Scion was a symbol of individuality to customize a ride, not conform to the mundane commuter boredom. Oil Filter in the lineup relies on synthetic media packed sufficiently to trap 99 percent of debris and its heavy spin-on shell vibrating off high pressure pulses that pound engines to redline. Oil Filter maintains high flow rates such that the boxer four does not run out of lubrication when taking tight corners or long highway pulls. Oil Filter slides over the range, fitting over threads on the housing with minimal effort, and will work with both conventional oil and synthetic oil and will do so with the same effectiveness. Drivers change the filter in a few seconds and move on to the enjoyment. Oil Filter consequently reduces wear, silences valvetrain rattle, and extends engine life between service intervals.
Scion Oil Filter Parts and Q&A
- Q: How to replace the oil filter on Scion tC?A:The 2AZ-FE engine oil filter replacement starts with removing the right-hand engine under cover. You must drain engine oil through both the oil filler cap removal and oil drain plug extraction before placing the oil in a receptacle. Then clean and put back the drain plug using new gasket material before torquing it to 40 Nm (408 kgf-cm, 30 ft-lbf). The process of replacing the oil filter sub-assembly requires using Special Service Tool: 09228-06501. After cleaning the installation area inspect the filter gasket and apply fresh engine oil to it before carefully screwing the filter onto the seat with hand force until the gasket reaches the seat. To produce the right torque use Special Service Tool: 09228-06501 but only if enough space allows because you can also tighten the oil filter using a torque wrench to 17.2 Nm (175 kgf-cm, 13 ft-lbf) or you can simply use your hand to turn it 3/4 turn if space makes this amount of torque difficult to achieve. Clean engine oil should be added afterward and the oil filler cap needs reinstallation while maintaining the engine oil capacity. The engine should be warmed up before checking for leakage from the oil system to complete the right-hand side engine under cover installation.
- Q: What precautions should be taken when replacing the oil filter sub-assembly on Scion xB?A:Exchange of the oil filter sub-assembly requires you to protect yourself against engine oil exposure since regular contact can lead to skin reactions and dermatitis and the oil carries dangerous substances. Protect your hands and skin by wearing appropriate clothing and gloves and either wash the affected area with water and soap or utilize water-free hand cleaner if you encounter used oil. The usage of gasoline or thinners or solvents is prohibited for this purpose. The proper disposal sites exist for recycling used oil and oil filters. Begin the procedure by draining engine oil followed by using Special Service Tool: 09228-06501 to remove the oil filter. The surface for the new oil filter installation should be cleaned and you should apply fresh engine oil to its gasket. Position the new oil filter lightly then tighten it just enough for the gasket to touch its seat before using Special Service Tool: 09228-06501 to reach an additional 3/4 turn. The oil pan drain plug installation requires a new gasket and torqued to a torque value of 38 Nm (382 kgf-cm, 28 ft. lbs.). Engine oil must be added to reach a volume of 3.7 liters (3.9 US qts, 3.3 Imp. qts) when installing an oil filter but only 3.4 liters (3.6 US qts, 3.0 Imp. qts) without filter. The tank will require 4.1 liters (4.3 US qts, 3.6 Imp. qts) to achieve a dry fill condition. Do one more check for any engine oil leaks in the final step.
