×
ToyotaParts- Hello
- Login or Register
- Quick Links
- Live Chat
- Track Order
- Parts Availability
- RMA
- Help Center
- Contact Us
- Shop for
- Toyota Parts
- Scion Parts
My Garage
My Account
Cart
OEM 2009 Scion xD Air Bag Sensor
Air Bag Impact Sensor- Select Vehicle by Model
- Select Vehicle by VIN
Select Vehicle by Model
orMake
Model
Year
Select Vehicle by VIN
For the most accurate results, select vehicle by your VIN (Vehicle Identification Number).
4 Air Bag Sensors found
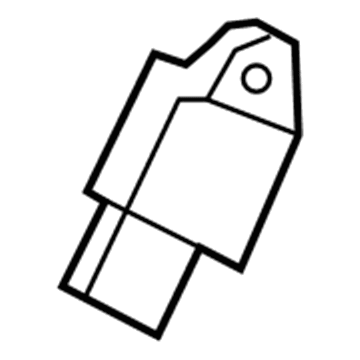
2009 Scion xD Sensor Assembly, Side Air Bag, Passenger Side, Center
Part Number: 89831-0R010$98.34 MSRP: $118.58You Save: $20.24 (18%)Ships in 1-3 Business DaysProduct Specifications- Other Name: Sensor, Side Air Bag; Sensor Assembly, Side Air Bag, Driver Side; Air Bag Sensor
- Position: Center
- Replaces: 89831-28020, 89831-0T030
- Item Weight: 0.60 Pounds
- Item Dimensions: 4.5 x 2.7 x 2.2 inches
- Condition: New
- Fitment Type: Direct Replacement
- SKU: 89831-0R010
- Warranty: This genuine part is guaranteed by Toyota's factory warranty.
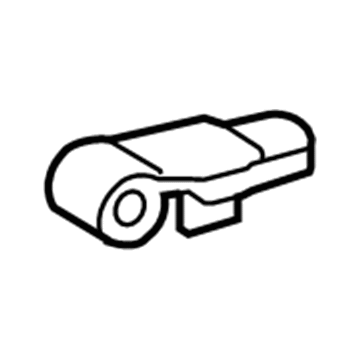
2009 Scion xD Front Impact Sensor
Part Number: 89173-39375$94.20 MSRP: $113.57You Save: $19.37 (18%)Ships in 1-3 Business DaysProduct Specifications- Other Name: Sensor, Air Bag, Front; Air Bag Impact Sensor, Front; Air Bag Sensor; Front Sensor; Sensor, Air Bag, Front Passenger Side; Sensor, Air Bag, Front Driver Side
- Position: Front
- Item Weight: 1.40 Pounds
- Item Dimensions: 4.7 x 2.9 x 2.4 inches
- Condition: New
- Fitment Type: Direct Replacement
- SKU: 89173-39375
- Warranty: This genuine part is guaranteed by Toyota's factory warranty.
2009 Scion xD Rear Sensor
Part Number: 89831-33020$108.06 MSRP: $151.68You Save: $43.62 (29%)Ships in 1-3 Business DaysProduct Specifications- Other Name: Sensor, Side Air Bag; Air Bag Impact Sensor, Rear; Air Bag Sensor; Side Impact Sensor; Side Sensor; Sensor, Air Bag, Rear Passenger Side; Sensor, Air Bag, Rear Driver Side
- Position: Rear
- Item Weight: 0.60 Pounds
- Item Dimensions: 4.5 x 2.6 x 2.1 inches
- Condition: New
- Fitment Type: Direct Replacement
- SKU: 89831-33020
- Warranty: This genuine part is guaranteed by Toyota's factory warranty.
2009 Scion xD Position Sensor, Driver Side
Part Number: 89178-33040$80.57 MSRP: $113.09You Save: $32.52 (29%)Ships in 1-3 Business DaysProduct Specifications- Other Name: Sensor, Seat Position; Seat Track Position Sensor, Left; Sensor, Seat Position Air Bag
- Position: Driver Side
- Part Name Code: 89178A
- Item Weight: 0.50 Pounds
- Item Dimensions: 2.1 x 1.5 x 1.4 inches
- Condition: New
- Fitment Type: Direct Replacement
- SKU: 89178-33040
- Warranty: This genuine part is guaranteed by Toyota's factory warranty.
2009 Scion xD Air Bag Sensor
Looking for affordable OEM 2009 Scion xD Air Bag Sensor? Explore our comprehensive catalogue of genuine 2009 Scion xD Air Bag Sensor. All our parts are covered by the manufacturer's warranty. Plus, our straightforward return policy and speedy delivery service ensure an unparalleled shopping experience. We look forward to your visit!
2009 Scion xD Air Bag Sensor Parts Q&A
- Q: How to remove the Center Air Bag Sensor Assembly safely on 2009 Scion xD?A: Before performing any service which affects SRS Air Bag system safety the negative battery terminal cable should be disconnected to ensure safety. Proceed to remove the shift lever knob sub-assembly of manual transaxle before moving on to the upper console panel and rear console box cover and sub-assembly and front console box. To perform the Center Air Bag Sensor Assembly detachment start by detaching the connector holder by pulling down the lever followed by unscrewing its 3 securing bolts. Disconnection of the negative battery terminal remains crucial before working on this operation since any small hit to the Air Bag sensor will activate the Air Bags.


