×
ToyotaParts- Hello
- Login or Register
- Quick Links
- Live Chat
- Track Order
- Parts Availability
- RMA
- Help Center
- Contact Us
- Shop for
- Toyota Parts
- Scion Parts
My Garage
My Account
Cart
OEM 2007 Toyota FJ Cruiser Crankshaft Position Sensor
Engine Crankshaft Position Sensor- Select Vehicle by Model
- Select Vehicle by VIN
Select Vehicle by Model
orMake
Model
Year
Select Vehicle by VIN
For the most accurate results, select vehicle by your VIN (Vehicle Identification Number).
2 Crankshaft Position Sensors found

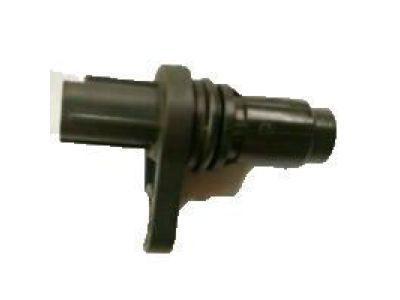
2007 Toyota FJ Cruiser Camshaft Position Sensor, Driver Side
Part Number: 90919-T5005$102.96 MSRP: $144.53You Save: $41.57 (29%)Ships in 1-3 Business DaysProduct Specifications- Other Name: Sensor, Crank Position; Engine Camshaft Position Sensor, Left; Crankshaft Position Sensor; Camshaft Sensor; Cam Sensor; Sensor, Cam Position; Engine Camshaft Position Sensor
- Manufacturer Note: (L)
- Position: Driver Side
- Replaces: 9004A-19003, 90919-05060, 90919-T5002
- Part Name Code: 11101E
- Condition: New
- Fitment Type: Direct Replacement
- Require Quantity: 3
- SKU: 90919-T5005
- Warranty: This genuine part is guaranteed by Toyota's factory warranty.

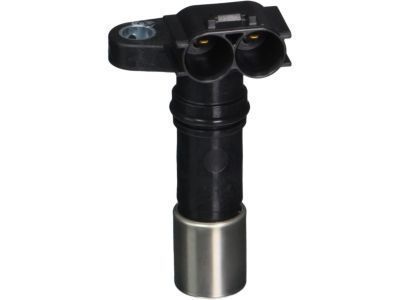
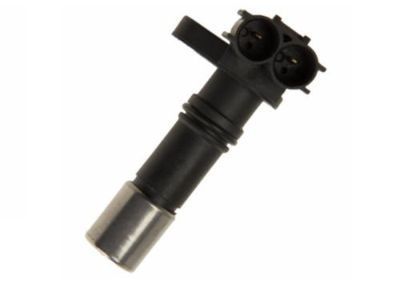
2007 Toyota FJ Cruiser Sensor, Crank Position
Part Number: 90919-A5003$72.15 MSRP: $101.28You Save: $29.13 (29%)Ships in 1-3 Business DaysProduct Specifications- Other Name: Engine Crankshaft Position Sensor; Crankshaft Position Sensor
- Manufacturer Note: (L)
- Replaces: 90919-05057
- Part Name Code: 11401G
- Item Weight: 0.40 Pounds
- Item Dimensions: 4.9 x 2.8 x 2.0 inches
- Condition: New
- Fitment Type: Direct Replacement
- SKU: 90919-A5003
- Warranty: This genuine part is guaranteed by Toyota's factory warranty.
2007 Toyota FJ Cruiser Crankshaft Position Sensor
Looking for affordable OEM 2007 Toyota FJ Cruiser Crankshaft Position Sensor? Explore our comprehensive catalogue of genuine 2007 Toyota FJ Cruiser Crankshaft Position Sensor. All our parts are covered by the manufacturer's warranty. Plus, our straightforward return policy and speedy delivery service ensure an unparalleled shopping experience. We look forward to your visit!
2007 Toyota FJ Cruiser Crankshaft Position Sensor Parts Q&A
- Q: How to service the crankshaft position sensor on 2007 Toyota FJ Cruiser?A: The crankshaft position service procedure begins with negative battery terminal disconnection followed by V-bank cover removal together with fan removal. The service process starts with generator assembly removal which allows you to separate the cooler compressor assembly by unbolting the suction hose sub-assembly, disconnecting the cooler compressor assembly connectors and removing four bolts that disconnect it from the V-ribbed belt tensioner assembly. First remove the crankshaft position sensor bolt before disconnecting its connector and then extracting the sensor. To install the crankshaft position sensor first lubricate its O-ring using engine oil before installing it with the bolt and torquing to 10 N.m (102 kgf.cm, 7.4 ft.lbf), followed by connecting the crankshaft position sensor connector. Secure the cooler compressor assembly through 4 bolts while torquing to 24.5 N.m (250 kgf.cm, 18 ft.lbf). Subsequently connect the cooler compressor assembly connector and install the suction hose sub-assembly using the bolt which requires torquing to 7.8 N.m (80 kgf.cm, 69 in.lbf). Start by installing the generator assembly followed by the installation of the fan and completion of negative cable connection to the battery terminal while torquing it to 3.9 N.m (40 kgf.cm, 35 in.lbf) and attaching the V-bank cover.


