×
ToyotaParts- Hello
- Login or Register
- Quick Links
- Live Chat
- Track Order
- Parts Availability
- RMA
- Help Center
- Contact Us
- Shop for
- Toyota Parts
- Scion Parts
My Garage
My Account
Cart
OEM 2009 Toyota Highlander Control Arm
Suspension Arm- Select Vehicle by Model
- Select Vehicle by VIN
Select Vehicle by Model
orMake
Model
Year
Select Vehicle by VIN
For the most accurate results, select vehicle by your VIN (Vehicle Identification Number).
2 Control Arms found

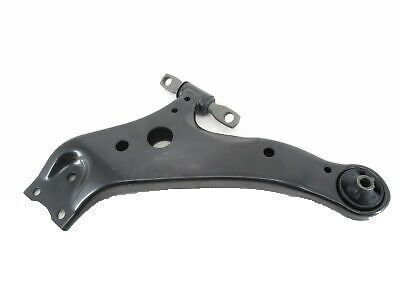
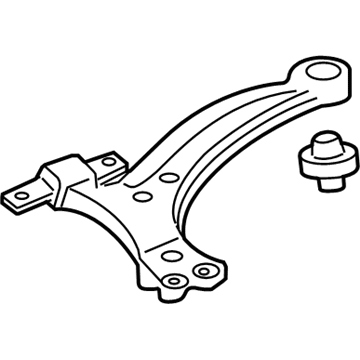
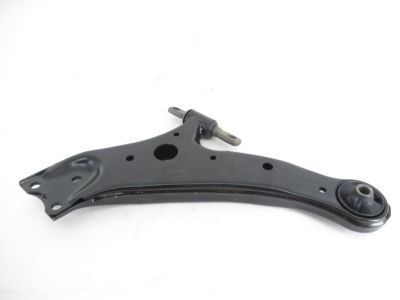
2009 Toyota Highlander Arm Sub-Assembly, Front Suspension, Lower Driver Side
Part Number: 48069-0E050$159.79 MSRP: $226.20You Save: $66.41 (30%)Ships in 1-2 Business DaysProduct Specifications- Other Name: Arm Sub-Assembly, Suspension; Control Arm
- Position: Lower Driver Side
- Replaces: 48069-0T011, 48069-48070, 48069-48041, 48069-0T010, 48069-48040
- Part Name Code: 48069
- Item Weight: 8.50 Pounds
- Item Dimensions: 7.1 x 1.6 x 1.4 inches
- Condition: New
- Fitment Type: Direct Replacement
- SKU: 48069-0E050
- Warranty: This genuine part is guaranteed by Toyota's factory warranty.

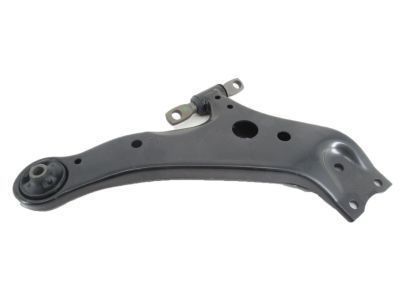
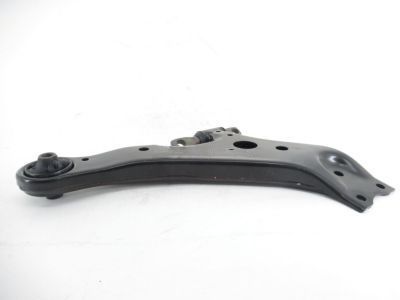
2009 Toyota Highlander Control Arm, Passenger Side
Part Number: 48068-0E050$159.79 MSRP: $226.20You Save: $66.41 (30%)Ships in 1-2 Business DaysProduct Specifications- Other Name: Arm Sub-Assembly, Suspension; Suspension Control Arm, Front Right; Control Arm Assembly; Lower Control Arm; Arm Sub-Assembly, Front Suspension, Lower Passenger Side
- Position: Passenger Side
- Replaces: 48068-48040, 48068-0T010, 48068-0T011, 48068-48041, 48068-48070
- Part Name Code: 48068
- Item Weight: 9.10 Pounds
- Item Dimensions: 7.1 x 1.4 x 1.5 inches
- Condition: New
- Fitment Type: Direct Replacement
- SKU: 48068-0E050
- Warranty: This genuine part is guaranteed by Toyota's factory warranty.
2009 Toyota Highlander Control Arm
Looking for affordable OEM 2009 Toyota Highlander Control Arm? Explore our comprehensive catalogue of genuine 2009 Toyota Highlander Control Arm. All our parts are covered by the manufacturer's warranty. Plus, our straightforward return policy and speedy delivery service ensure an unparalleled shopping experience. We look forward to your visit!
2009 Toyota Highlander Control Arm Parts Q&A
- Q: How to install the front lower Control Arm and related components on 2009 Toyota Highlander?A: The first step to install the front lower suspension arm includes attaching the bushing stopper to the arm before it can be connected to the front frame assembly. At this time fit the front lower suspension arm to the front frame assembly by using 3 bolts and a nut without fully tightening them. The installation process entails starting from the front side of the vehicle before torquing Bolt 1 and 2 to 200 Nm (2039 kgf-cm, 147 ft-lbf) and Bolt 3 to 206 Nm (2100 kgf-cm, 152 ft-lbf) according to the specified numerical order. Installation of the front frame assembly for the 2GR-FE engine should proceed the installation of the 1AR-FE engine front frame assembly. Separate the engine hangers whenever working with engine types 2GR-FE and 1AR-FE. Next add the power steering link assembly before fitting the front stabilizer bar through its front stabilizer link assembly. Apply the same installation method for the left-side No.1 front stabilizer bracket followed by the procedure for the right-side bracket. The engine assembly needs to be installed together with the transaxle for both 2GR-FE and 1AR-FE engines.
