×
ToyotaParts- Hello
- Login or Register
- Quick Links
- Live Chat
- Track Order
- Parts Availability
- RMA
- Help Center
- Contact Us
- Shop for
- Toyota Parts
- Scion Parts
My Garage
My Account
Cart
OEM 2008 Toyota Land Cruiser Coil Springs
Strut Spring- Select Vehicle by Model
- Select Vehicle by VIN
Select Vehicle by Model
orMake
Model
Year
Select Vehicle by VIN
For the most accurate results, select vehicle by your VIN (Vehicle Identification Number).
4 Coil Springs found

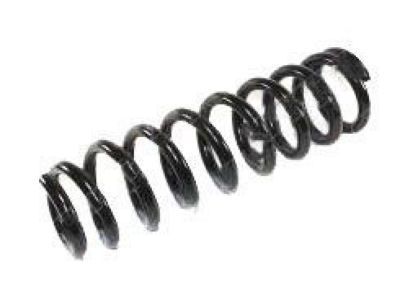
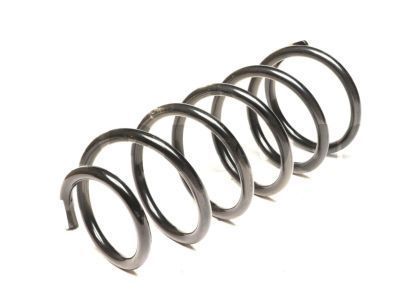
2008 Toyota Land Cruiser Coil Spring, Front
Part Number: 48131-60D21$200.83 MSRP: $286.75You Save: $85.92 (30%)Ships in 1-3 Business DaysProduct Specifications- Other Name: Spring, Coil, Front; Coil Spring, Front Left, Front Right; Coil Springs; Spring; Spring, Front Coil, Passenger Side; Spring, Front Coil, Driver Side
- Manufacturer Note: MEXICO SPEC
- Position: Front
- Replaces: 48131-60D20
- Item Weight: 6.40 Pounds
- Item Dimensions: 16.2 x 7.3 x 5.9 inches
- Condition: New
- Fitment Type: Direct Replacement
- SKU: 48131-60D21
- Warranty: This genuine part is guaranteed by Toyota's factory warranty.

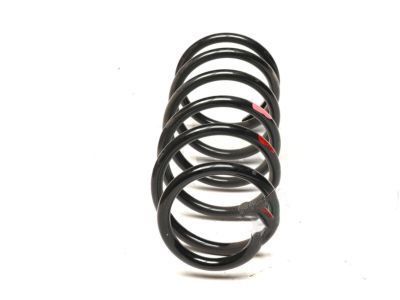
2008 Toyota Land Cruiser Coil Spring, Rear Passenger Side
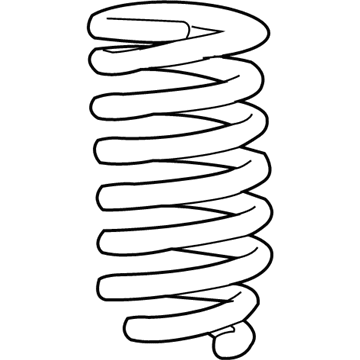
Part Number: 48231-60F31$170.36 MSRP: $241.17You Save: $70.81 (30%)Ships in 1-3 Business DaysProduct Specifications- Other Name: Spring, Coil, Rear; Coil Spring, Rear Right; Coil Springs; Spring; Spring, Coil, Rear Passenger Side
- Position: Rear Passenger Side
- Replaces: 48231-60F30
- Part Name Code: 48231A
- Item Weight: 12.40 Pounds
- Item Dimensions: 17.8 x 11.2 x 6.0 inches
- Condition: New
- Fitment Type: Direct Replacement
- SKU: 48231-60F31
- Warranty: This genuine part is guaranteed by Toyota's factory warranty.
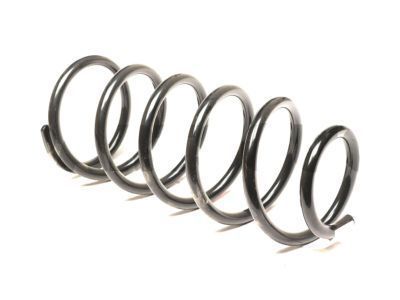
2008 Toyota Land Cruiser Coil Spring, Driver Side
Part Number: 48131-60C81$161.90 MSRP: $229.19You Save: $67.29 (30%)Ships in 1-3 Business DaysProduct Specifications- Other Name: Spring, Coil, Front; Coil Spring, Front Left; Coil Springs; Spring; Spring, Front Coil, Driver Side
- Manufacturer Note: MEXICO SPEC
- Position: Driver Side
- Replaces: 48131-60C80
- Part Name Code: 48132
- Item Weight: 1.40 Pounds
- Item Dimensions: 16.8 x 7.5 x 6.0 inches
- Condition: New
- Fitment Type: Direct Replacement
- SKU: 48131-60C81
- Warranty: This genuine part is guaranteed by Toyota's factory warranty.

2008 Toyota Land Cruiser Coil Spring, Rear Driver Side
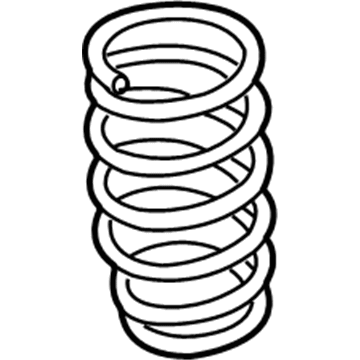
Part Number: 48231-60E21$181.84 MSRP: $259.63You Save: $77.79 (30%)Product Specifications- Other Name: Spring, Coil, Rear; Coil Spring, Rear Left; Coil Springs; Spring; Spring, Coil, Rear Driver Side
- Position: Rear Driver Side
- Part Name Code: 48231B
- Item Weight: 14.00 Pounds
- Item Dimensions: 17.1 x 10.8 x 5.8 inches
- Condition: New
- Fitment Type: Direct Replacement
- SKU: 48231-60E21
- Warranty: This genuine part is guaranteed by Toyota's factory warranty.
2008 Toyota Land Cruiser Coil Springs
Looking for affordable OEM 2008 Toyota Land Cruiser Coil Springs? Explore our comprehensive catalogue of genuine 2008 Toyota Land Cruiser Coil Springs. All our parts are covered by the manufacturer's warranty. Plus, our straightforward return policy and speedy delivery service ensure an unparalleled shopping experience. We look forward to your visit!
2008 Toyota Land Cruiser Coil Springs Parts Q&A
- Q: How to remove the rear coil springs on 2008 Toyota Land Cruiser?A: Start by taking off the stabilizer control valve protector followed by opening the stabilizer control with the accumulator housing shutter valve to remove the rear coil spring. Start by draining out the brake fluid from the rear wheel after removing it. Proceed with the removal sequence by disconnecting first the parking brake cable assemblies (No. 3 then No. 2) followed by separation of the rear axle breather hose sub-assembly. The first step is to support the rear axle housing system followed by disconnection of the rear stabilizer end bracket. The ball joint dust cover protector should stay present during nut removal while checking if the ball joint rotates with the nut. Use a 6mm hexagon wrench to keep the stud steady. The next step requires disconnection of the rear lateral control rod assembly and its corresponding rear flexible hose. To disconnect the left-hand side rear shock absorber assembly secure the lower bolt then disconnect it from the axle housing and perform this process on the right-hand side. Lariago's rear coil spring on the left side needs removal while lowering the axle housing with special attention to avoid breaking the brake line followed by extracting the hollow spring from the frame.
