×
ToyotaParts- Hello
- Login or Register
- Quick Links
- Live Chat
- Track Order
- Parts Availability
- RMA
- Help Center
- Contact Us
- Shop for
- Toyota Parts
- Scion Parts
My Garage
My Account
Cart
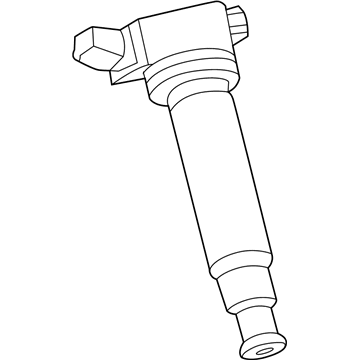
OEM 2007 Toyota Sienna Ignition Coil
Ignition Coil Resistor- Select Vehicle by Model
- Select Vehicle by VIN
Select Vehicle by Model
orMake
Model
Year
Select Vehicle by VIN
For the most accurate results, select vehicle by your VIN (Vehicle Identification Number).
1 Ignition Coil found

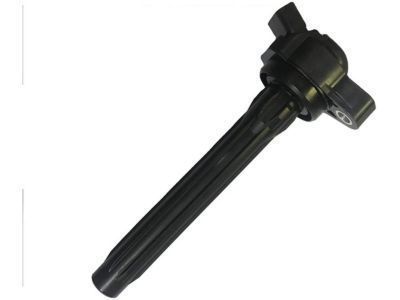
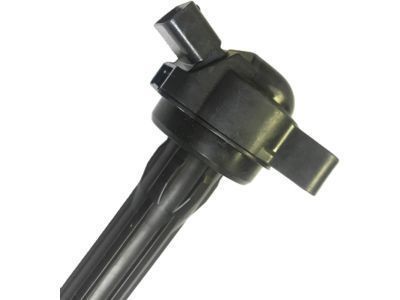
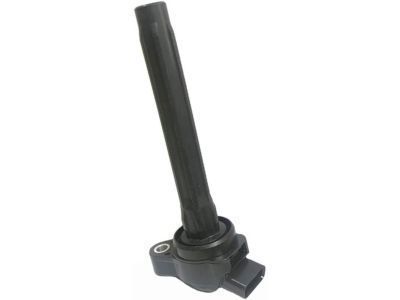
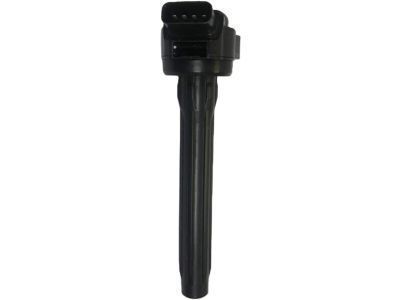
2007 Toyota Sienna Ignition Coil
Part Number: 90919-A2013$90.88 MSRP: $127.56You Save: $36.68 (29%)Ships in 1-3 Business DaysProduct Specifications- Other Name: Coil, Ignition; Direct Ignition Coil; Coil Assembly, Ignition
- Manufacturer Note: TYPE B:REFER ILLUST.
- Replaces: 90919-02251, 90919-A2004, 90919-02280, 90919-A2007, 90919-A2002
- Part Name Code: 19500
- Item Weight: 1.00 Pounds
- Condition: New
- Fitment Type: Direct Replacement
- Require Quantity: 6
- SKU: 90919-A2013
- Warranty: This genuine part is guaranteed by Toyota's factory warranty.
2007 Toyota Sienna Ignition Coil
Looking for affordable OEM 2007 Toyota Sienna Ignition Coil? Explore our comprehensive catalogue of genuine 2007 Toyota Sienna Ignition Coil. All our parts are covered by the manufacturer's warranty. Plus, our straightforward return policy and speedy delivery service ensure an unparalleled shopping experience. We look forward to your visit!
2007 Toyota Sienna Ignition Coil Parts Q&A
- Q: How to service the ignition coil on 2007 Toyota Sienna?A: Application of servicing procedures begins by disconnecting the cable from the negative battery terminal followed by draining engine coolant. Service begins with removing the front wiper arm head cap then moving to right and left front wiper arms and continuing with the cowl top ventilator louver subassembly followed by the windshield wiper motor and link assembly. The service begins with removing the No. 1 cowl top to cowl brace inner and cowl top panel sub-assembly outer front and No. 1 engine under cover and V-bank cover sub-assembly while also removing the air cleaner cap sub-assembly and intake air surge tank assembly with its No. 1 surge tank stay by first removing the 2 bolts and nut and disconnecting the 2 harness clamps before removing the bolt and No. 1 surge tank stay. To achieve ignition coil assembly removal begin by disconnecting 6 ignition coil connectors then move to take out 6 bolts along with 6 ignition coils followed by eliminating 6 spark plugs. The first step is to mount the 6 spark plugs using 18 Nm torque (183 kgf.cm, 13 ft. lbs.) before installing the ignition coil assembly through a bolt torque of 10 Nm (102 kgf.cm, 7 ft. lbs.) while connecting all 6 ignition coil connectors. Start by attaching the No. 1 surge tank stay without lubricating its bolt before tightening it to 21 Nm (214 kgf.cm, 15 ft. lbs.). The assembly requires two bolts and two clamps together with the nut which needs to be torqued to 8.3 Nm (84 kgf.cm, 73 in. lbs.) after the bolt reaches its specified torque. Afterward, install the intake air surge tank assembly before putting on the air cleaner cap sub-assembly followed by engine coolant addition then reconnecting the negative battery cable. Debugging requires a leak check on engine coolant before installing the V-bank cover sub-assembly and cowl top panel sub-assembly outer front and No. 1 cowl top to cowl brace inner and windshield wiper motor and link assembly, along with the front wiper arms.
