×
ToyotaParts- Hello
- Login or Register
- Quick Links
- Live Chat
- Track Order
- Parts Availability
- RMA
- Help Center
- Contact Us
- Shop for
- Toyota Parts
- Scion Parts
My Garage
My Account
Cart
OEM 2007 Toyota RAV4 Control Arm
Suspension Arm- Select Vehicle by Model
- Select Vehicle by VIN
Select Vehicle by Model
orMake
Model
Year
Select Vehicle by VIN
For the most accurate results, select vehicle by your VIN (Vehicle Identification Number).
3 Control Arms found

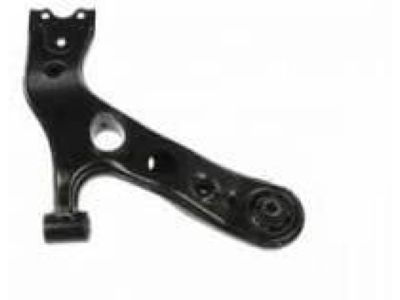
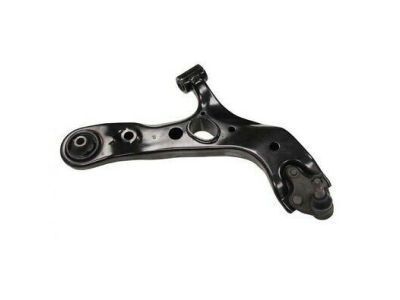
2007 Toyota RAV4 Lower Control Arm, Driver Side
Part Number: 48069-0R010$179.05 MSRP: $255.64You Save: $76.59 (30%)Ships in 1 Business DayProduct Specifications- Other Name: Arm Sub-Assembly, Suspension; Front Left Lower Control Arm Assembly; Arm Sub-Assembly, Front Suspension, Lower Driver Side; Suspension Control Arm; Control Arm
- Position: Lower Driver Side
- Replaces: 48069-42051
- Part Name Code: 48069
- Item Weight: 1.30 Pounds
- Item Dimensions: 2.9 x 2.5 x 2.9 inches
- Condition: New
- Fitment Type: Direct Replacement
- SKU: 48069-0R010
- Warranty: This genuine part is guaranteed by Toyota's factory warranty.

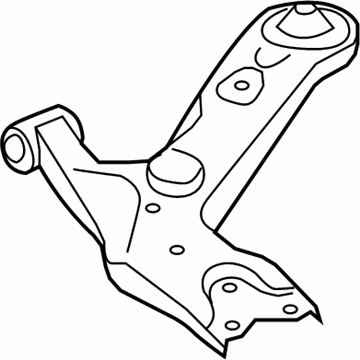
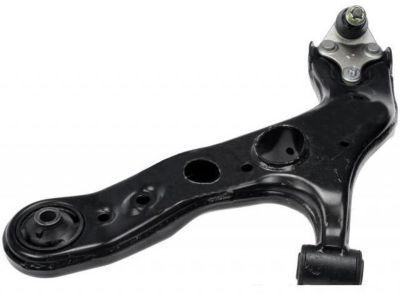
2007 Toyota RAV4 Lower Control Arm, Passenger Side
Part Number: 48068-0R010$189.88 MSRP: $271.11You Save: $81.23 (30%)Ships in 1 Business DayProduct Specifications- Other Name: Arm Sub-Assembly, Suspension; Front Right Lower Control Arm Assembly; Arm Sub-Assembly, Front Suspension, Lower Passenger Side; Suspension Control Arm; Control Arm
- Position: Passenger Side
- Replaces: 48068-42050, 48068-42051
- Part Name Code: 48068
- Item Weight: 1.30 Pounds
- Item Dimensions: 2.9 x 2.5 x 2.9 inches
- Condition: New
- Fitment Type: Direct Replacement
- SKU: 48068-0R010
- Warranty: This genuine part is guaranteed by Toyota's factory warranty.

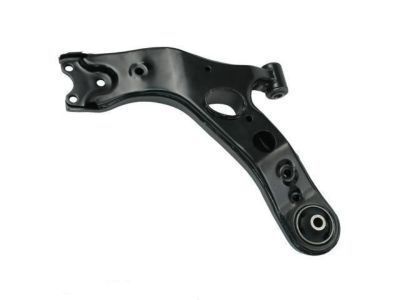
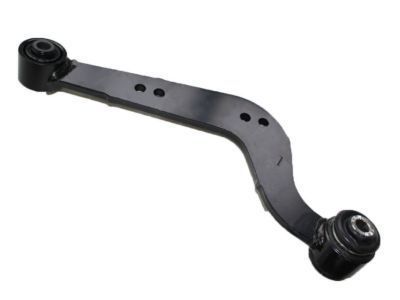
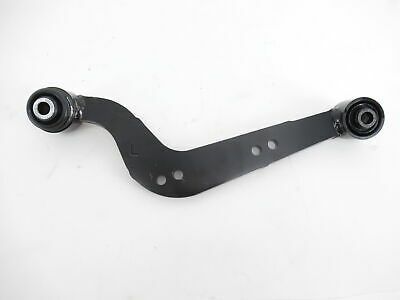
2007 Toyota RAV4 Arm Assembly, Upper Control, Rear Driver Side
Part Number: 48790-42020$107.82 MSRP: $151.34You Save: $43.52 (29%)Ships in 1-3 Business DaysProduct Specifications- Other Name: Arm Assembly, Upper Control; Suspension Trailing Arm; Suspension Control Arm; Control Arm
- Position: Rear Driver Side
- Part Name Code: 48790
- Item Weight: 3.30 Pounds
- Item Dimensions: 3.8 x 3.8 x 18.8 inches
- Condition: New
- Fitment Type: Direct Replacement
- SKU: 48790-42020
- Warranty: This genuine part is guaranteed by Toyota's factory warranty.
2007 Toyota RAV4 Control Arm
Looking for affordable OEM 2007 Toyota RAV4 Control Arm? Explore our comprehensive catalogue of genuine 2007 Toyota RAV4 Control Arm. All our parts are covered by the manufacturer's warranty. Plus, our straightforward return policy and speedy delivery service ensure an unparalleled shopping experience. We look forward to your visit!
2007 Toyota RAV4 Control Arm Parts Q&A
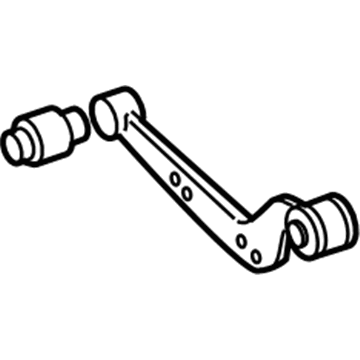
- Q: How to service and repair the rear No. 2 Control Arm on 2007 Toyota RAV4?A: To service and repair the rear No. 2 suspension arm, begin by removing the rear wheel, then disconnect the No. 2 parking brake cable assembly, skid control sensor wire (for 2WD), rear speed sensor LH (for 4WD), rear stabilizer link assembly LH, and the rear No. 2 suspension arm assembly LH by loosening the bolt from the suspension member side without removing it, supporting the arm with a jack (using a wooden or rubber block between the jack and the arm), and removing the bolt and nut from the axle carrier side before slowly lowering the jack to disconnect the arm. Start by removing and then putting away the rear coil spring insulator upper LH and rear coil spring LH along with the rear coil spring insulator lower LH. After that, disconnect the rear No. 2 suspension arm assembly LH by taking off its bolt, nut, and suspension arm from the suspension member. Follow these steps for installation: Start by securing a temporary installation of the rear No. 2 suspension arm assembly LH with bolt and nut onto the suspension member before putting in order rear coil spring insulator lower LH, rear coil spring LH and rear coil spring insulator upper LH. Installing the rear wheel first requires a torque of 103 Nm (1,050 kgf-cm, 76 ft. lbs.) followed by attaching the No. 2 parking brake cable assembly then connecting the skid control sensor wire (2WD) as well as the rear speed sensor LH (4WD) and finally attaching the rear stabilizer link assembly LH. Place the No.2 suspension arm onto the axle carrier with attention to place the coil spring distinguishing mark on the vehicle exterior before completing the installation with the mentioned steps. After suspending the vehicle inspect the rear No.2 suspension arm assembly LH by screwing 2 bolts and 2 nuts while applying 90 Nm (918 kgf-cm, 66 ft. lbs.) torque on the nuts. Avoid final tightening of the nuts during this stage. Then check and calibrate the rear wheel alignment.
