×
ToyotaParts- Hello
- Login or Register
- Quick Links
- Live Chat
- Track Order
- Parts Availability
- RMA
- Help Center
- Contact Us
- Shop for
- Toyota Parts
- Scion Parts
My Garage
My Account
Cart
OEM 2007 Toyota Highlander Shock Absorber
Suspension Shock Absorber- Select Vehicle by Model
- Select Vehicle by VIN
Select Vehicle by Model
orMake
Model
Year
Select Vehicle by VIN
For the most accurate results, select vehicle by your VIN (Vehicle Identification Number).
12 Shock Absorbers found

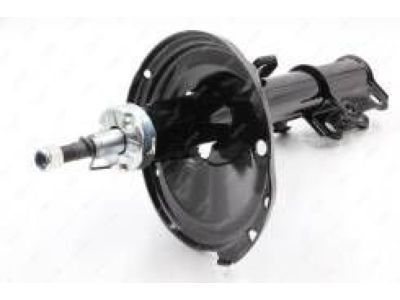
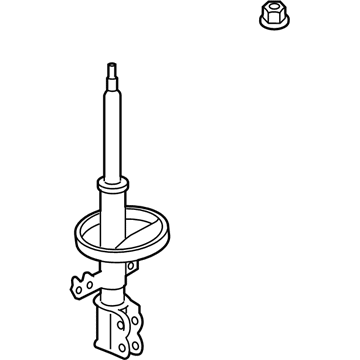
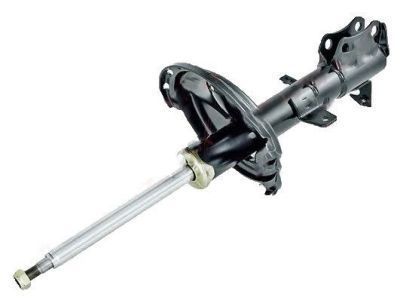
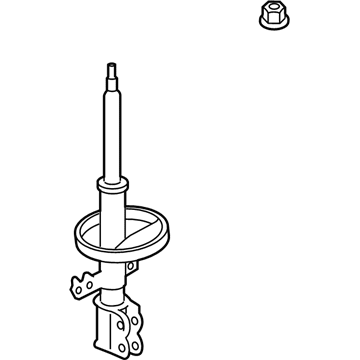
2007 Toyota Highlander Absorber Assembly, Shock
Part Number: 48520-A9220$217.49 MSRP: $310.53You Save: $93.04 (30%)Ships in 1-3 Business DaysProduct Specifications- Other Name: ABSORBER ASSY, SHOCK; Suspension Strut Assembly Kit; Shock Absorber
- Position: Driver Side
- Replaces: 48520-49555
- Item Weight: 15.70 Pounds
- Item Dimensions: 28.5 x 8.6 x 8.0 inches
- Condition: New
- SKU: 48520-A9220
- Warranty: This genuine part is guaranteed by Toyota's factory warranty.

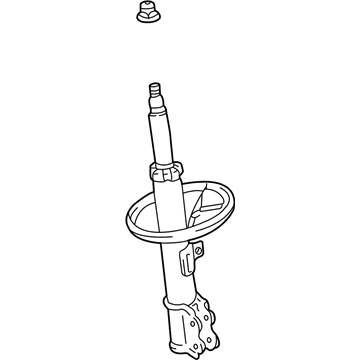
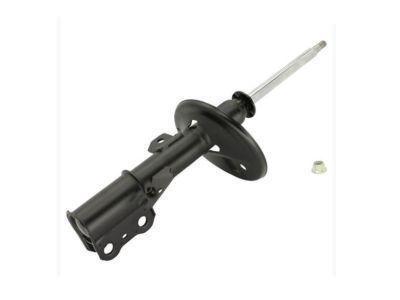
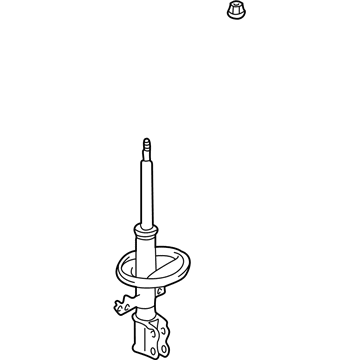
2007 Toyota Highlander Strut Assembly, Passenger Side
Part Number: 48510-A9360$189.07 MSRP: $269.94You Save: $80.87 (30%)Ships in 1-3 Business DaysProduct Specifications- Other Name: Absorber Set, Shock; Suspension Strut Assembly Kit; Complete Strut Kit; Complete Strut; Shock Absorber; Strut
- Position: Passenger Side
- Replaces: 48510-49445
- Item Weight: 15.70 Pounds
- Item Dimensions: 26.9 x 8.9 x 7.6 inches
- Condition: New
- SKU: 48510-A9360
- Warranty: This genuine part is guaranteed by Toyota's factory warranty.

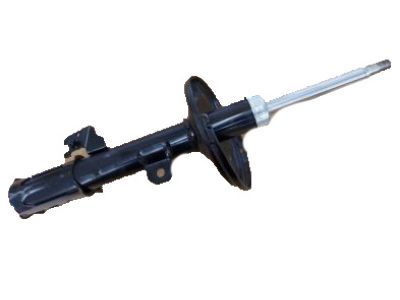
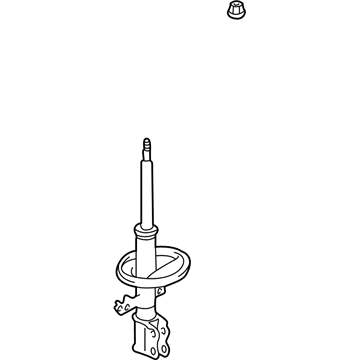
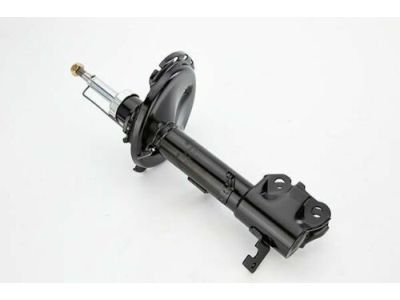
2007 Toyota Highlander Strut, Rear Passenger Side
Part Number: 48530-49615$172.71 MSRP: $244.50You Save: $71.79 (30%)Ships in 1-3 Business DaysProduct Specifications- Other Name: Absorber Assembly, Shock; Rear Right Suspension Strut; Complete Strut Kit; Shock Absorber; Absorber Assembly, Shock, Rear Passenger Side
- Manufacturer Note: MARK 48530-48290
- Position: Rear Passenger Side
- Part Name Code: 48530
- Item Weight: 6.50 Pounds
- Item Dimensions: 25.8 x 6.8 x 5.7 inches
- Condition: New
- Fitment Type: Direct Replacement
- SKU: 48530-49615
- Warranty: This genuine part is guaranteed by Toyota's factory warranty.

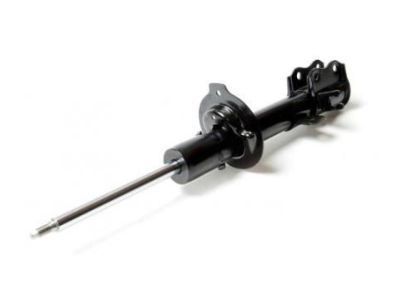
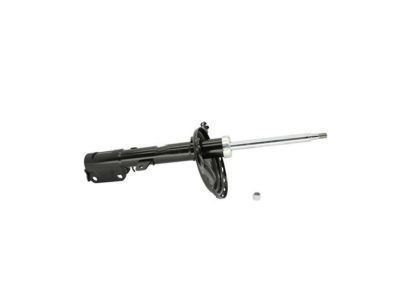
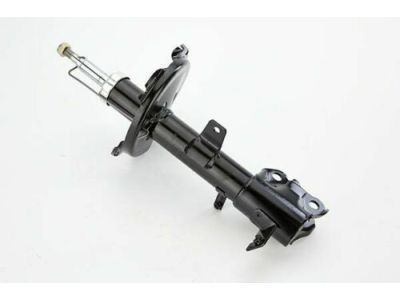
2007 Toyota Highlander Strut, Rear Driver Side
Part Number: 48540-49245$162.84 MSRP: $230.53You Save: $67.69 (30%)Ships in 1-3 Business DaysProduct Specifications- Other Name: Absorber Assembly, Shock; Rear Left Suspension Strut; Complete Strut Kit; Shock Absorber; Absorber Assembly, Shock, Rear Driver Side
- Manufacturer Note: MARK 48540-48210
- Position: Rear Driver Side
- Part Name Code: 48540
- Item Weight: 14.20 Pounds
- Item Dimensions: 26.6 x 6.8 x 5.7 inches
- Condition: New
- Fitment Type: Direct Replacement
- SKU: 48540-49245
- Warranty: This genuine part is guaranteed by Toyota's factory warranty.

2007 Toyota Highlander Strut, Rear Passenger Side
Part Number: 48530-49415$162.84 MSRP: $230.53You Save: $67.69 (30%)Ships in 1-3 Business DaysProduct Specifications- Other Name: Absorber Assembly, Shock; Rear Right Suspension Strut; Complete Strut Kit; Shock Absorber; Absorber Assembly, Shock, Rear Passenger Side
- Manufacturer Note: MARK 48530-48200
- Position: Rear Passenger Side
- Part Name Code: 48530
- Item Weight: 13.30 Pounds
- Item Dimensions: 25.8 x 6.5 x 5.7 inches
- Condition: New
- Fitment Type: Direct Replacement
- SKU: 48530-49415
- Warranty: This genuine part is guaranteed by Toyota's factory warranty.

2007 Toyota Highlander Strut, Rear Passenger Side
Part Number: 48530-49555$160.61 MSRP: $227.36You Save: $66.75 (30%)Ships in 1-3 Business DaysProduct Specifications- Other Name: Absorber Assembly, Front Right-Hand; Rear Right Suspension Strut; Strut Assembly Kit; Shock Absorber; Absorber Assembly, Shock, Rear Passenger Side
- Manufacturer Note: MARK 48530-48230
- Position: Rear Passenger Side
- Part Name Code: 48530
- Item Weight: 12.30 Pounds
- Item Dimensions: 26.1 x 6.8 x 5.8 inches
- Condition: New
- Fitment Type: Direct Replacement
- SKU: 48530-49555
- Warranty: This genuine part is guaranteed by Toyota's factory warranty.

2007 Toyota Highlander Strut, Rear Driver Side
Part Number: 48540-49295$156.15 MSRP: $221.04You Save: $64.89 (30%)Ships in 1-3 Business DaysProduct Specifications- Other Name: Absorber Assembly, Front Left-Hand; Rear Left Suspension Strut; Strut Assembly Kit; Shock Absorber; Absorber Assembly, Shock, Rear Driver Side
- Manufacturer Note: MARK 48540-48230
- Position: Rear Driver Side
- Part Name Code: 48540
- Item Weight: 12.80 Pounds
- Item Dimensions: 25.6 x 6.8 x 5.9 inches
- Condition: New
- Fitment Type: Direct Replacement
- SKU: 48540-49295
- Warranty: This genuine part is guaranteed by Toyota's factory warranty.
2007 Toyota Highlander Strut
Part Number: 48530-49335$230.77 MSRP: $329.49You Save: $98.72 (30%)Ships in 1-3 Business DaysProduct Specifications- Other Name: Absorber Assembly, Shock; Shock Absorber
- Replaces: 48530-49435
- Item Weight: 12.40 Pounds
- Condition: New
- SKU: 48530-49335
- Warranty: This genuine part is guaranteed by Toyota's factory warranty.
2007 Toyota Highlander Strut
Part Number: 48540-49225$222.74 MSRP: $318.02You Save: $95.28 (30%)Ships in 1-3 Business DaysProduct Specifications- Other Name: Absorber Assembly, Shock; Shock Absorber
- Replaces: 48540-49265
- Item Weight: 13.50 Pounds
- Condition: New
- SKU: 48540-49225
- Warranty: This genuine part is guaranteed by Toyota's factory warranty.
2007 Toyota Highlander Strut, Rear Driver Side
Part Number: 48540-49325$187.32 MSRP: $267.45You Save: $80.13 (30%)Ships in 1-3 Business DaysProduct Specifications- Other Name: Absorber Assembly, Shock; Suspension Strut, Rear Left; Shock Absorber
- Position: Rear Driver Side
- Replaces: 48540-49365
- Item Weight: 12.70 Pounds
- Condition: New
- SKU: 48540-49325
- Warranty: This genuine part is guaranteed by Toyota's factory warranty.
2007 Toyota Highlander Strut, Rear Passenger Side
Part Number: 48530-49595$185.11 MSRP: $264.29You Save: $79.18 (30%)Ships in 1-3 Business DaysProduct Specifications- Other Name: Absorber Assembly, Shock; Suspension Strut, Rear Right; Shock Absorber
- Position: Rear Passenger Side
- Replaces: 48530-49625
- Item Weight: 12.60 Pounds
- Condition: New
- SKU: 48530-49595
- Warranty: This genuine part is guaranteed by Toyota's factory warranty.
2007 Toyota Highlander Strut, Rear Driver Side
Part Number: 48540-49355$172.71 MSRP: $244.50You Save: $71.79 (30%)Ships in 1-3 Business DaysProduct Specifications- Other Name: Absorber Assembly, Shock; Rear Left Suspension Strut; Complete Strut Kit; Shock Absorber; Absorber Assembly, Shock, Rear Driver Side
- Manufacturer Note: MARK 48540-48290
- Position: Rear Driver Side
- Part Name Code: 48540
- Item Weight: 6.80 Pounds
- Item Dimensions: 26.6 x 6.6 x 5.9 inches
- Condition: New
- Fitment Type: Direct Replacement
- SKU: 48540-49355
- Warranty: This genuine part is guaranteed by Toyota's factory warranty.
2007 Toyota Highlander Shock Absorber
Looking for affordable OEM 2007 Toyota Highlander Shock Absorber? Explore our comprehensive catalogue of genuine 2007 Toyota Highlander Shock Absorber. All our parts are covered by the manufacturer's warranty. Plus, our straightforward return policy and speedy delivery service ensure an unparalleled shopping experience. We look forward to your visit!
2007 Toyota Highlander Shock Absorber Parts Q&A
- Q: How to service and repair the front shock absorber on 2007 Toyota Highlander?A: Service and repair of the front shock absorber starts by removing the front wheel but requires that you separate the front stabilizer link assembly LH through nut removal because a turning ball joint necessitates holding the stud with a 6 mm hexagon wrench. The service technician should loosen the lock nut on the front shock absorber yet avoid complete removal unless performing front shock absorber assembly disassembly with coil spring missing. After loosening these components it is essential to disconnect the front flexible hose No. 1 and speed sensor front LH wire harness before removing the 2 lower nuts and bolts and 3 upper nuts from the front shock absorber with coil spring. Secure the front shock absorber with coil spring in a vise using a double nutted bolt at the bottom, then compress the front coil spring LH using Special Service Tool: 09727-30021 (09727-00010, 09727-00021) and remove the front suspension support sub-assembly LH, front suspension support bearing LH, front coil spring seat upper LH, front coil spring insulator upper LH, front coil spring LH, front spring bumper LH, and front coil spring insulator lower LH from the shock absorber assembly front LH. The shock absorber assembly front LH needs inspection through at least 4 motions of rod compression and extension while checking for unusual resistance or noise; replace if any issues occur. The installation requires placing front coil spring insulator lower LH onto the shock absorber assembly front LH before attaching front spring bumper LH to the piston rod. After repeating front coil spring LH compression through the same Special Service Tool use, install front coil spring LH by checking if the lower end fits within the spring insulator lower LH gap. First install the front coil insulator upper LH and front coil spring seat upper LH oriented with their marks visible outward. Next add a new front suspension support bearing LH while installing the front suspension support sub-assembly LH. This process requires a temporary lock nut tightening followed by gradual removal of the Special Service Tool to drop the coil spring. Install the front shock absorber with coil spring by securing its upper side with three nuts at 80 Nm torque and after installing two lower side bolts and nuts at 230 Nm torque proceed with front flexible hose No.1 and speed sensor wire harness front LH installation at 19 Nm torque and lastly tighten the lock nut to 49 Nm torque. The mechanics should first install the front wheel at 103 Nm torque before tightening the front stabilizer link assembly LH and its nut to 74 Nm. The installation process demands front wheel alignment check-up and re-adjustment. Extending the shock absorber rod before drilling a hole into the cylinder allows gas discharge from inside but necessary safety equipment must be used because metal shards exist and the colorless, odorless, nonpoisonous gas poses risks.
