×
ToyotaParts- Hello
- Login or Register
- Quick Links
- Live Chat
- Track Order
- Parts Availability
- RMA
- Help Center
- Contact Us
- Shop for
- Toyota Parts
- Scion Parts
My Garage
My Account
Cart
OEM 2007 Toyota Avalon Shock Absorber
Suspension Shock Absorber- Select Vehicle by Model
- Select Vehicle by VIN
Select Vehicle by Model
orMake
Model
Year
Select Vehicle by VIN
For the most accurate results, select vehicle by your VIN (Vehicle Identification Number).
8 Shock Absorbers found

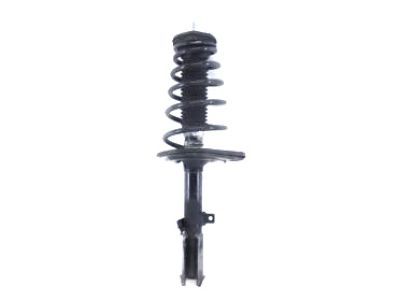
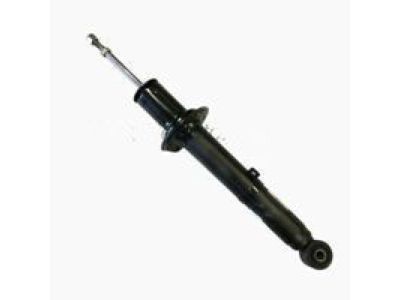
2007 Toyota Avalon Strut, Rear Driver Side
Part Number: 48540-09660$144.40 MSRP: $204.41You Save: $60.01 (30%)Ships in 1-3 Business DaysProduct Specifications- Other Name: Absorber Assembly, Shock; Rear Left Suspension Strut; Complete Strut Kit; Shock Absorber; Absorber Assembly, Shock, Rear Driver Side
- Manufacturer Note: MARK 48540-06330
- Position: Rear Driver Side
- Replaces: 48540-39745
- Part Name Code: 48540
- Item Weight: 15.30 Pounds
- Item Dimensions: 32.9 x 21.0 x 15.3 inches
- Condition: New
- Fitment Type: Direct Replacement
- SKU: 48540-09660
- Warranty: This genuine part is guaranteed by Toyota's factory warranty.

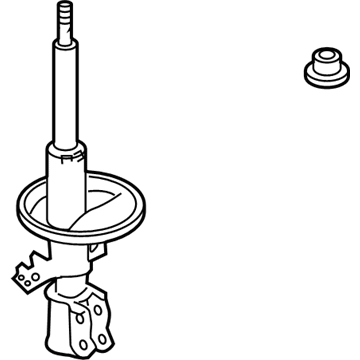
2007 Toyota Avalon Strut, Rear Driver Side
Part Number: 48540-09590$167.66 MSRP: $237.34You Save: $69.68 (30%)Ships in 1-3 Business DaysProduct Specifications- Other Name: Absorber Assembly, Shock; Rear Left Suspension Strut; Complete Strut Kit; Shock Absorber; Absorber Assembly, Shock, Rear Driver Side
- Manufacturer Note: MARK 48540-07110,SPORTS PACKAGE
- Position: Rear Driver Side
- Part Name Code: 48540
- Item Weight: 6.90 Pounds
- Item Dimensions: 26.1 x 6.6 x 5.8 inches
- Condition: New
- Fitment Type: Direct Replacement
- SKU: 48540-09590
- Warranty: This genuine part is guaranteed by Toyota's factory warranty.

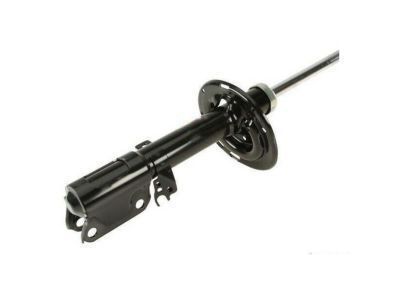
2007 Toyota Avalon Strut, Rear Driver Side
Part Number: 48540-09860$159.67 MSRP: $226.04You Save: $66.37 (30%)Ships in 1-3 Business DaysProduct Specifications- Other Name: Absorber Set, Shock; Rear Left Suspension Strut; Strut Assembly Kit; Complete Strut; Shock Absorber; Absorber Assembly, Shock, Rear Driver Side
- Manufacturer Note: MARK 48540-07112,SPORTS PACKAGE
- Position: Rear Driver Side
- Replaces: 48540-09720
- Part Name Code: 48540
- Item Weight: 7.10 Pounds
- Item Dimensions: 26.4 x 6.8 x 5.7 inches
- Condition: New
- Fitment Type: Direct Replacement
- SKU: 48540-09860
- Warranty: This genuine part is guaranteed by Toyota's factory warranty.
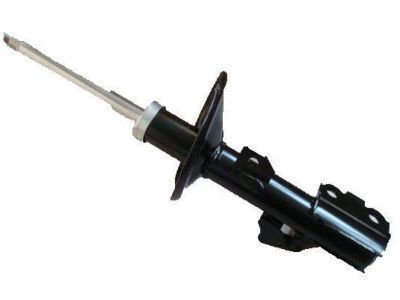
2007 Toyota Avalon Strut, Rear Driver Side
Part Number: 48540-80013$147.57 MSRP: $208.90You Save: $61.33 (30%)Ships in 1-3 Business DaysProduct Specifications- Other Name: Absorber Set, Shock; Rear Left Suspension Strut; Strut Assembly Kit; Complete Strut; Shock Absorber; Absorber Assembly, Shock, Rear Driver Side
- Manufacturer Note: MARK 48540-07150,SPORTS PACKAGE
- Position: Rear Driver Side
- Replaces: 48540-09830
- Part Name Code: 48540
- Item Weight: 6.80 Pounds
- Item Dimensions: 26.9 x 6.6 x 5.7 inches
- Condition: New
- Fitment Type: Direct Replacement
- SKU: 48540-80013
- Warranty: This genuine part is guaranteed by Toyota's factory warranty.
2007 Toyota Avalon Strut, Rear Passenger Side
Part Number: 48530-80530$137.82 MSRP: $195.10You Save: $57.28 (30%)Ships in 1-3 Business DaysProduct Specifications- Other Name: Absorber Set, Shock; Rear Right Suspension Strut; Strut Assembly Kit; Complete Strut Kit; Shock Absorber; Absorber Assembly, Shock, Rear Passenger Side
- Manufacturer Note: MARK 48530-07130,SPORTS PACKAGE
- Position: Rear Passenger Side
- Replaces: 48530-09P50, 48530-09L60
- Part Name Code: 48530
- Item Weight: 7.10 Pounds
- Item Dimensions: 26.6 x 6.6 x 5.8 inches
- Condition: New
- Fitment Type: Direct Replacement
- SKU: 48530-80530
- Warranty: This genuine part is guaranteed by Toyota's factory warranty.
2007 Toyota Avalon Strut, Rear Driver Side
Part Number: 48540-80012$149.57 MSRP: $211.73You Save: $62.16 (30%)Ships in 1-3 Business DaysProduct Specifications- Other Name: Absorber Set, Shock; Rear Left Suspension Strut; Strut Assembly Kit; Complete Strut; Shock Absorber; Absorber Assembly, Shock, Rear Driver Side
- Manufacturer Note: MARK 48540-07140
- Position: Rear Driver Side
- Replaces: 48540-09820
- Part Name Code: 48540
- Item Weight: 12.80 Pounds
- Item Dimensions: 26.4 x 6.7 x 5.7 inches
- Condition: New
- Fitment Type: Direct Replacement
- SKU: 48540-80012
- Warranty: This genuine part is guaranteed by Toyota's factory warranty.
2007 Toyota Avalon Strut, Rear Passenger Side
Part Number: 48530-80529$151.68 MSRP: $214.72You Save: $63.04 (30%)Ships in 1-3 Business DaysProduct Specifications- Other Name: Absorber Set, Shock; Rear Right Suspension Strut; Strut Assembly Kit; Complete Strut Kit; Shock Absorber; Absorber Assembly, Shock, Rear Passenger Side
- Manufacturer Note: MARK 48530-07120
- Position: Rear Passenger Side
- Replaces: 48530-09L50, 48530-09P40
- Part Name Code: 48530
- Item Weight: 1.40 Pounds
- Item Dimensions: 26.1 x 6.6 x 5.8 inches
- Condition: New
- Fitment Type: Direct Replacement
- SKU: 48530-80529
- Warranty: This genuine part is guaranteed by Toyota's factory warranty.
 Product Specifications
- Other Name: Absorber Set, Shock; Rear Left Suspension Strut; Strut Assembly Kit; Complete Strut; Shock Absorber; Absorber Assembly, Shock, Rear Driver Side
- Manufacturer Note: MARK 48540-07102
- Position: Rear Driver Side
- Replaces: 48540-09710
- Part Name Code: 48540
- Item Weight: 7.00 Pounds
- Item Dimensions: 26.6 x 6.8 x 5.7 inches
- Condition: New
- Fitment Type: Direct Replacement
- SKU: 48540-09850
- Warranty: This genuine part is guaranteed by Toyota's factory warranty.
2007 Toyota Avalon Shock Absorber
Looking for affordable OEM 2007 Toyota Avalon Shock Absorber? Explore our comprehensive catalogue of genuine 2007 Toyota Avalon Shock Absorber. All our parts are covered by the manufacturer's warranty. Plus, our straightforward return policy and speedy delivery service ensure an unparalleled shopping experience. We look forward to your visit!
2007 Toyota Avalon Shock Absorber Parts Q&A
- Q: How to service and repair the front shock absorber with coil spring on 2007 Toyota Avalon?A: You can start servicing and repairing the front shock absorber with coil spring once you remove the front wheel then separate the front stabilizer link assembly on the left side. Begin by taking off the nut then disconnect its stud from the shock absorber assembly at the front LH end using a 6mm hexagonal wrench to hold the thread. Separate the front shock absorber with coil spring through three steps. A lock nut requires loosening only if you choose not to disassemble the shock absorber. Then detach the front flexible hose No. 1 and speed sensor front LH wire harness connections, and take off the 2 nuts from the lower side and 3 nuts from the upper side of the shock absorber. Keep all bolts intact during this process. Unscrew the 2 bolts on the lower side while being attentive to prevent the collar from dropping when you encounter a front suspension upper brace center. Secure the front shock absorber unit in the vise through the bottom bracket bolt made of two nuts and compress the left-hand front spring using Special Service Tool 09727-30021 (09727-00010, 09727-00021) without damaging the equipment like an impact wrench. Extract the front suspension support sub-assembly LH plus other related suspension parts from the shock absorber assembly front LH. Check if the front shock absorber feels sticky or emits any sounds when you push and release its rod several times. Replace the shock absorber assembly front if you find any abnormal resistance or noise during testing. Reassemble by first installing the shock absorber assembly front LH with the lower LH insulator and then attaching the front LH spring bumper to the piston rod. The tool must be used once again to compress the front LH coil spring. Insert the front coil spring LH into the gap of its lower support piece before putting on the front coil spring insulator upper LH and front coil spring seat upper LH with the mark facing outward. The new front suspension support bearing LH must be installed last. Place the front suspension support sub-assembly LH mark face outward and tighten a temporary lock nut ahead of releasing the coil spring using the Special Service Tool. Position the spring-coiled front shock absorber first before securing 3 upper nuts at 85 N m torque and mounting 2 bolts plus 2 nuts on the bottom section with a 210 N m torque. Keep the bolts stationary when fastening the nuts. Fully tighten the lock nut to 49 N m while installing the front flexible hose No. 1 and speed sensor front LH using the bolt with torque set at 19 N m. Reinstall the front wheel with proper torque (103 N m) after setting the front stabilizer link assembly LH using the specific nut torque (74 N m). Use necessary protection gear to vent the shock absorber gas by extending the rod then drilling a cylinder hole.
