×
ToyotaParts- Hello
- Login or Register
- Quick Links
- Live Chat
- Track Order
- Parts Availability
- RMA
- Help Center
- Contact Us
- Shop for
- Toyota Parts
- Scion Parts
My Garage
My Account
Cart
OEM 2007 Toyota Avalon Sway Bar Kit
Stabilizer Sway Bar Set- Select Vehicle by Model
- Select Vehicle by VIN
Select Vehicle by Model
orMake
Model
Year
Select Vehicle by VIN
For the most accurate results, select vehicle by your VIN (Vehicle Identification Number).
2 Sway Bar Kits found
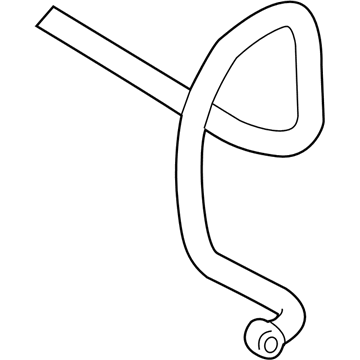
2007 Toyota Avalon Stabilizer Bar, Front
Part Number: 48811-07021$121.25 MSRP: $171.64You Save: $50.39 (30%)Ships in 1-3 Business DaysProduct Specifications- Other Name: Bar, Stabilizer; Suspension Stabilizer Bar, Front; Sway Bar; Bar, Stabilizer, Front
- Position: Front
- Part Name Code: 48811
- Item Weight: 7.80 Pounds
- Item Dimensions: 44.2 x 12.1 x 4.9 inches
- Condition: New
- Fitment Type: Direct Replacement
- SKU: 48811-07021
- Warranty: This genuine part is guaranteed by Toyota's factory warranty.
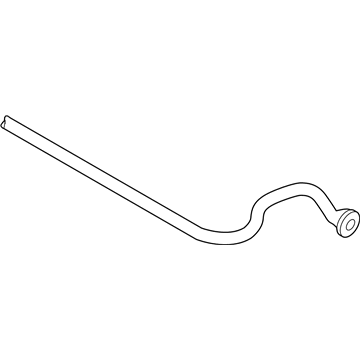
2007 Toyota Avalon Bar, Stabilizer, Rear
Part Number: 48812-06080$80.69 MSRP: $113.26You Save: $32.57 (29%)Ships in 1-3 Business DaysProduct Specifications- Other Name: Sway Bar
- Position: Rear
- Replaces: 48812-33210
- Part Name Code: 48812
- Item Weight: 5.20 Pounds
- Item Dimensions: 41.5 x 9.3 x 3.5 inches
- Condition: New
- Fitment Type: Direct Replacement
- SKU: 48812-06080
- Warranty: This genuine part is guaranteed by Toyota's factory warranty.
2007 Toyota Avalon Sway Bar Kit
Looking for affordable OEM 2007 Toyota Avalon Sway Bar Kit? Explore our comprehensive catalogue of genuine 2007 Toyota Avalon Sway Bar Kit. All our parts are covered by the manufacturer's warranty. Plus, our straightforward return policy and speedy delivery service ensure an unparalleled shopping experience. We look forward to your visit!
2007 Toyota Avalon Sway Bar Kit Parts Q&A
- Q: How to service and repair the rear Sway Bar Kit on 2007 Toyota Avalon?A: The repair process of rear sway bar kit requires starting with center exhaust pipe assembly as well as rear wheel removal. When separating the rear sway bar link assembly LH start by taking off the nut and unconnecting it from the rear sway bar kit. A hexagon wrench (5 mm) should be used to retain the stud when the ball joint rotates with the nut. Perform a duplicate procedure for the rear sway bar link assembly on the right side (RH). The first step in rear sway bar kit servicing requires removal of the two bolts from No. 2 bracket before tackling No. 1 bracket with the same steps. After removing the rear sway bar kit and sway bar bushing the technician should detach the two rear sway bar bushings from the bar. To inspect the rear sway bar link assembly you should place it in a vise with aluminum plates then apply the stud nut before measuring torque using a torque wrench according to specifications between 0.05 to 0.98 N m (0.5 to 10 kgf cm, 0.4 to 8.7 in. lbf); if outside this range replace the assembly. The dust cover inspection should be conducted for signs of cracks and greasiness. The assembly needs replacement when such abnormalities appear. Place two rear sway bar bushings onto the stopper ring of the sway bar kit before installing both No. 2 and No. 1 rear sway bar brackets. Screw the rear sway bar kit to both sides with each side having 2 bolts that must be tightened to 31 N m (316 kgf cm, 23 ft. lbf). Install the nut to the rear sway bar link assembly LH and tighten it to 39 N m (400 kgf cm, 29 ft. lbf) torque then confirm the same process for the RH side. After reinstallation of the center exhaust pipe assembly users must torque the rear wheels to 103 N m (1,050 kgf cm, 76 ft. lbf) limits while performing a leak check of exhaust gases.


