×
ToyotaParts- Hello
- Login or Register
- Quick Links
- Live Chat
- Track Order
- Parts Availability
- RMA
- Help Center
- Contact Us
- Shop for
- Toyota Parts
- Scion Parts
My Garage
My Account
Cart
OEM 2006 Toyota Tacoma Crankshaft Seal
- Select Vehicle by Model
- Select Vehicle by VIN
Select Vehicle by Model
orMake
Model
Year
Select Vehicle by VIN
For the most accurate results, select vehicle by your VIN (Vehicle Identification Number).
4 Crankshaft Seals found

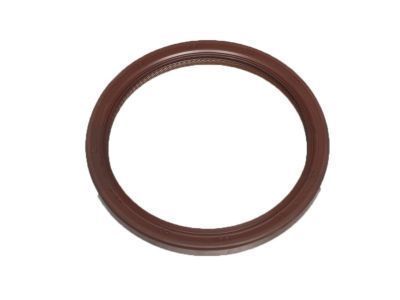
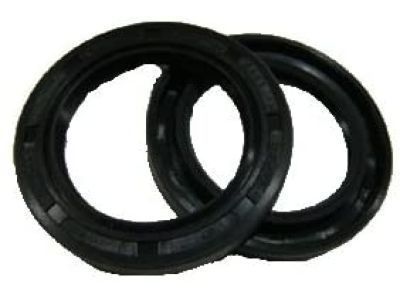
2006 Toyota Tacoma Rear Main Seal
Part Number: 90311-88006$39.78 MSRP: $55.37You Save: $15.59 (29%)Ships in 1-2 Business DaysProduct Specifications- Other Name: Seal, Type T Oil; Engine Crankshaft Seal, Rear; Seal, Engine Rear Oil; Engine Crankshaft Seal; Crankshaft Seal
- Position: Rear
- Replaces: 90311-88004, 90311-88005, 90311-T0058
- Part Name Code: 11381A
- Item Weight: 0.50 Pounds
- Item Dimensions: 5.2 x 5.2 x 0.4 inches
- Condition: New
- Fitment Type: Direct Replacement
- SKU: 90311-88006
- Warranty: This genuine part is guaranteed by Toyota's factory warranty.

2006 Toyota Tacoma Rear Main Seal
Part Number: 90311-A0006$53.88 MSRP: $75.00You Save: $21.12 (29%)Ships in 1-2 Business DaysProduct Specifications- Other Name: Seal, Type T Oil; Engine Crankshaft Seal, Rear; Engine Crankshaft Seal Kit; Crankshaft Seal Kit; Oil Seal Set; Crankshaft Seal; Rear Seal; Seal, Engine Rear Oil; Seal
- Manufacturer Note: (L)
- Replaces: 90311-99010
- Part Name Code: 11381A
- Item Weight: 0.70 Pounds
- Item Dimensions: 5.2 x 5.1 x 0.4 inches
- Condition: New
- Fitment Type: Direct Replacement
- SKU: 90311-A0006
- Warranty: This genuine part is guaranteed by Toyota's factory warranty.

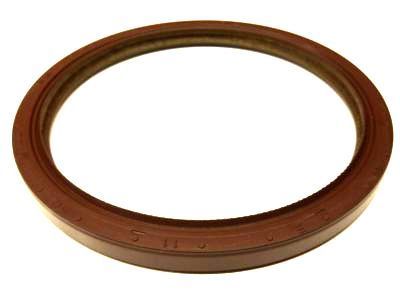
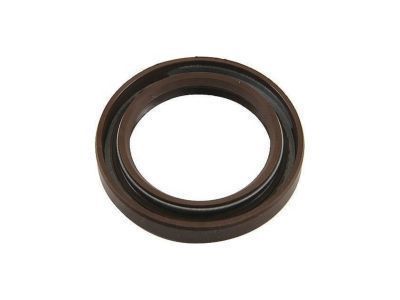
2006 Toyota Tacoma Oil Seal, Front
Part Number: 90311-A0005$19.11 MSRP: $26.60You Save: $7.49 (29%)Ships in 1-3 Business DaysProduct Specifications- Other Name: Seal, Type T Oil; Engine Crankshaft Seal, Front; Timing Cover Gasket; Multi-Purpose Seal; Timing Cover Seal; Crankshaft Seal; Front Seal; Timing Cover Oil Seal; Engine Crankshaft Seal
- Position: Front
- Replaces: 90311-42019, 90311-42007, 90311-42037, 90311-42036
- Part Name Code: 11301C
- Item Weight: 0.50 Pounds
- Item Dimensions: 5.3 x 4.8 x 1.0 inches
- Condition: New
- Fitment Type: Direct Replacement
- SKU: 90311-A0005
- Warranty: This genuine part is guaranteed by Toyota's factory warranty.

2006 Toyota Tacoma Crankshaft Seal, Front
Part Number: 90311-48020$14.21 MSRP: $19.78You Save: $5.57 (29%)Ships in 1-2 Business DaysProduct Specifications- Other Name: Seal, Type T Oil; Engine Crankshaft Seal, Front; Front Crank Seal; Seal, Oil(For Timing Gear Case Or Timing Chain Case); Engine Crankshaft Seal
- Manufacturer Note: NOK
- Position: Front
- Replaces: 90311-48021
- Part Name Code: 11301C
- Item Weight: 0.50 Pounds
- Item Dimensions: 2.4 x 2.3 x 0.4 inches
- Condition: New
- Fitment Type: Direct Replacement
- SKU: 90311-48020
- Warranty: This genuine part is guaranteed by Toyota's factory warranty.
2006 Toyota Tacoma Crankshaft Seal
Looking for affordable OEM 2006 Toyota Tacoma Crankshaft Seal? Explore our comprehensive catalogue of genuine 2006 Toyota Tacoma Crankshaft Seal. All our parts are covered by the manufacturer's warranty. Plus, our straightforward return policy and speedy delivery service ensure an unparalleled shopping experience. We look forward to your visit!
2006 Toyota Tacoma Crankshaft Seal Parts Q&A
- Q: How to Service and Repair a Crankshaft Seal on 2006 Toyota Tacoma?A: The engine rear oil seal repair process starts by taking out the manual transmission unit assembly followed by automatic transmission assembly and clutch cover assembly and clutch disc assembly and then flywheel sub-assembly for manual transmission. Two special service tools 09213-54015 (91651-60855) and 09330-00021 enable bolting the crankshaft pulley and removing the 10 bolts that secure the flywheel. The removal procedure for automatic transmission begins by holding the crankshaft with specified special service tools before extracting the drive plate together with its ring gear sub-assembly as well as all ten bolts, drive plate spacer rear, drive plate, and drive plate spacer front. The procedure starts with engine rear oil seal lip removal through cutter knife cutting then screwdriver tape-wrapping and prying before damage inspection of the crankshaft and smooth finishing of rough areas with 400-grit sandpaper. The installation requires applying a light coat of MP grease to the oil seal lip before using special service tool: 09223-15030, 09950-70010 (09951-07150) with a hammer to drive the new oil seal until it matches the rear oil seal retainer edge. Tapping must be perpendicular to avoid sealing angles and excess grease must be wiped away. Proceed with installing the manual transmission flywheel sub-assembly by using adhesive (Part No. 08833-00070, Three Bond 1324 or equivalent) on 2 or 3 threads of bolts while using special service tools: 09213-54015 (91651-60855) and 09330-00021 to maintain 27 Nm (270 kgf-cm, 20 ft. lbs.) torque on specified bolt sequence and using paint to mark bolts before retightening by 90 degrees. It is necessary to first clean the 10 bolts along with their bolt holes before applying adhesive and then installing the drive plate spacer front, drive plate, ring gear and drive plate rear while using the special service tools to hold the crankshaft with special service tools. After that, torque the bolts uniformly to 74 Nm (755 kgf-cm, 55 ft. lbs.) following the specified sequence. Install the clutch disc assembly using special service tool: 09301-00210 and then install consecutive components which will include the clutch cover assembly, manual transmission unit assembly, and automatic transmission assembly. Finish by inspecting for engine oil leakage.
