×
ToyotaParts- Hello
- Login or Register
- Quick Links
- Live Chat
- Track Order
- Parts Availability
- RMA
- Help Center
- Contact Us
- Shop for
- Toyota Parts
- Scion Parts
My Garage
My Account
Cart
OEM 2003 Toyota Highlander Parking Brake Shoe
Emergency Parking Brake Shoe- Select Vehicle by Model
- Select Vehicle by VIN
Select Vehicle by Model
orMake
Model
Year
Select Vehicle by VIN
For the most accurate results, select vehicle by your VIN (Vehicle Identification Number).
3 Parking Brake Shoes found

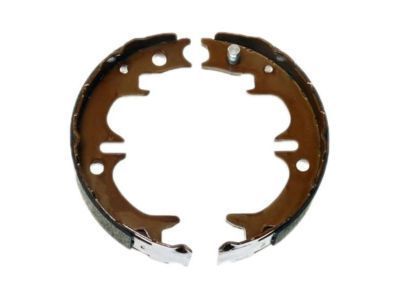
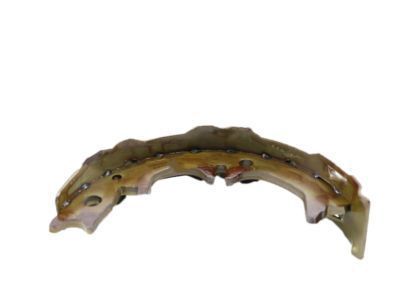
2003 Toyota Highlander Parking Brake, Driver Side
Part Number: 46590-33020$38.59 MSRP: $53.71You Save: $15.12 (29%)Ships in 1-2 Business DaysProduct Specifications- Other Name: Shoe Assembly, Parking Brake; Parking Brake Shoe; Shoes; Shoe Assembly, Parking Brake, Driver Side
- Position: Driver Side
- Replaces: 46590-20060, 46590-07010
- Part Name Code: 46590
- Item Weight: 1.20 Pounds
- Item Dimensions: 13.7 x 5.2 x 2.7 inches
- Condition: New
- Fitment Type: Direct Replacement
- SKU: 46590-33020
- Warranty: This genuine part is guaranteed by Toyota's factory warranty.

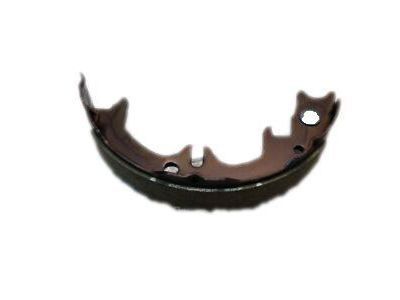
2003 Toyota Highlander Parking Brake, Passenger Side Or Center
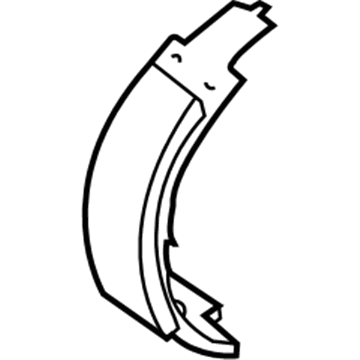
Part Number: 46550-33020$34.64 MSRP: $48.22You Save: $13.58 (29%)Ships in 1-2 Business DaysProduct Specifications- Other Name: Shoe Assembly, Parking Brake; Parking Brake Shoe; Shoes; Shoe Assembly, Parking Brake, Passenger Side Or Center
- Position: Passenger Side Or Center
- Replaces: 46550-07010, 46550-20060
- Part Name Code: 46550
- Item Weight: 1.20 Pounds
- Item Dimensions: 13.6 x 5.1 x 2.7 inches
- Condition: New
- Fitment Type: Direct Replacement
- SKU: 46550-33020
- Warranty: This genuine part is guaranteed by Toyota's factory warranty.

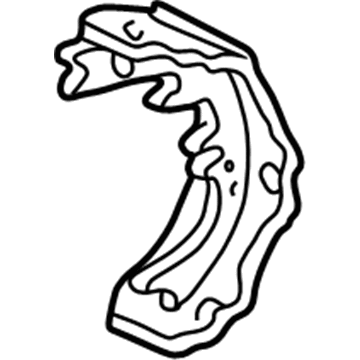
2003 Toyota Highlander Shoe Assembly, Parking Brake, Passenger Side Or Center
Part Number: 46540-20070$34.64 MSRP: $48.22You Save: $13.58 (29%)Ships in 1-2 Business DaysProduct Specifications- Other Name: Shoe Assembly, Parking Brake; Shoe Assembly, Parking Brake, Driver Side; Parking Brake Shoe
- Replaces: 46540-20060, 46540-07010
- Item Weight: 1.10 Pounds
- Item Dimensions: 13.0 x 5.3 x 2.7 inches
- Condition: New
- Fitment Type: Direct Replacement
- SKU: 46540-20070
- Warranty: This genuine part is guaranteed by Toyota's factory warranty.
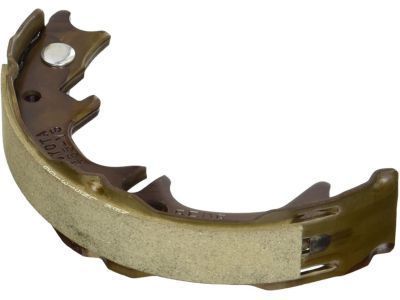
2003 Toyota Highlander Parking Brake Shoe
Looking for affordable OEM 2003 Toyota Highlander Parking Brake Shoe? Explore our comprehensive catalogue of genuine 2003 Toyota Highlander Parking Brake Shoe. All our parts are covered by the manufacturer's warranty. Plus, our straightforward return policy and speedy delivery service ensure an unparalleled shopping experience. We look forward to your visit!
2003 Toyota Highlander Parking Brake Shoe Parts Q&A
- Q: What is the procedure to overhaul the Parking Brake Shoe on 2003 Toyota Highlander?A: The first step for parking brake assembly overhaul requires front wheel removal along with the separation of the rear disc brake caliper assembly LH without breaking the flexible hose connection. The rear disc removal process can begin after releasing the parking brake and marking both disc and axle hub components but difficult removals require wheel adjustment until the wheel rotates easily. Use a brake drum gauge to check the inside diameter of the brake disc which should be within 170 mm (6.69 inch) to 171 mm (6.73 inch) specifications. Use needle-nose pliers to take away both return tension springs before removing the compression spring by pulling out the front shoe. Release the cup claw to detach both the parking brake shoe strut LH and brake shoe while disconnecting the parking brake cable and removing its tension spring and shoe adjuster screw set and two shoe hold-down springs together with four cups and two pins. To remove the C-washer and shim together with shoe lever from the parking brake shoe you must use a screwdriver. First measure the shoe lining thickness using a ruler to confirm it exceeds 1.0 mm (0.039 inch) and then check for severe wear if the thickness is minimal. Replacement should be done for both cases. Verify brake disc and shoe lining contact by rubbing brake disc with chalk and grinding shoe lining according to need. High-temperature grease should be applied on the shoe side of the backing plate before combining the new C-washer with a shim and parking brake shoe and shoe lever. A feeler gauge should measure the clearance to less than 0.35 mm (0.0138 inch) before replacing the shim if necessary. Begin by adding grease to the adjusting bolt before you install successively the shoe adjusting screw set with tension spring and pins and cups and shoe hold-down springs. Next, attach the parking brake cable to the shoe lever and finally install both front and rear parking brake shoes. Install the left-hand parking brake shoe strut using needle-nose pliers in combination with its compression spring and return tension springs. Check the complete part installation while confirming the lack of oil or grease contamination on the friction contact points. The shoe adjuster controls the parking brake shoe clearance through this process: Install temporary hub nuts, remove the hole plug and stretch the shoes until disc lock then relax the adjuster till disk rotates freely, reaching a notched position of 8. The hole plug needs installation only after confirming the brakes show no resistance. The installation requires connecting the disc caliper assembly LH by tightening two bolts to 47 Nm (480 kgf-cm, 35 ft. lbs.) before restoring the rear wheel with proper torque at 103 Nm (1,050 kgf-cm, 76 ft. lbs.) and finalizing the pedal travel adjustment of the parking brake.
