×
ToyotaParts- Hello
- Login or Register
- Quick Links
- Live Chat
- Track Order
- Parts Availability
- RMA
- Help Center
- Contact Us
- Shop for
- Toyota Parts
- Scion Parts
My Garage
My Account
Cart
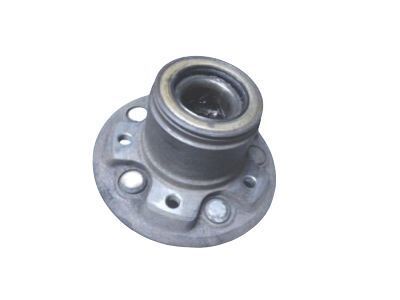
OEM 2000 Toyota Tacoma Wheel Bearing
Hub Bearing- Select Vehicle by Model
- Select Vehicle by VIN
Select Vehicle by Model
orMake
Model
Year
Select Vehicle by VIN
For the most accurate results, select vehicle by your VIN (Vehicle Identification Number).
8 Wheel Bearings found

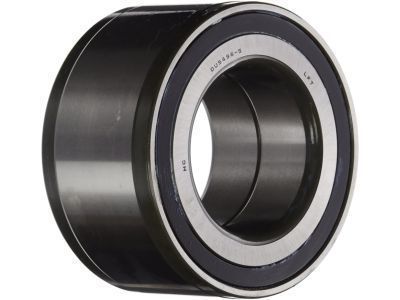
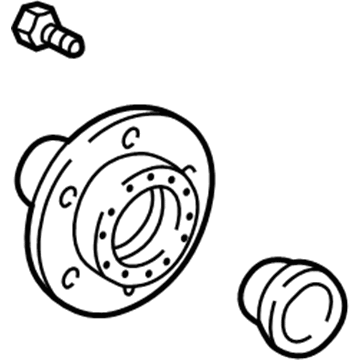
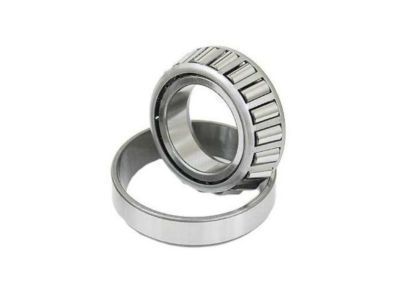
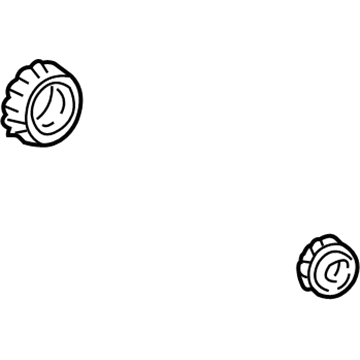
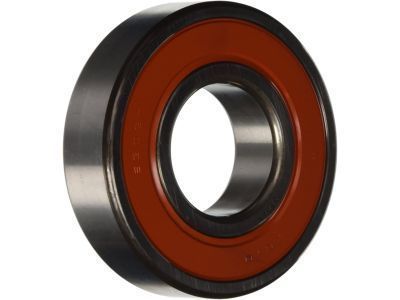
2000 Toyota Tacoma Wheel Bearing
Part Number: 90369-54002$114.58 MSRP: $160.83You Save: $46.25 (29%)Ships in 1-3 Business DaysProduct Specifications- Other Name: Bearing; Wheel Bearing, Front; Axle Bearing; Front Wheel Bearing; Bearing (For Front Axle Hub Inner Passenger Side); Bearing (For Front Axle Hub Inner Driver Side)
- Replaces: 90080-36071, 90369-54001
- Item Weight: 3.70 Pounds
- Item Dimensions: 5.8 x 6.0 x 2.6 inches
- Condition: New
- Fitment Type: Direct Replacement
- SKU: 90369-54002
- Warranty: This genuine part is guaranteed by Toyota's factory warranty.

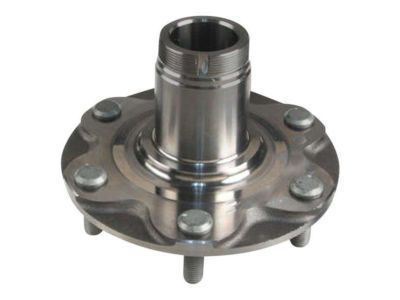
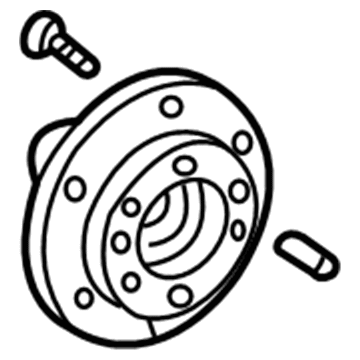
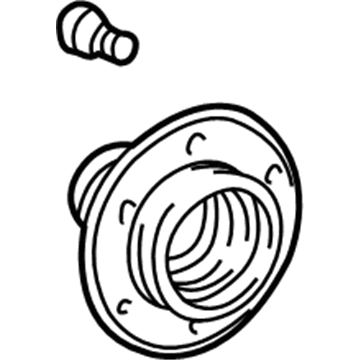
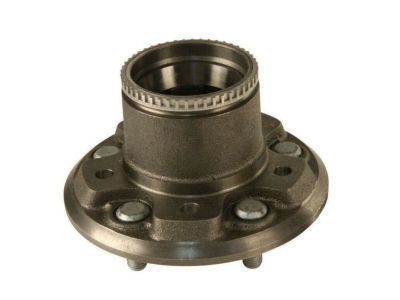
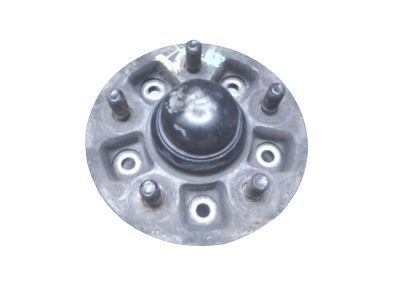
2000 Toyota Tacoma Hub Assembly, Front
Part Number: 43502-35110$242.31 MSRP: $345.96You Save: $103.65 (30%)Ships in 1 Business DayProduct Specifications- Other Name: Hub Sub-Assembly, Front Axle; Wheel Hub, Front; Wheel Hub Repair Kit; Front Hub; Hub; Hub Sub-Assembly, Front Axle, Passenger Side; Hub Sub-Assembly, Front Axle, Driver Side; Wheel Hub
- Position: Front
- Replaces: 43502-04050, 43502-0C010
- Item Weight: 9.70 Pounds
- Item Dimensions: 8.1 x 8.3 x 8.2 inches
- Condition: New
- Fitment Type: Direct Replacement
- SKU: 43502-35110
- Warranty: This genuine part is guaranteed by Toyota's factory warranty.

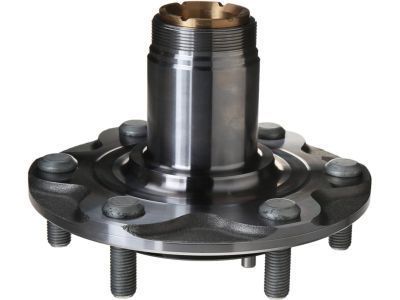
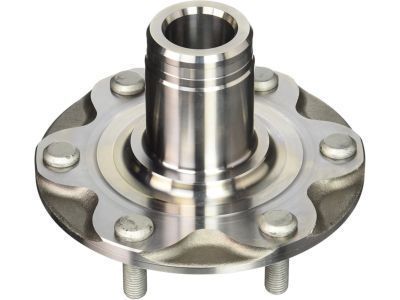
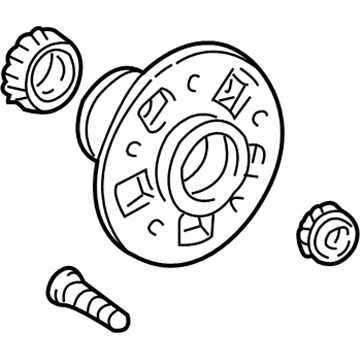
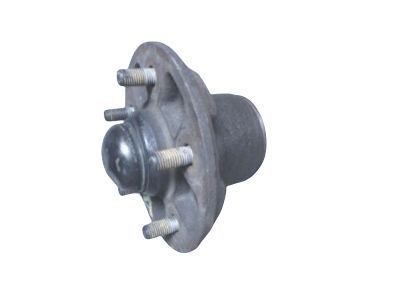
2000 Toyota Tacoma Hub Assembly, Front
Part Number: 43502-35160$227.63 MSRP: $325.00You Save: $97.37 (30%)Ships in 1-2 Business DaysProduct Specifications- Other Name: Hub Sub-Assembly, Front Axle; Wheel Hub, Front; Wheel Hub Repair Kit; Front Hub; Hub Sub-Assembly, Front Axle, Passenger Side; Hub Sub-Assembly, Front Axle, Driver Side; Wheel Hub
- Manufacturer Note: (J)
- Position: Front
- Replaces: 43502-04030
- Item Weight: 20.60 Pounds
- Item Dimensions: 6.8 x 6.3 x 4.7 inches
- Condition: New
- Fitment Type: Direct Replacement
- SKU: 43502-35160
- Warranty: This genuine part is guaranteed by Toyota's factory warranty.

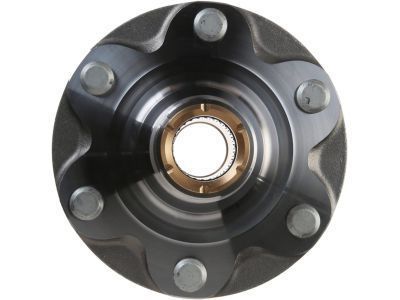
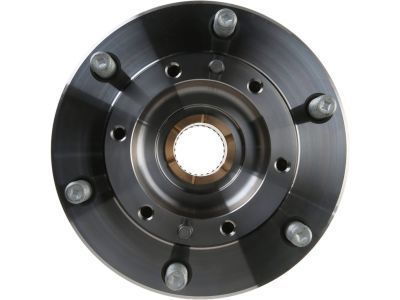
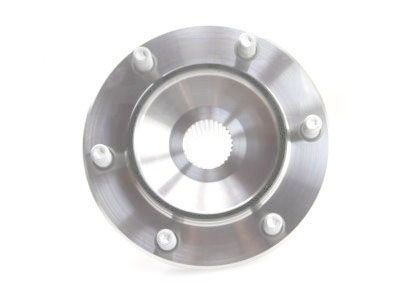
2000 Toyota Tacoma Hub Assembly, Front
Part Number: 43502-35170$224.37 MSRP: $320.34You Save: $95.97 (30%)Ships in 1-2 Business DaysProduct Specifications- Other Name: Hub Sub-Assembly, Front Axle; Wheel Hub, Front; Wheel Hub Repair Kit; Front Hub; Hub Sub-Assembly, Front Axle, Passenger Side; Hub Sub-Assembly, Front Axle, Driver Side; Wheel Hub
- Position: Front
- Replaces: 43502-04040
- Item Weight: 8.20 Pounds
- Item Dimensions: 6.9 x 6.5 x 4.8 inches
- Condition: New
- Fitment Type: Direct Replacement
- SKU: 43502-35170
- Warranty: This genuine part is guaranteed by Toyota's factory warranty.

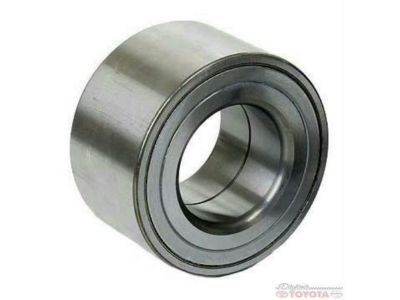
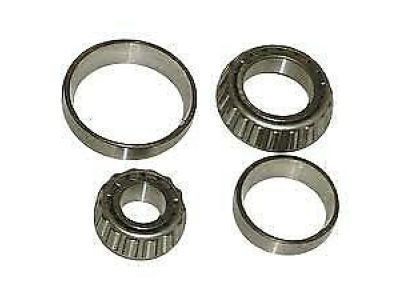
2000 Toyota Tacoma Front Wheel Bearing
Part Number: 04421-35020$106.64 MSRP: $149.69You Save: $43.05 (29%)Ships in 1-3 Business DaysProduct Specifications- Other Name: Bearing Kit, Front Axle; Wheel Bearing, Front; Multi-Purpose Bearing; Wheel Hub Repair Kit; Axle Bearing; Wheel Hub; Front Hub Bearing; Bearing Kit for Front Axle Shaft, Passenger & Driver Side; Wheel Bearing
- Position: Front
- Replaces: 90368-21004, 90368-34016
- Item Weight: 1.90 Pounds
- Item Dimensions: 4.4 x 4.1 x 2.6 inches
- Condition: New
- Fitment Type: Direct Replacement
- SKU: 04421-35020
- Warranty: This genuine part is guaranteed by Toyota's factory warranty.
 Product Specifications
- Other Name: Hub Sub-Assembly, Front Axle; Wheel Hub, Front; Wheel Hub Repair Kit; Hub; Hub Sub-Assembly, Front Axle, Passenger Side; Hub Sub-Assembly, Front Axle, Driver Side; Wheel Hub
- Manufacturer Note: W(ABS)
- Position: Front
- Item Weight: 9.40 Pounds
- Item Dimensions: 12.4 x 12.1 x 8.4 inches
- Condition: New
- Fitment Type: Direct Replacement
- SKU: 43502-09020
- Warranty: This genuine part is guaranteed by Toyota's factory warranty.
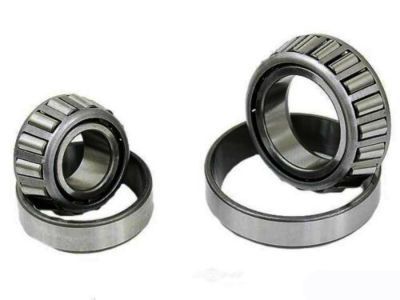
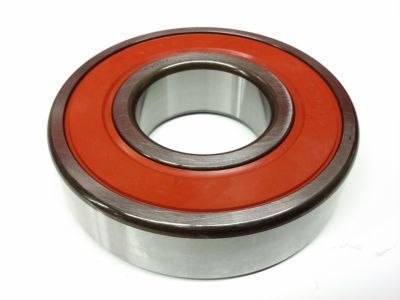
 Product Specifications
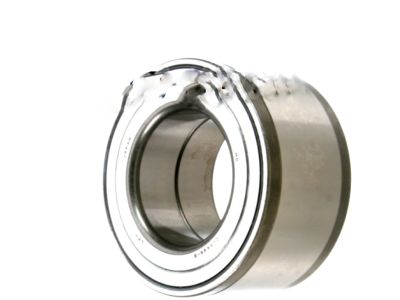
- Other Name: Bearing, Ball, 40, 90, K; Drive Axle Shaft Bearing, Rear; Wheel Bearing; Axle Shaft Bearing; Bearing
- Position: Rear
- Replaces: 97144-06308, 97114-06308, 97144-06308-85, 90363-40020
- Item Weight: 1.80 Pounds
- Item Dimensions: 3.9 x 4.0 x 2.1 inches
- Condition: New
- SKU: 90363-40020-77
- Warranty: This genuine part is guaranteed by Toyota's factory warranty.
 Product Specifications
- Other Name: Hub Sub-Assembly, Front Axle; Wheel Hub, Front; Wheel Hub Repair Kit; Hub; Hub Sub-Assembly, Front Axle, Passenger Side; Hub Sub-Assembly, Front Axle, Driver Side; Wheel Hub
- Position: Front
- Item Weight: 9.40 Pounds
- Item Dimensions: 9.4 x 9.5 x 7.2 inches
- Condition: New
- Fitment Type: Direct Replacement
- SKU: 43502-09010
- Warranty: This genuine part is guaranteed by Toyota's factory warranty.
2000 Toyota Tacoma Wheel Bearing
Looking for affordable OEM 2000 Toyota Tacoma Wheel Bearing? Explore our comprehensive catalogue of genuine 2000 Toyota Tacoma Wheel Bearing. All our parts are covered by the manufacturer's warranty. Plus, our straightforward return policy and speedy delivery service ensure an unparalleled shopping experience. We look forward to your visit!
2000 Toyota Tacoma Wheel Bearing Parts Q&A
- Q: How to Service and Repair a Wheel Bearing on 2000 Toyota Tacoma?A: The wheel bearing servicing involves cleaning both components before inspection for signs of wear and damage. Special Service Tool: 09527-17011 together with a brass bar and a hammer allows users to remove bearing outer races while protecting the ABS speed sensor rotor from damage. Service repair of the wheel bearing requires the use of Special Service Tool: 09527-17011, 09950-60010 (09951-00640), 09950-70010 (09951-07150) and a press for installing a fresh bearing outer race inside. Application of Special Service Tool: 09527-17011, 09950-60010 (09951-00640), 09950-70010 (09951-07150) and press is needed to install the new outside bearing race after verifying the ABS speed sensor rotor remains undamaged.
