×
ToyotaParts- Hello
- Login or Register
- Quick Links
- Live Chat
- Track Order
- Parts Availability
- RMA
- Help Center
- Contact Us
- Shop for
- Toyota Parts
- Scion Parts
My Garage
My Account
Cart
OEM 2009 Scion xD Ignition Coil
Ignition Coil Resistor- Select Vehicle by Model
- Select Vehicle by VIN
Select Vehicle by Model
orMake
Model
Year
Select Vehicle by VIN
For the most accurate results, select vehicle by your VIN (Vehicle Identification Number).
1 Ignition Coil found

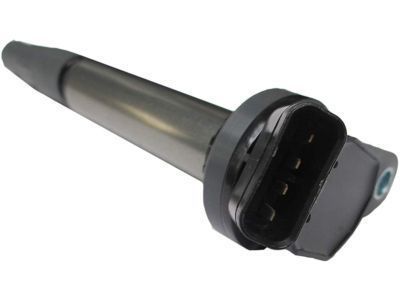
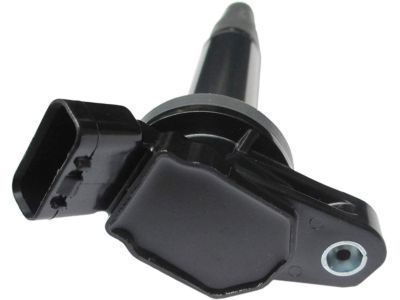
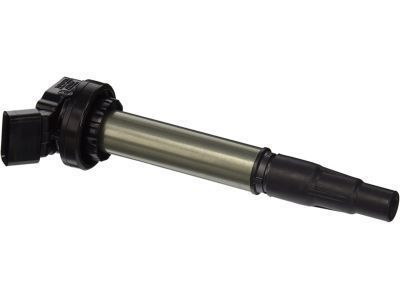
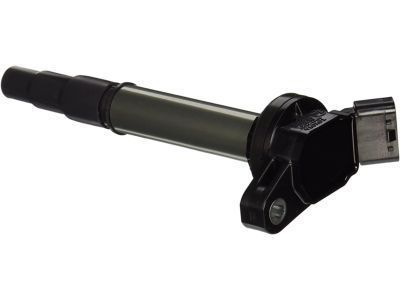
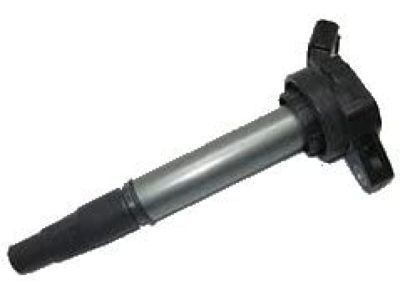
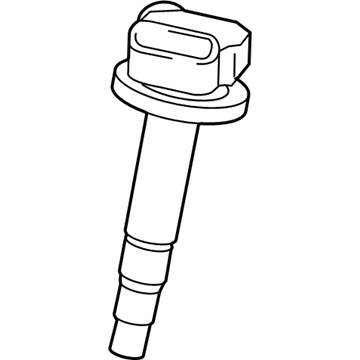
2009 Scion xD Ignition Coil
Part Number: 90919-02258$102.61 MSRP: $144.03You Save: $41.42 (29%)Ships in 1-3 Business DaysProduct Specifications- Other Name: Coil, Ignition; Direct Ignition Coil OE Quality; Ignition Coil Kit; Set; Coil Assembly, Ignition
- Replaces: 90919-02252
- Part Name Code: 19500
- Item Weight: 1.30 Pounds
- Item Dimensions: 6.9 x 4.3 x 2.8 inches
- Condition: New
- Fitment Type: Direct Replacement
- Require Quantity: 4
- SKU: 90919-02258
- Warranty: This genuine part is guaranteed by Toyota's factory warranty.
2009 Scion xD Ignition Coil
Looking for affordable OEM 2009 Scion xD Ignition Coil? Explore our comprehensive catalogue of genuine 2009 Scion xD Ignition Coil. All our parts are covered by the manufacturer's warranty. Plus, our straightforward return policy and speedy delivery service ensure an unparalleled shopping experience. We look forward to your visit!
2009 Scion xD Ignition Coil Parts Q&A
- Q: How to service the ignition coil and spark plug on 2009 Scion xD?A: The 2ZR-FE engine servicing process for an ignition coil and spark plug starts with removing the No. 2 cylinder head cover by first lifting the rear to detach 2 fittings then lifting the front to detach the remaining 2 fittings and fully extracting the cover while keeping the rubber grommets attached to it. Transfer any present grommets located on bolts to the cover. Move on by disconnecting the camshaft timing oil control valve connector and 4 ignition coil connectors and then unfastening all 4 bolts and ignition coils. Finally, remove the 4 spark plugs.
