×
ToyotaParts- Hello
- Login or Register
- Quick Links
- Live Chat
- Track Order
- Parts Availability
- RMA
- Help Center
- Contact Us
- Shop for
- Toyota Parts
- Scion Parts
My Garage
My Account
Cart
OEM 2007 Toyota Yaris Exhaust Pipe
Exhaust Tail Pipe- Select Vehicle by Model
- Select Vehicle by VIN
Select Vehicle by Model
orMake
Model
Year
Select Vehicle by VIN
For the most accurate results, select vehicle by your VIN (Vehicle Identification Number).
4 Exhaust Pipes found

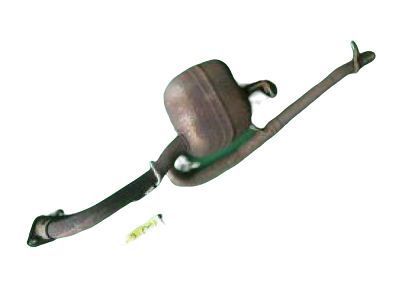
2007 Toyota Yaris Muffler & Pipe
Part Number: 17430-21642$234.62 MSRP: $306.82You Save: $72.20 (24%)Ships in 1-3 Business DaysProduct Specifications- Other Name: Pipe Assembly, Exhaust Tail; Exhaust Muffler; Direct-Fit Exhaust; Exhaust System Kit; Exhaust Pipe; Tail Pipe; Muffler; Pipe Assembly, Exhaust, Tail
- Replaces: 17430-21640, 17430-21641
- Part Name Code: 17430
- Item Weight: 26.80 Pounds
- Item Dimensions: 52.0 x 18.7 x 10.4 inches
- Condition: New
- Fitment Type: Direct Replacement
- SKU: 17430-21642
- Warranty: This genuine part is guaranteed by Toyota's factory warranty.
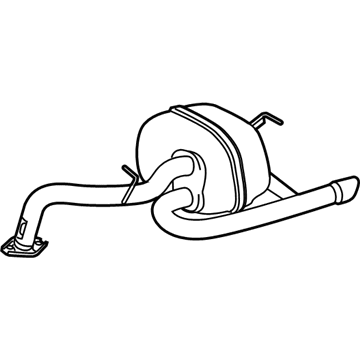
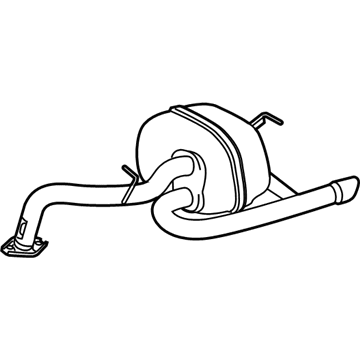
2007 Toyota Yaris Muffler & Pipe
Part Number: 17430-21502$242.31 MSRP: $316.87You Save: $74.56 (24%)Ships in 1-3 Business DaysProduct Specifications- Other Name: Pipe Assembly, Exhaust Tail; Muffler; Direct-Fit Exhaust; System Kit; Pipe; Muffler; Pipe Assembly, Exhaust, Tail
- Replaces: 17430-21500, 17430-21501
- Part Name Code: 17430
- Item Weight: 10.90 Pounds
- Item Dimensions: 44.0 x 12.7 x 9.2 inches
- Condition: New
- Fitment Type: Direct Replacement
- SKU: 17430-21502
- Warranty: This genuine part is guaranteed by Toyota's factory warranty.
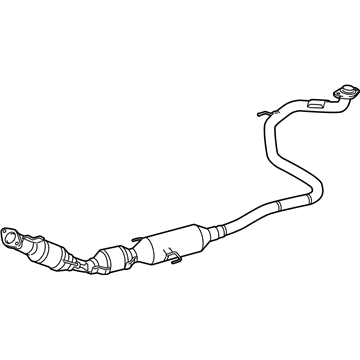
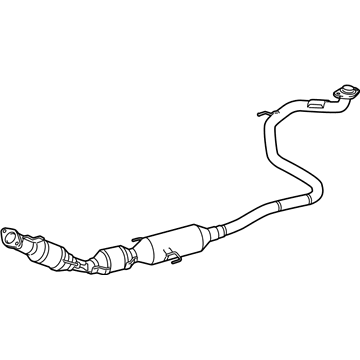
2007 Toyota Yaris Front Pipe
Part Number: 17410-21541$1339.63 MSRP: $1798.17You Save: $458.54 (26%)Ships in 1-3 Business DaysProduct Specifications- Other Name: Pipe Assembly, Exhaust; Exhaust Intermediate Pipe, Front; Exhaust Pipe; Pipe Assembly, Exhaust, Front
- Position: Front
- Replaces: 17410-21540
- Part Name Code: 17410
- Item Weight: 11.40 Pounds
- Item Dimensions: 47.2 x 18.4 x 9.4 inches
- Condition: New
- Fitment Type: Direct Replacement
- SKU: 17410-21541
- Warranty: This genuine part is guaranteed by Toyota's factory warranty.
2007 Toyota Yaris Front Pipe
Part Number: 17410-21681$1142.93 MSRP: $1534.15You Save: $391.22 (26%)Ships in 1-3 Business DaysProduct Specifications- Other Name: Pipe Assembly, Exhaust; Exhaust Intermediate Pipe, Front; Exhaust Pipe; Pipe Assembly, Exhaust, Front
- Position: Front
- Replaces: 17410-21680
- Part Name Code: 17410
- Item Weight: 11.70 Pounds
- Item Dimensions: 48.6 x 17.7 x 9.3 inches
- Condition: New
- Fitment Type: Direct Replacement
- SKU: 17410-21681
- Warranty: This genuine part is guaranteed by Toyota's factory warranty.
2007 Toyota Yaris Exhaust Pipe
Looking for affordable OEM 2007 Toyota Yaris Exhaust Pipe? Explore our comprehensive catalogue of genuine 2007 Toyota Yaris Exhaust Pipe. All our parts are covered by the manufacturer's warranty. Plus, our straightforward return policy and speedy delivery service ensure an unparalleled shopping experience. We look forward to your visit!
2007 Toyota Yaris Exhaust Pipe Parts Q&A
- Q: How to service and repair the exhaust pipe on 2007 Toyota Yaris?A: The maintenance process of exhaust pipe repair begins with removing the cable from the negative battery terminal. The instrument panel finish panel along with the shift lever knob sub-assembly (for Manual Transaxle) and the upper console panel sub-assembly and console upper rear panel sub-assembly should be removed from the Sedan model. Service the hatchbacks by starting with shifting hole cover sub-assembly removal and proceeding to console box rear cover and console box carpet removal then finally remove the rear console box assembly. Following that step remove the lower part of the instrument pad on the left side of the LH area (for Sedan) and the heated oxygen sensor. The exhaust pipe assembly front can be removed by unbolting 4 pieces accompanied by 4 compression springs and then extracting exhaust pipe support No. 4 along with both exhaust pipe gaskets. To replace the exhaust tail pipe assembly first remove either the 2 No. 4 exhaust pipe supports of the Hatchback variant or 3 No. 4 exhaust pipe supports of the Sedan model. The installation process should begin with the tail section of the exhaust pipe assembly by placing the correct number of No. 4 exhaust pipe supports and attaching the exhaust tail pipe assembly while double-checking the No. 4 supports. Before proceeding with installation of the exhaust pipe assembly front users should check compression spring lengths with vernier calipers after which they need to replace any components not matching minimum specifications of 40.5 mm (1.594 in.) for front side and 38.5 mm (1.516 in.) for rear side. A plastic hammer together with a wooden block allows you to seat a new exhaust pipe gasket properly against the exhaust manifold while also avoiding reuse and damage to the installation. After installing 3 No. 4 exhaust pipe supports the technician must connect the exhaust front pipe assembly with new exhaust pipe gasket, 4 compression springs, and 4 bolts torqued to 43 N m (439 kgf cm, 32 ft. lbf). Verify the state of the No. 4 exhaust pipe supports for a second time. Install the heated oxygen sensor, the instrument pad lower LH (for Sedan), the rear console box assembly, the console box carpet, the console box rear cover (for Hatchback), the console upper rear panel sub-assembly (for Sedan), the shifting hole cover sub-assembly (for Hatchback Manual Transaxle), the upper console panel sub-assembly (for Sedan), the shift lever knob sub-assembly (for Manual Transaxle), the instrument panel finish panel end LH (for Sedan), and the instrument panel finish panel lower center (for Sedan). The negative cable connection should be completed last by tethering it to the battery terminal while applying 5.4 N m torque (55 kgf cm, 48 in. lbf) and performing an exhaust gas leakage inspection.
