×
ToyotaParts- Hello
- Login or Register
- Quick Links
- Live Chat
- Track Order
- Parts Availability
- RMA
- Help Center
- Contact Us
- Shop for
- Toyota Parts
- Scion Parts
My Garage
My Account
Cart
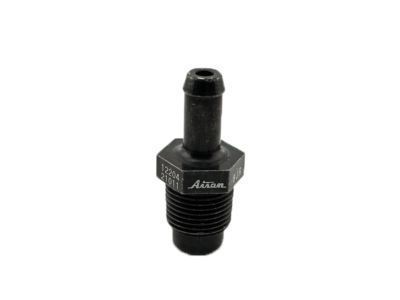
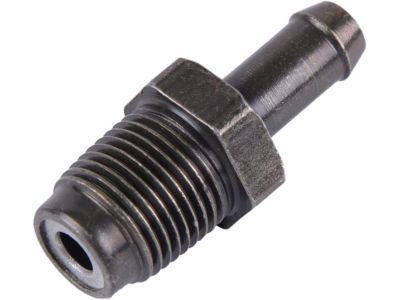
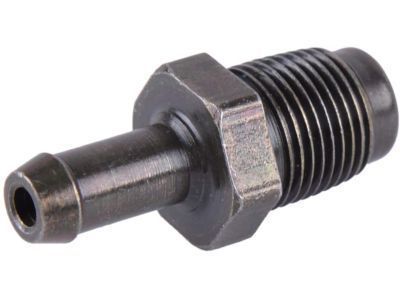
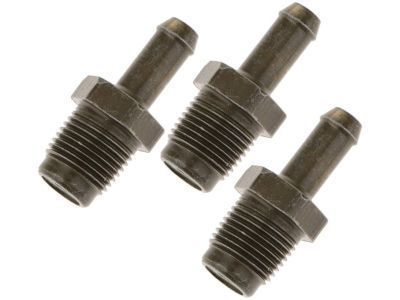
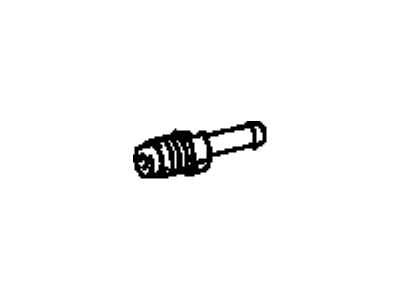
OEM 2007 Toyota Yaris PCV Valve
Position Crank Ventilation Valve- Select Vehicle by Model
- Select Vehicle by VIN
Select Vehicle by Model
orMake
Model
Year
Select Vehicle by VIN
For the most accurate results, select vehicle by your VIN (Vehicle Identification Number).
1 PCV Valve found

2007 Toyota Yaris PCV Valve
Part Number: 12204-21011$13.61 MSRP: $18.95You Save: $5.34 (29%)Ships in 1-3 Business DaysProduct Specifications- Other Name: Valve Sub-Assembly, Vent; Crankcase Vent Valve; Valve Sub-Assembly, Ventilation
- Manufacturer Note: MARK 12204-21011
- Replaces: 12204-21010
- Part Name Code: 12204
- Item Weight: 0.50 Pounds
- Item Dimensions: 2.1 x 1.1 x 0.9 inches
- Condition: New
- Fitment Type: Direct Replacement
- SKU: 12204-21011
- Warranty: This genuine part is guaranteed by Toyota's factory warranty.
2007 Toyota Yaris PCV Valve
Looking for affordable OEM 2007 Toyota Yaris PCV Valve? Explore our comprehensive catalogue of genuine 2007 Toyota Yaris PCV Valve. All our parts are covered by the manufacturer's warranty. Plus, our straightforward return policy and speedy delivery service ensure an unparalleled shopping experience. We look forward to your visit!
2007 Toyota Yaris PCV Valve Parts Q&A
- Q: How to service the PCV Valve on 2007 Toyota Yaris?A: The first step to service the Positive Crankcase Ventilation Valve requires removal of the Cylinder Head Cover No. 2 along with the ventilation hose disarm. The next step requires the removal of the Positive Crankcase Ventilation Valve (PCV valve) component. The installation requires application of Toyota Genuine Adhesive 1324 or equivalent product to 2 or 3 threaded ends of the bolt. Fasten the PCV valve with a torque setting of 27 Nm (275 kgf.cm, 20 ft. lbs.). The installation process begins with reattaching the ventilation hose then putting back Cylinder Head Cover No. 2.
