×
ToyotaParts- Hello
- Login or Register
- Quick Links
- Live Chat
- Track Order
- Parts Availability
- RMA
- Help Center
- Contact Us
- Shop for
- Toyota Parts
- Scion Parts
My Garage
My Account
Cart
OEM 2006 Toyota 4Runner Sway Bar Kit
Stabilizer Sway Bar Set- Select Vehicle by Model
- Select Vehicle by VIN
Select Vehicle by Model
orMake
Model
Year
Select Vehicle by VIN
For the most accurate results, select vehicle by your VIN (Vehicle Identification Number).
3 Sway Bar Kits found

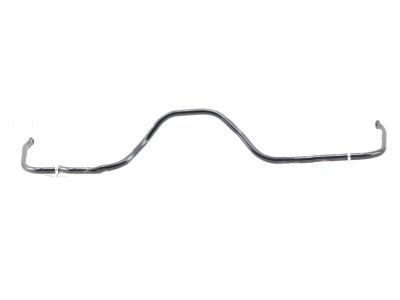
2006 Toyota 4Runner Bar, Stabilizer, Rear
Part Number: 48812-60200$230.54 MSRP: $329.16You Save: $98.62 (30%)Ships in 1-3 Business DaysProduct Specifications- Other Name: Sway Bar
- Position: Rear
- Replaces: 48812-60190
- Part Name Code: 48812
- Item Weight: 5.20 Pounds
- Item Dimensions: 51.8 x 21.2 x 4.5 inches
- Condition: New
- Fitment Type: Direct Replacement
- SKU: 48812-60200
- Warranty: This genuine part is guaranteed by Toyota's factory warranty.
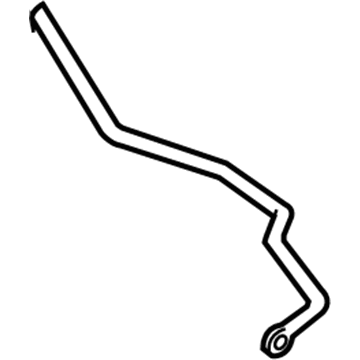
2006 Toyota 4Runner Bar, Stabilizer, Front
Part Number: 48811-60240$168.01 MSRP: $237.84You Save: $69.83 (30%)Ships in 1-3 Business DaysProduct Specifications- Other Name: Bar, Stabilizer; Sway Bar
- Position: Front
- Part Name Code: 48811
- Item Weight: 7.60 Pounds
- Item Dimensions: 44.7 x 12.4 x 4.9 inches
- Condition: New
- Fitment Type: Direct Replacement
- SKU: 48811-60240
- Warranty: This genuine part is guaranteed by Toyota's factory warranty.
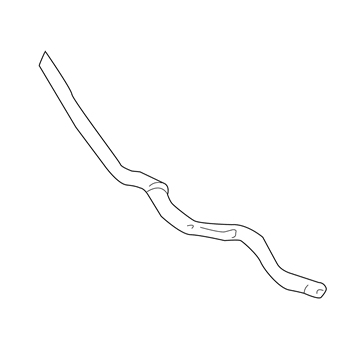
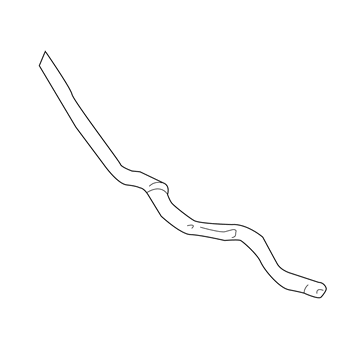
2006 Toyota 4Runner Stabilizer Bar, Front
Part Number: 48811-60230$168.01 MSRP: $237.84You Save: $69.83 (30%)Ships in 1-3 Business DaysProduct Specifications- Other Name: Bar, Stabilizer; Suspension Stabilizer Bar, Front; Sway Bar; Bar, Stabilizer, Front
- Position: Front
- Part Name Code: 48811
- Item Weight: 7.50 Pounds
- Item Dimensions: 44.2 x 12.8 x 5.1 inches
- Condition: New
- Fitment Type: Direct Replacement
- SKU: 48811-60230
- Warranty: This genuine part is guaranteed by Toyota's factory warranty.
2006 Toyota 4Runner Sway Bar Kit
Looking for affordable OEM 2006 Toyota 4Runner Sway Bar Kit? Explore our comprehensive catalogue of genuine 2006 Toyota 4Runner Sway Bar Kit. All our parts are covered by the manufacturer's warranty. Plus, our straightforward return policy and speedy delivery service ensure an unparalleled shopping experience. We look forward to your visit!
2006 Toyota 4Runner Sway Bar Kit Parts Q&A
- Q: How to overhaul the front Sway Bar Kit on 2006 Toyota 4Runner?A: The first step to overhaul the front sway bar kit involves removing front wheels. The procedure begins by removing two sway bar links assembly LH nuts followed by fixing the ball joint motion problem with hexagon (6 mm) wrench on the stud. Repetition of this method should be done for the front sway bar link assembly RH. The inspection procedure for the front sway bar link assembly LH requires flipping the ball joint stud 5 times before installing the nut while using a torque wrench for continuous nut adjustment at 2 - 4 second turns until the 5th turn shows 2.0 Nm (20 kgf-cm, 18 inch lbs.) or lower torque results and checking for cracks or grease leaks on the ball joint dust cover. Disassemble the front sway bar bracket No.2 LH by unfastening its 2 bolts before removing the front sway bar bracket No. 1 RH through the same process. The process starts with bush No.1 of the front sway bar kit which must be unplugged plus the sway bar kit front. Begin sway bar kit installation by setting the sway bar kit front part followed by attachment of the 2 front sway bar bush No.1 which must face inside the bushing stopper on the sway bar kit with its protrusion directed toward the interior side of the vehicle. The front sway bar bracket No.2 LH requires installation using 2 bolts that need torquing to 40 Nm (410 kgf-cm, 30 ft. lbs.); then proceed with the front sway bar bracket No. 1 RH installation using the same torquing method. Secure the LH front sway bar link assembly using the 2 nuts which need to be torqued to 70 Nm (710 kgf-cm, 52 ft. lbs.). When the ball joint moves when tightening the nut apply a hexagon (6 mm) wrench on the stud then perform the same procedure for the RH front sway bar link assembly. After reinstallation of the front wheels torque each wheel to 112 Nm (1,140 kgf-cm, 83 ft. lbs.).


