×
ToyotaParts- Hello
- Login or Register
- Quick Links
- Live Chat
- Track Order
- Parts Availability
- RMA
- Help Center
- Contact Us
- Shop for
- Toyota Parts
- Scion Parts
My Garage
My Account
Cart
OEM 2003 Toyota Matrix Speed Sensor
Speed Control Sensor- Select Vehicle by Model
- Select Vehicle by VIN
Select Vehicle by Model
orMake
Model
Year
Select Vehicle by VIN
For the most accurate results, select vehicle by your VIN (Vehicle Identification Number).
8 Speed Sensors found

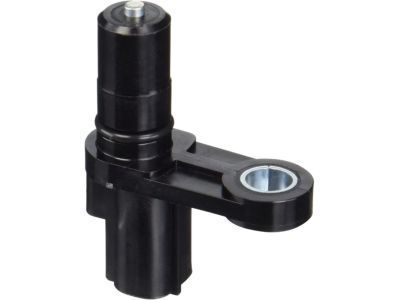
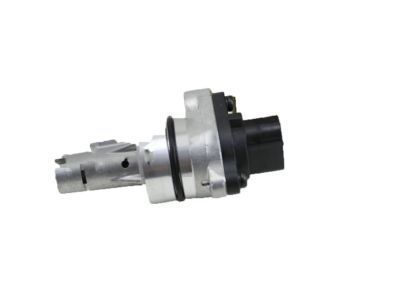
2003 Toyota Matrix Speed Sensor
Part Number: 89413-08020$138.64 MSRP: $196.26You Save: $57.62 (30%)Ships in 1-3 Business DaysProduct Specifications- Other Name: Sensor, Transmission; Vehicle Speed Sensor; Automatic Transmission Speed Sensor; Sensor, Speed; Sensor, Transmission Revolution
- Replaces: 89413-33020, 89413-24010, 89411-33010
- Item Weight: 0.60 Pounds
- Item Dimensions: 3.6 x 2.9 x 2.5 inches
- Condition: New
- Fitment Type: Direct Replacement
- SKU: 89413-08020
- Warranty: This genuine part is guaranteed by Toyota's factory warranty.

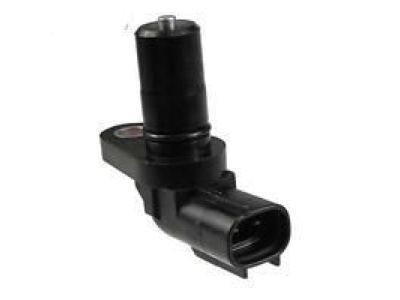
2003 Toyota Matrix Vehicle Speed Sensor
Part Number: 89413-0C011$111.26 MSRP: $156.17You Save: $44.91 (29%)Ships in 1-3 Business DaysProduct Specifications- Other Name: Sensor, Transmission; Input Sensor; Output Sensor; Transmission Revolution Sensors (SP2, NT)
- Manufacturer Note: (L)
- Replaces: 89413-0C010, 89413-32011, 89413-32010
- Condition: New
- Fitment Type: Direct Replacement
- SKU: 89413-0C011
- Warranty: This genuine part is guaranteed by Toyota's factory warranty.

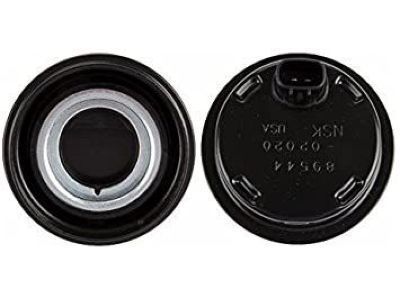
2003 Toyota Matrix ABS Sensor, Rear
Part Number: 89544-02020$222.39 MSRP: $272.73You Save: $50.34 (19%)Ships in 1-3 Business DaysProduct Specifications- Other Name: Sensor, Skid Control; ABS Wheel Speed Sensor, Rear Left, Rear Right; ABS Ring; Rear Speed Sensor; ABS Wheel Speed Sensor
- Position: Rear
- Part Name Code: 89544
- Item Weight: 0.80 Pounds
- Item Dimensions: 3.2 x 2.9 x 2.1 inches
- Condition: New
- Fitment Type: Direct Replacement
- Require Quantity: 2
- SKU: 89544-02020
- Warranty: This genuine part is guaranteed by Toyota's factory warranty.

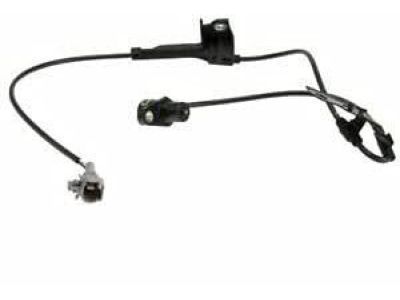
2003 Toyota Matrix ABS Sensor, Front Driver Side
Part Number: 89543-02050$279.82 MSRP: $399.52You Save: $119.70 (30%)Ships in 1-3 Business DaysProduct Specifications- Other Name: Sensor, Speed, Front Left-Hand; ABS Wheel Speed Sensor, Front Left; Front Speed Sensor; Sensor, Speed, Front Driver Side; ABS Wheel Speed Sensor
- Position: Front Driver Side
- Part Name Code: 89543
- Item Weight: 0.90 Pounds
- Item Dimensions: 10.4 x 6.5 x 2.2 inches
- Condition: New
- Fitment Type: Direct Replacement
- SKU: 89543-02050
- Warranty: This genuine part is guaranteed by Toyota's factory warranty.

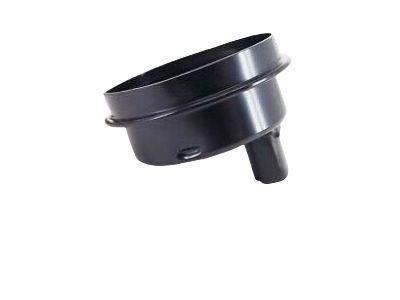
2003 Toyota Matrix Sensor, Speedometer
Part Number: 83181-12020$272.25 MSRP: $388.71You Save: $116.46 (30%)Ships in 1-2 Business DaysProduct Specifications- Other Name: Vehicle Speed Sensor
- Replaces: 83181-12070
- Item Weight: 0.80 Pounds
- Item Dimensions: 6.1 x 3.9 x 2.9 inches
- Condition: New
- Fitment Type: Direct Replacement
- SKU: 83181-12020
- Warranty: This genuine part is guaranteed by Toyota's factory warranty.
2003 Toyota Matrix ABS Sensor, Front Passenger Side
Part Number: 89542-02050$279.82 MSRP: $399.52You Save: $119.70 (30%)Ships in 1-3 Business DaysProduct Specifications- Other Name: Sensor, Speed, Front Right-Hand; ABS Wheel Speed Sensor, Front Right; Front Speed Sensor; Sensor, Speed, Front Passenger Side; ABS Wheel Speed Sensor
- Position: Front Passenger Side
- Part Name Code: 89542
- Item Weight: 0.90 Pounds
- Item Dimensions: 10.3 x 6.5 x 2.2 inches
- Condition: New
- Fitment Type: Direct Replacement
- SKU: 89542-02050
- Warranty: This genuine part is guaranteed by Toyota's factory warranty.
2003 Toyota Matrix Speed Sensor, Rear Driver Side
Part Number: 89546-01010$235.78 MSRP: $336.65You Save: $100.87 (30%)Ships in 1-3 Business DaysProduct Specifications- Other Name: Sensor, Speed, Rear Left-Hand; ABS Wheel Speed Sensor, Rear Left; ABS Sensor; Rear Speed Sensor; Sensor, Speed, Rear Driver Side; ABS Wheel Speed Sensor
- Position: Rear Driver Side
- Part Name Code: 89546
- Item Weight: 0.90 Pounds
- Item Dimensions: 10.0 x 6.7 x 2.2 inches
- Condition: New
- Fitment Type: Direct Replacement
- SKU: 89546-01010
- Warranty: This genuine part is guaranteed by Toyota's factory warranty.
2003 Toyota Matrix Speed Sensor, Rear Passenger Side
Part Number: 89545-01010$235.78 MSRP: $336.65You Save: $100.87 (30%)Ships in 1-3 Business DaysProduct Specifications- Other Name: Sensor, Speed, Rear Right-Hand; ABS Wheel Speed Sensor, Rear Right; ABS Sensor; Rear Speed Sensor; Sensor, Speed, Rear Passenger Side; ABS Wheel Speed Sensor
- Position: Rear Passenger Side
- Part Name Code: 89545
- Item Weight: 0.90 Pounds
- Item Dimensions: 10.3 x 6.7 x 2.2 inches
- Condition: New
- Fitment Type: Direct Replacement
- SKU: 89545-01010
- Warranty: This genuine part is guaranteed by Toyota's factory warranty.
2003 Toyota Matrix Speed Sensor
Looking for affordable OEM 2003 Toyota Matrix Speed Sensor? Explore our comprehensive catalogue of genuine 2003 Toyota Matrix Speed Sensor. All our parts are covered by the manufacturer's warranty. Plus, our straightforward return policy and speedy delivery service ensure an unparalleled shopping experience. We look forward to your visit!
2003 Toyota Matrix Speed Sensor Parts Q&A
- Q: How to replace the Transmission Speed Sensor on 2003 Toyota Matrix?A: The first step to replace the Transmission Speed Sensor is removing the battery followed by removing the battery carrier after unscrewing its four bolts. Start by removing both the air cleaner assembly combined with the hose. Remove the sensor by disconnecting the NT sensor connector and unbolt it. The procedure should also be followed for the transmission revolution sensor (NC sensor) where you need to disconnect its connector and remove the bolt. Prior to sensor installation, apply ATF to the O-ring before mounting the NC sensor with its bolt and torquing it to 11.3 Nm (115 kgf-cm, 8 ft. lbs.). Verify the manufacturer name on the sensor before connecting its connector. Apply ATF to an O-ring before installing the NT sensor with the bolt to receive 11.3 Nm (115 kgf-cm, 8 ft. lbs.) torque before connecting its connector. Reinstall the air cleaner assembly by connecting the hose and torquing it to 7.0 Nm (71 kgf-cm, 62 inch lbs.). Then install the battery carrier using the 4 bolts while torquing them to 13 Nm (132 kgf-cm, 10 ft. lbs.).
