×
ToyotaParts- Hello
- Login or Register
- Quick Links
- Live Chat
- Track Order
- Parts Availability
- RMA
- Help Center
- Contact Us
- Shop for
- Toyota Parts
- Scion Parts
My Garage
My Account
Cart
OEM 2002 Toyota Sequoia Coil Springs
Strut Spring- Select Vehicle by Model
- Select Vehicle by VIN
Select Vehicle by Model
orMake
Model
Year
Select Vehicle by VIN
For the most accurate results, select vehicle by your VIN (Vehicle Identification Number).
10 Coil Springs found

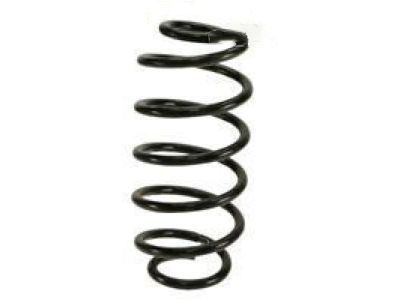
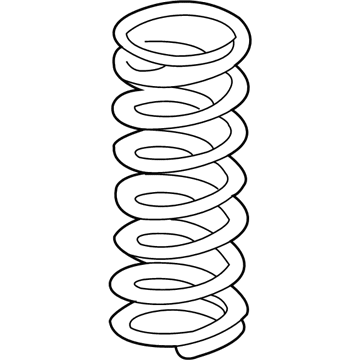
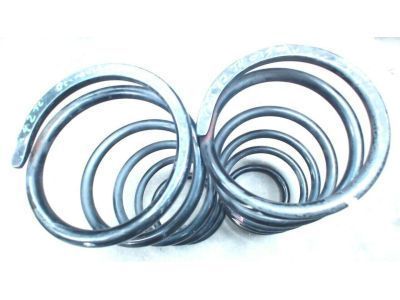
2002 Toyota Sequoia Coil Spring, Rear
Part Number: 48231-AF060$181.96 MSRP: $259.80You Save: $77.84 (30%)Ships in 1-3 Business DaysProduct Specifications- Other Name: Spring, Coil, Rear; Coil Spring, Rear; Coil Springs; Spring; Spring, Coil, Rear Passenger Side; Spring, Coil, Rear Driver Side
- Position: Rear
- Item Weight: 4.30 Pounds
- Item Dimensions: 17.3 x 10.7 x 5.7 inches
- Condition: New
- Fitment Type: Direct Replacement
- SKU: 48231-AF060
- Warranty: This genuine part is guaranteed by Toyota's factory warranty.

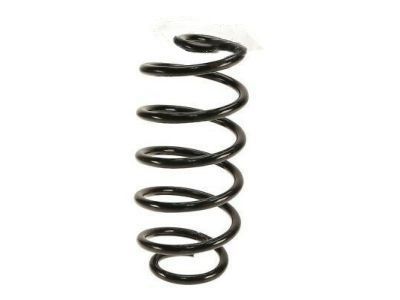
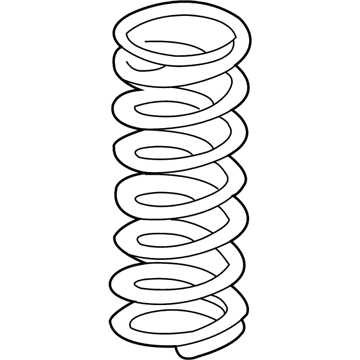
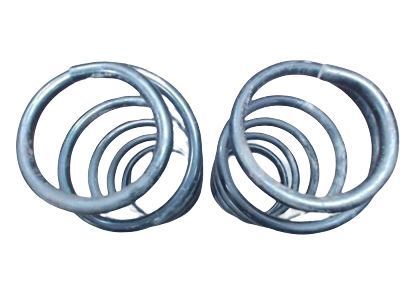
2002 Toyota Sequoia Coil Spring, Rear
Part Number: 48231-AF030$163.90 MSRP: $232.02You Save: $68.12 (30%)Product Specifications- Other Name: Spring, Coil, Rear; Coil Spring, Rear; Coil Springs; Spring; Spring, Coil, Rear Passenger Side; Spring, Coil, Rear Driver Side
- Position: Rear
- Item Weight: 10.50 Pounds
- Item Dimensions: 17.2 x 10.7 x 5.6 inches
- Condition: New
- Fitment Type: Direct Replacement
- SKU: 48231-AF030
- Warranty: This genuine part is guaranteed by Toyota's factory warranty.

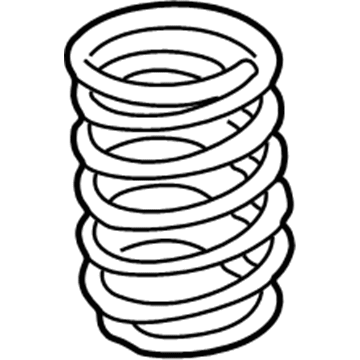
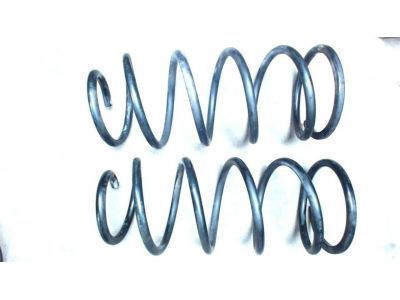
2002 Toyota Sequoia Coil Spring, Driver Side
Part Number: 48131-AF140$222.50 MSRP: $317.68You Save: $95.18 (30%)Ships in 1-3 Business DaysProduct Specifications- Other Name: Spring, Coil, Front; Coil Spring, Front Left; Coil Springs; Spring; Spring, Front Coil, Driver Side
- Position: Driver Side
- Part Name Code: 48132
- Item Weight: 13.00 Pounds
- Item Dimensions: 15.8 x 7.1 x 5.9 inches
- Condition: New
- Fitment Type: Direct Replacement
- SKU: 48131-AF140
- Warranty: This genuine part is guaranteed by Toyota's factory warranty.
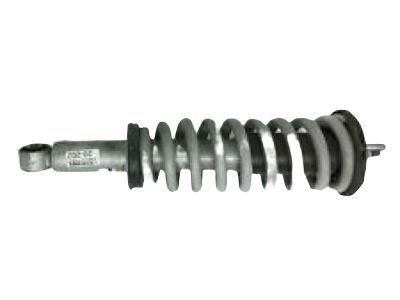
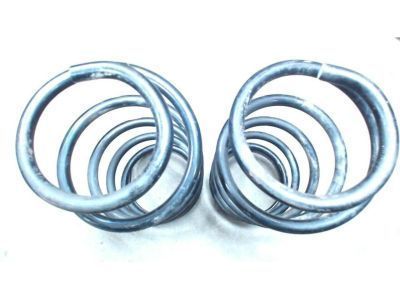
2002 Toyota Sequoia Coil Spring, Passenger Side
Part Number: 48131-AF110$180.21 MSRP: $257.30You Save: $77.09 (30%)Ships in 1-3 Business DaysProduct Specifications- Other Name: Spring, Coil, Front; Coil Spring, Front Right; Coil Springs; Spring; Spring, Front Coil, Passenger Side
- Position: Passenger Side
- Part Name Code: 48131
- Item Weight: 6.70 Pounds
- Item Dimensions: 16.1 x 6.9 x 5.8 inches
- Condition: New
- Fitment Type: Direct Replacement
- SKU: 48131-AF110
- Warranty: This genuine part is guaranteed by Toyota's factory warranty.
2002 Toyota Sequoia Coil Spring, Passenger Side
Part Number: 48131-AF130$222.50 MSRP: $317.68You Save: $95.18 (30%)Product Specifications- Other Name: Spring, Coil, Front; Coil Spring, Front Right; Coil Springs; Spring; Spring, Front Coil, Passenger Side
- Position: Passenger Side
- Part Name Code: 48131
- Item Weight: 13.20 Pounds
- Item Dimensions: 15.5 x 7.1 x 5.9 inches
- Condition: New
- Fitment Type: Direct Replacement
- SKU: 48131-AF130
- Warranty: This genuine part is guaranteed by Toyota's factory warranty.
 Product Specifications
- Other Name: Spring, Coil, Rear; Coil Spring, Rear; Coil Springs; Spring; Spring, Coil, Rear Passenger Side; Spring, Coil, Rear Driver Side
- Manufacturer Note: W(THIRD SEAT 5:5 SPLIT) OR W(TOWING HICH)
- Position: Rear
- Item Weight: 4.40 Pounds
- Item Dimensions: 17.3 x 11.1 x 5.7 inches
- Condition: New
- Fitment Type: Direct Replacement
- SKU: 48231-AF050
- Warranty: This genuine part is guaranteed by Toyota's factory warranty.
 Product Specifications
- Other Name: Spring, Coil, Rear; Coil Spring, Rear; Coil Springs; Spring; Spring, Coil, Rear Passenger Side; Spring, Coil, Rear Driver Side
- Manufacturer Note: W(THIRD SEAT 5:5 SPLIT) OR W(TOWING HICH)
- Position: Rear
- Item Weight: 4.40 Pounds
- Item Dimensions: 17.3 x 11.0 x 5.6 inches
- Condition: New
- Fitment Type: Direct Replacement
- SKU: 48231-AF020
- Warranty: This genuine part is guaranteed by Toyota's factory warranty.
- Product Specifications
- Other Name: Spring, Coil, Front; Coil Spring, Front Left; Coil Springs; Spring; Spring, Front Coil, Driver Side
- Position: Driver Side
- Part Name Code: 48132
- Item Weight: 6.90 Pounds
- Item Dimensions: 16.1 x 7.0 x 5.9 inches
- Condition: New
- Fitment Type: Direct Replacement
- SKU: 48131-AF120
- Warranty: This genuine part is guaranteed by Toyota's factory warranty.
- Product Specifications
- Other Name: Spring, Coil, Rear Right-Hand; Coil Spring, Rear; Coil Springs; Spring; Spring, Coil, Rear Passenger Side; Spring, Coil, Rear Driver Side
- Position: Rear Passenger Side
- Item Weight: 4.20 Pounds
- Item Dimensions: 17.0 x 10.7 x 5.6 inches
- Condition: New
- Fitment Type: Direct Replacement
- SKU: 48231-AF040
- Warranty: This genuine part is guaranteed by Toyota's factory warranty.
- Product Specifications
- Other Name: Spring, Coil, Rear Right-Hand; Coil Spring, Rear; Coil Springs; Spring; Spring, Coil, Rear Passenger Side; Spring, Coil, Rear Driver Side
- Position: Rear Passenger Side
- Item Weight: 4.10 Pounds
- Item Dimensions: 17.2 x 10.8 x 5.8 inches
- Condition: New
- Fitment Type: Direct Replacement
- SKU: 48231-AF010
- Warranty: This genuine part is guaranteed by Toyota's factory warranty.
2002 Toyota Sequoia Coil Springs
Looking for affordable OEM 2002 Toyota Sequoia Coil Springs? Explore our comprehensive catalogue of genuine 2002 Toyota Sequoia Coil Springs. All our parts are covered by the manufacturer's warranty. Plus, our straightforward return policy and speedy delivery service ensure an unparalleled shopping experience. We look forward to your visit!
2002 Toyota Sequoia Coil Springs Parts Q&A
- Q: How to service and repair the rear coil springs and shocks on 2002 Toyota Sequoia?A: Service or repair operations on rear coil springs and shocks can start once the rear wheels get removed properly locked to 110 Nm (1,150 kgf-cm, 83 ft. lbs.). The shock absorber requires removal by loosening the axle housing bolt while using a torque of 87 Nm (887 kgf-cm, 64 ft. lbs.) after employing a jack to support the rear axle housing. Additionally remove the shock absorber components by holding the piston rod before undoing the nut and retainers and cushion at 58 Nm (591 kgf-cm, 43 ft. lbs.) torques and by separating the two retainers and cushion from the shock absorber. The left-hand (LH) and right-hand (RH) stabilizer bar links require nut removal at 69 Nm (704 kgf-cm, 51 ft. lbs.) before proceeding to remove the lateral control rod with a nut and washer and bolt using 140 Nm (1,428 kgf-cm, 103 ft. lbs.). Stability of the suspension becomes crucial before torquing these nuts and bolts when reinstalling. Let the axle housing descend with caution to protect the brake line and parking brake cable followed by the coil spring, follow spring and insulator removal. The inspection of the shock absorber demands compression and extension of its rod to detect irregular resistance or unexpected noises for immediate replacement if concerning issues emerge during testing. To dispose of shock absorbers users need to completely extend their rod then make a hole in the cylinder to evacuate the gas contents while preventing chip dispersal. To install a new bushing use Special Service Tools containing 09710-14013 (09710-00061), 09710-28012 (09710-07031), 09950-70010 (09951-07100) along with a suitable press. The procedure for installation requires performing actions in an order that is opposite to removal steps.
