×
ToyotaParts- Hello
- Login or Register
- Quick Links
- Live Chat
- Track Order
- Parts Availability
- RMA
- Help Center
- Contact Us
- Shop for
- Toyota Parts
- Scion Parts
My Garage
My Account
Cart
OEM 2010 Toyota Camry Control Arm
Suspension Arm- Select Vehicle by Model
- Select Vehicle by VIN
Select Vehicle by Model
orMake
Model
Year
Select Vehicle by VIN
For the most accurate results, select vehicle by your VIN (Vehicle Identification Number).
2 Control Arms found

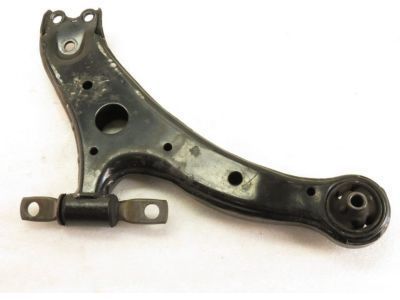
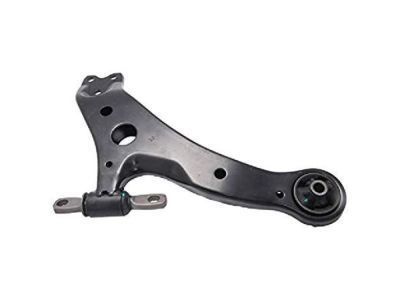
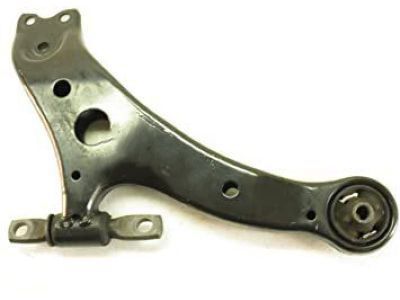
2010 Toyota Camry Control Arm, Lower Driver Side
Part Number: 48069-06150$168.13 MSRP: $238.01You Save: $69.88 (30%)Ships in 1-3 Business DaysProduct Specifications- Other Name: Arm Sub-Assembly, Suspension; Suspension Control Arm, Front Left; Control Arm Assembly; Lower Control Arm; Arm Sub-Assembly, Front Suspension, Lower Driver Side; Suspension Control Arm
- Position: Lower Driver Side
- Part Name Code: 48069
- Item Weight: 7.40 Pounds
- Item Dimensions: 22.5 x 7.0 x 20.5 inches
- Condition: New
- Fitment Type: Direct Replacement
- SKU: 48069-06150
- Warranty: This genuine part is guaranteed by Toyota's factory warranty.

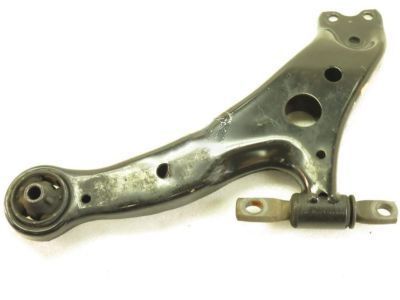
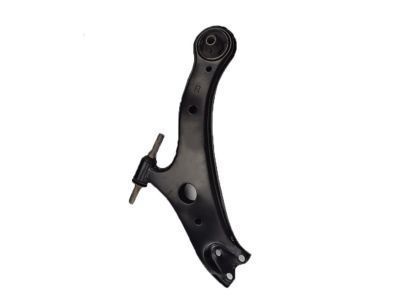
2010 Toyota Camry Control Arm, Passenger Side
Part Number: 48068-06150$158.26 MSRP: $224.04You Save: $65.78 (30%)Ships in 1-3 Business DaysProduct Specifications- Other Name: Arm Sub-Assembly, Suspension; Suspension Control Arm, Front Right; Control Arm Assembly; Lower Control Arm; Arm Sub-Assembly, Front Suspension, Lower Passenger Side; Suspension Control Arm
- Position: Passenger Side
- Part Name Code: 48068
- Item Weight: 8.20 Pounds
- Item Dimensions: 22.9 x 7.1 x 20.3 inches
- Condition: New
- Fitment Type: Direct Replacement
- SKU: 48068-06150
- Warranty: This genuine part is guaranteed by Toyota's factory warranty.
2010 Toyota Camry Control Arm
Looking for affordable OEM 2010 Toyota Camry Control Arm? Explore our comprehensive catalogue of genuine 2010 Toyota Camry Control Arm. All our parts are covered by the manufacturer's warranty. Plus, our straightforward return policy and speedy delivery service ensure an unparalleled shopping experience. We look forward to your visit!
2010 Toyota Camry Control Arm Parts Q&A
- Q: How to Remove and Replace the Control Arm in Rear Suspension Installation on 2010 Toyota Camry?A: The installation of the rear No. 1 suspension arm LH begins with placing the part on the interior side and using a bolt for preliminary tightening until the bracket reaches the front direction and the paint mark faces the backside. Secure the bolt tightly at a torque of 100 Nm which equals (1,020 kgf-cm and 74 ft-lbf). Begin by using a jack to elevate the rear suspension member and fasten it using 2 bolts that should be tightened to 56 Nm (571 kgf-cm, 41 ft-lbf). To install the rear suspension member lower stoppers use two nuts which must be tightened to Nut A at 55 Nm (561 kgf-cm, 41 ft-lbf) and Nut B at 38 Nm (388 kgf-cm, 28 ft-lbf). Fit the rear No. 1 suspension arm (outer side) to the rear axle carrier through bolt and nut installation while maintaining the nut still. Following the procedure on rear No. 1 suspension arm RH install the rear No. 2 suspension arm LH and RH using the same procedure. Connect the rear strut rod assembly to the axle carrier by adding bolt and nut while preventing the nut from rotating. Back up the rear No. 1 suspension arm LH and RH using the previous procedures until torque reaches 100 Nm (1,020 kgf-cm, 74 ft-lbf). Repeat the procedure for the remaining rear No. 2 suspension arm on the left side and right side. You should then fully tighten the rear strut rod. After the rear stabilizer bushing installation, install the rear stabilizer bar No. 1 bracket along with the stabilizer bar then connect both rear stabilizer link assemblies LH and RH. The center exhaust pipe assembly must be installed first and then the floor under covers No. 1 and No. 2 should be added For the final step, fasten the rear wheel with 103 Nm torque (1,050 kgf-cm, 76 ft-lbf) and perform exhaust gas leak inspection and rear wheel alignment needs adjustment.
