×
ToyotaParts- Hello
- Login or Register
- Quick Links
- Live Chat
- Track Order
- Parts Availability
- RMA
- Help Center
- Contact Us
- Shop for
- Toyota Parts
- Scion Parts
My Garage
My Account
Cart
OEM 2009 Toyota Yaris Alternator
Generator- Select Vehicle by Model
- Select Vehicle by VIN
Select Vehicle by Model
orMake
Model
Year
Select Vehicle by VIN
For the most accurate results, select vehicle by your VIN (Vehicle Identification Number).
1 Alternator found

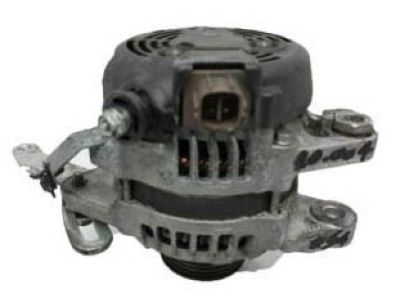
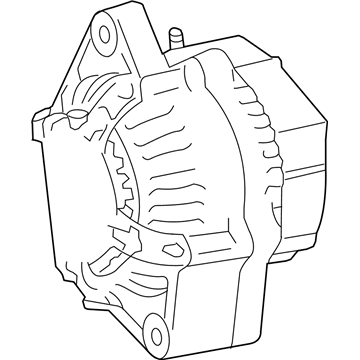
2009 Toyota Yaris Alternator
Part Number: 27060-21151$332.83 MSRP: $475.20You Save: $142.37 (30%)Ships in 1-3 Business DaysProduct Specifications- Other Name: Alternator Assembly, With Regulator; Alternator Reman; Alternators; Alternator Assembly
- Manufacturer Note: 12V 80A
- Replaces: 27060-21150
- Part Name Code: 27020
- Item Weight: 12.10 Pounds
- Item Dimensions: 8.4 x 8.5 x 8.3 inches
- Condition: New
- Fitment Type: Direct Replacement
- SKU: 27060-21151
- Warranty: This genuine part is guaranteed by Toyota's factory warranty.
2009 Toyota Yaris Alternator
Looking for affordable OEM 2009 Toyota Yaris Alternator? Explore our comprehensive catalogue of genuine 2009 Toyota Yaris Alternator. All our parts are covered by the manufacturer's warranty. Plus, our straightforward return policy and speedy delivery service ensure an unparalleled shopping experience. We look forward to your visit!
2009 Toyota Yaris Alternator Parts Q&A
- Q: How to reassemble the alternator on 2009 Toyota Yaris?A: The first step to rebuild an alternator involves setting the generator drive end frame properly onto the rotor assembly before installing the plate retainer. Insert the generator rotor assembly with plate retainer before slowly pressing in the generator rectifier end frame through the use of a 30 mm socket wrench. Use 4 nuts coupled with a cord clip to install the assembly and tighten all the nuts to 4.5 Nm (46 kgf-cm, 40 in-lbf) before adding 3 terminal insulators to the generator rectifier end frame. Use three screws to connect the generator holder with rectifier while torquing them to 2.0 Nm (20 kgf-cm, 17 in-lbf). Use two screws to install the generator regulator assembly while torquing them to 2.0 Nm (20 kgf-cm, 17 in-lbf). The sequence for installing the generator brush holder assembly starts with plate seal installation followed by screw attachment at 2.0 Nm (20 kgf-cm, 17 in-lbf) torque while the brush cover goes on next and the rear end cover requires 2 nuts torqued to 4.4 Nm (45 kgf-cm, 39 in-lbf). First install the rectifier plate with a screw and nut combination where the nut achieves 4.4 Nm torque while the bolt requires 3.8 Nm torque. Complete the installation with terminal insulator attachment by screwing in a nut at 4.1 Nm torque. First tighten the pulley nut manually onto the generator rotor shaft before using a torque wrench with Special Service Tool1-A to screw in Tool1-B clockwise until it reaches 39 Nm (398 kgf-cm, 29 ft-lbf). This action ensures proper installation of the generator rotor shaft. Install Mount Special Service Tool2 into a vise while inserting Special Service Tool1 A and B into it to add the generator pulley nut. Special Service Tool1-A requires a tightening torque of 133 Nm (1356 kgf-cm, 98 ft-lbf) while the generator remains in Special Service Tool2 before removing it from the tool for analysis. Once all tools are removed the generator pulley should move with ease.


