×
ToyotaParts- Hello
- Login or Register
- Quick Links
- Live Chat
- Track Order
- Parts Availability
- RMA
- Help Center
- Contact Us
- Shop for
- Toyota Parts
- Scion Parts
My Garage
My Account
Cart
OEM 2009 Toyota Tundra Intake Manifold
Engine Intake Manifold- Select Vehicle by Model
- Select Vehicle by VIN
Select Vehicle by Model
orMake
Model
Year
Select Vehicle by VIN
For the most accurate results, select vehicle by your VIN (Vehicle Identification Number).
4 Intake Manifolds found

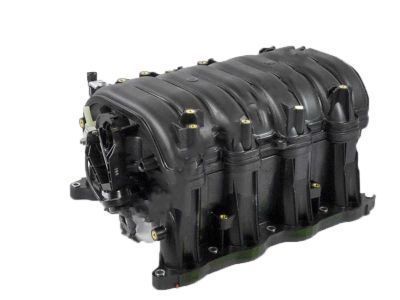
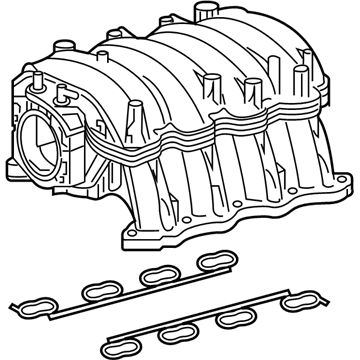
2009 Toyota Tundra Intake Manifold
Part Number: 17120-50020$1249.51 MSRP: $1831.17You Save: $581.66 (32%)Ships in 1-3 Business DaysProduct Specifications- Other Name: Manifold Assembly, Intake; Engine Intake Manifold; Manifold, Intake
- Replaces: 17120-50010, 17120-50011
- Part Name Code: 17111
- Item Weight: 24.50 Pounds
- Item Dimensions: 17.8 x 14.2 x 8.1 inches
- Condition: New
- Fitment Type: Direct Replacement
- SKU: 17120-50020
- Warranty: This genuine part is guaranteed by Toyota's factory warranty.
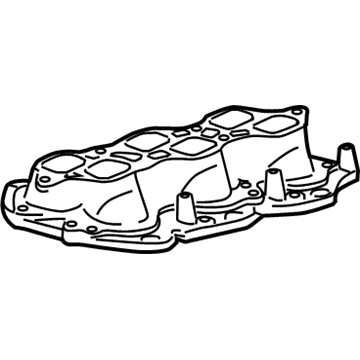
2009 Toyota Tundra Intake Manifold, Lower
Part Number: 17101-0P011$251.98 MSRP: $359.77You Save: $107.79 (30%)Ships in 1-3 Business DaysProduct Specifications- Other Name: Manifold Sub-Assembly, Intake; Engine Intake Manifold, Lower; Manifold, Intake
- Position: Lower
- Replaces: 17101-0P010
- Part Name Code: 17111
- Item Weight: 9.20 Pounds
- Item Dimensions: 18.1 x 14.2 x 8.0 inches
- Condition: New
- Fitment Type: Direct Replacement
- SKU: 17101-0P011
- Warranty: This genuine part is guaranteed by Toyota's factory warranty.
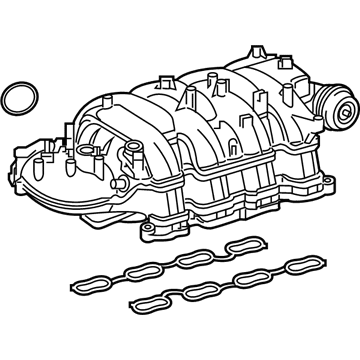
- Product Specifications
- Other Name: Manifold Assembly, Intake; Engine Intake Manifold; Manifold, Intake
- Replaces: 17120-0S020
- Part Name Code: 17111
- Condition: New
- Fitment Type: Direct Replacement
- SKU: 17120-0S021
- Warranty: This genuine part is guaranteed by Toyota's factory warranty.
- Product Specifications
- Other Name: Manifold Assembly, Intake; Engine Intake Manifold; Manifold, Intake
- Part Name Code: 17111
- Item Weight: 9.20 Pounds
- Item Dimensions: 17.6 x 14.3 x 7.9 inches
- Condition: New
- Fitment Type: Direct Replacement
- SKU: 17120-0S010
- Warranty: This genuine part is guaranteed by Toyota's factory warranty.
2009 Toyota Tundra Intake Manifold
Looking for affordable OEM 2009 Toyota Tundra Intake Manifold? Explore our comprehensive catalogue of genuine 2009 Toyota Tundra Intake Manifold. All our parts are covered by the manufacturer's warranty. Plus, our straightforward return policy and speedy delivery service ensure an unparalleled shopping experience. We look forward to your visit!
2009 Toyota Tundra Intake Manifold Parts Q&A
- Q: How to remove the intake manifold on 2009 Toyota Tundra?A: Start by discharging fuel system pressure before undertaking the removal of the 1GR-FE engine intake manifold. Disconnect the cable from the negative battery terminal then prepare to note whether systems need an initialization after the battery cable is reconnected. Drain the engine coolant from the No. 1 engine compartment before removing its under cover. First detach the front wiper motor and link assembly before removing the front cowl top outer panel sub-assembly by disconnecting 2 washer hoses and removing the total of 7 bolts. The operation begins by removing the V-bank cover through removal of its 2 nuts. Screw off the hose clamp before unfastening the two bolts which will detach the No. 2 air cleaner hose. To access the air cleaner assembly with element users must disconnect No. 2 ventilation hose while detaching the hose clamp and then disconnect vacuum hose and the MAF meter connector. A clip remover enables personnel to detach the 2 wire harness clamps following steps to loosen the hose clamp and remove the 2 bolts which allows the extraction of the air cleaner with element. The technician must next remove the throttle position sensor connector together with the throttle control motor connector and numerous hose connections which include the No. 4 and No. 5 water by-pass hoses along with the purge line hose and purge VSV connector, and union to check valve hose, No. 1 ventilation hose and vacuum switching valve connector. The 2 wire harness clamps need removal using a clip remover while the service technician removes the 2 throttle body bolts and detach the wire harness clamp before taking off the 2 bolts and throttle body bracket. Use a wrench to remove the two bolts from the No. 1 and No. 2 surge tank stays before disconnecting the two nuts. A hexagon wrench with 8 mm size enables users to remove four bolts to extract the intake air surge tank with its gasket before eliminating the fuel delivery pipe sub-assembly. Detach the intake manifold and remove its two gaskets by taking off all ten bolts.


