×
ToyotaParts- Hello
- Login or Register
- Quick Links
- Live Chat
- Track Order
- Parts Availability
- RMA
- Help Center
- Contact Us
- Shop for
- Toyota Parts
- Scion Parts
My Garage
My Account
Cart
OEM 2009 Toyota Matrix Window Motor
Window Lift Motor- Select Vehicle by Model
- Select Vehicle by VIN
Select Vehicle by Model
orMake
Model
Year
Select Vehicle by VIN
For the most accurate results, select vehicle by your VIN (Vehicle Identification Number).
2 Window Motors found

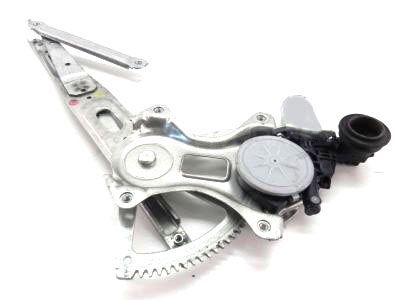
2009 Toyota Matrix Window Motor
Part Number: 85720-AE010$316.64 MSRP: $452.09You Save: $135.45 (30%)Ships in 1-2 Business DaysProduct Specifications- Other Name: Motor Assembly, Power Window Regulator; Motor, Center Left, Front Left, Rear Left, Rear Right; Door Lock Actuator; Motor; Power Window Regulator Assembly for Front Driver, Passenger, and Driver Side.
- Replaces: 85720-35140
- Item Weight: 1.30 Pounds
- Item Dimensions: 7.4 x 4.6 x 4.3 inches
- Condition: New
- Fitment Type: Direct Replacement
- SKU: 85720-AE010
- Warranty: This genuine part is guaranteed by Toyota's factory warranty.
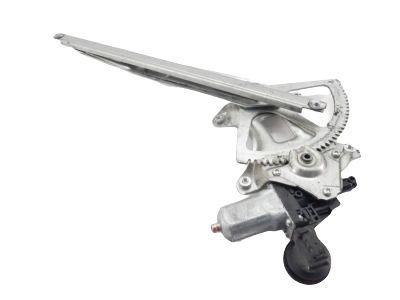
2009 Toyota Matrix Window Motor
Part Number: 85710-AE010$316.64 MSRP: $452.09You Save: $135.45 (30%)Ships in 1-2 Business DaysProduct Specifications- Other Name: Motor Assembly, Power Window Regulator; Center Right, Front Right, Rear Left, Rear Right, Right; Motor; Power Window Regulator Assembly for Front Passenger, Driver, and Passenger Side.
- Replaces: 85710-35180
- Item Weight: 1.30 Pounds
- Item Dimensions: 7.7 x 4.7 x 4.4 inches
- Condition: New
- Fitment Type: Direct Replacement
- SKU: 85710-AE010
- Warranty: This genuine part is guaranteed by Toyota's factory warranty.
2009 Toyota Matrix Window Motor
Looking for affordable OEM 2009 Toyota Matrix Window Motor? Explore our comprehensive catalogue of genuine 2009 Toyota Matrix Window Motor. All our parts are covered by the manufacturer's warranty. Plus, our straightforward return policy and speedy delivery service ensure an unparalleled shopping experience. We look forward to your visit!
2009 Toyota Matrix Window Motor Parts Q&A
- Q: How to install the rear Window Motor assembly for the LH side on 2009 Toyota Matrix?A: The installation of LH rear power window regulator motor assembly starts when the regulator arm rests under the intermediate position. A TORX driver (T25) should be used to fasten the rear power window regulator motor assembly with three screws while applying a 5.4 Nm force corresponding to 55 kgf-cm and 48 in-lbf torque. The installation holes on a new power window regulator will be designated by self-drilling screws. The process requires connecting the positive (+) battery lead to terminal 2 and negative (-) lead to terminal 1 on the rear power window regulator motor assembly until it correctly positions the lift arm according to the provided illustration. Proceed to install the rear door window regulator sub-assembly, rear door glass sub-assembly, rear door rear guide seal, rear door rear window guide sub-assembly, rear door glass run, rear door Weather Strip, and the rear door service hole cover (without power door lock), followed by the rear door service hole cover (with power door lock), rear door inner glass Weather Strip, rear door inside handle sub-assembly, rear door trim board sub-assembly, rear door armrest upper base panel, and rear door inside handle bezel. Link the wiring cable to the rear section of the negative battery connector.


