×
ToyotaParts- Hello
- Login or Register
- Quick Links
- Live Chat
- Track Order
- Parts Availability
- RMA
- Help Center
- Contact Us
- Shop for
- Toyota Parts
- Scion Parts
My Garage
My Account
Cart
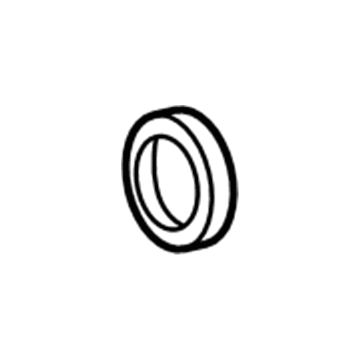
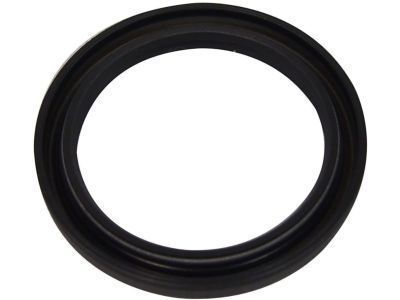
OEM 2009 Toyota Highlander Crankshaft Seal
- Select Vehicle by Model
- Select Vehicle by VIN
Select Vehicle by Model
orMake
Model
Year
Select Vehicle by VIN
For the most accurate results, select vehicle by your VIN (Vehicle Identification Number).
4 Crankshaft Seals found

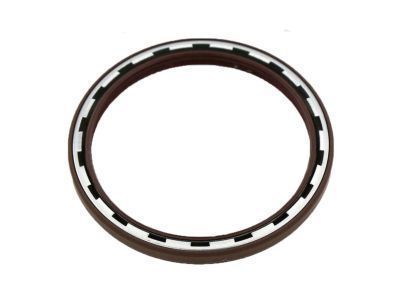
2009 Toyota Highlander Rear Main Seal
Part Number: 90311-A0027$44.08 MSRP: $61.37You Save: $17.29 (29%)Ships in 1-3 Business DaysProduct Specifications- Other Name: Seal, Type T Oil; Engine Crankshaft Seal, Rear; Oil Seal; Rear Seal; Front Seal; Seal, Engine Rear Oil; Engine Crankshaft Seal; Crankshaft Seal
- Position: Rear
- Replaces: 90080-31053, 90311-92003, 90311-92010, 90311-92004, 90311-92006, 90311-92009
- Part Name Code: 11381A
- Item Weight: 0.50 Pounds
- Item Dimensions: 5.1 x 5.2 x 0.4 inches
- Condition: New
- Fitment Type: Direct Replacement
- SKU: 90311-A0027
- Warranty: This genuine part is guaranteed by Toyota's factory warranty.

2009 Toyota Highlander Rear Main Seal
Part Number: 90311-A0020$28.19 MSRP: $39.24You Save: $11.05 (29%)Ships in 1-2 Business DaysProduct Specifications- Other Name: Seal, Type T Oil; Engine Crankshaft Seal, Rear; Rear Seal; Seal, Engine Rear Oil; Engine Crankshaft Seal; Crankshaft Seal
- Position: Rear
- Replaces: 90311-A0016, 90311-89006
- Part Name Code: 11401L
- Item Weight: 1.00 Pounds
- Condition: New
- Fitment Type: Direct Replacement
- SKU: 90311-A0020
- Warranty: This genuine part is guaranteed by Toyota's factory warranty.

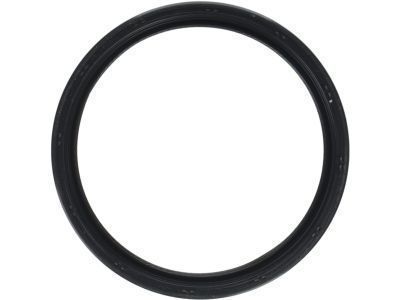
2009 Toyota Highlander Oil Seal, Front
Part Number: 90311-A0005$19.11 MSRP: $26.60You Save: $7.49 (29%)Ships in 1-3 Business DaysProduct Specifications- Other Name: Seal, Type T Oil; Engine Crankshaft Seal, Front; Timing Cover Gasket; Multi-Purpose Seal; Timing Cover Seal; Crankshaft Seal; Front Seal; Timing Cover Oil Seal; Engine Crankshaft Seal
- Position: Front
- Replaces: 90311-42019, 90311-42007, 90311-42037, 90311-42036
- Part Name Code: 11301C
- Item Weight: 0.50 Pounds
- Item Dimensions: 5.3 x 4.8 x 1.0 inches
- Condition: New
- Fitment Type: Direct Replacement
- SKU: 90311-A0005
- Warranty: This genuine part is guaranteed by Toyota's factory warranty.

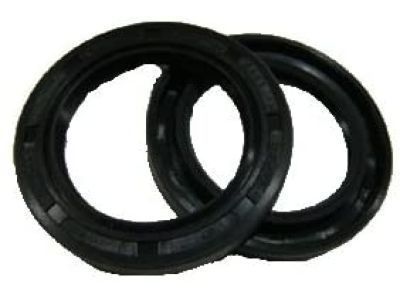
2009 Toyota Highlander Crankshaft Seal, Front
Part Number: 90311-A0015$7.88 MSRP: $10.96You Save: $3.08 (29%)Ships in 1-3 Business DaysProduct Specifications- Other Name: Seal, Type T Oil; Engine Crankshaft Seal, Front; Timing Cover Gasket; Timing Cover Seal; Front Crank Seal; Oil Seal for Timing Gear or Chain Case; Engine Crankshaft Seal
- Position: Front
- Replaces: 90311-A0019, 90311-42043
- Part Name Code: 11301C
- Item Weight: 1.40 Pounds
- Item Dimensions: 2.3 x 2.4 x 0.5 inches
- Condition: New
- Fitment Type: Direct Replacement
- SKU: 90311-A0015
- Warranty: This genuine part is guaranteed by Toyota's factory warranty.
2009 Toyota Highlander Crankshaft Seal
Looking for affordable OEM 2009 Toyota Highlander Crankshaft Seal? Explore our comprehensive catalogue of genuine 2009 Toyota Highlander Crankshaft Seal. All our parts are covered by the manufacturer's warranty. Plus, our straightforward return policy and speedy delivery service ensure an unparalleled shopping experience. We look forward to your visit!
2009 Toyota Highlander Crankshaft Seal Parts Q&A
- Q: How to install the rear Crankshaft Seal on 2009 Toyota Highlander?A: You need to put MP grease on the lip of a new oil seal while making sure foreign material avoids contact with the lip yet MP grease must stay away from the dust seal. Use Special Service Tool: 09223-15030 09950-70010 and a hammer to drive the oil seal until its surface reaches the cylinder block and crankcase edges while maintaining the lip area clean from contaminants and keeping an angle avoidance. Special Service Tools 09213-54015 09330-00021 should be used for holding the crankshaft in place. Then clean all bolts and their installation holes. First install the front drive plate spacer by positioning its pin into the crankshaft pin hole followed by driving on the drive plate and rear drive plate spacer on the crankshaft. Use 2 or 3 threads worth of Toyota Genuine Adhesive 1324, Three Bond 1324, or equivalent on the 8 bolts before installing them according to sequence while maintaining even tightening to the torque value of 98 Nm (999 kgf-cm, 72 ft-lbf) without damaging the drive plate installation bolts. Complete the installation by putting on the automatic transaxle followed by the engine and transaxle.
