×
ToyotaParts- Hello
- Login or Register
- Quick Links
- Live Chat
- Track Order
- Parts Availability
- RMA
- Help Center
- Contact Us
- Shop for
- Toyota Parts
- Scion Parts
My Garage
My Account
Cart
OEM 2009 Toyota Corolla Shock Absorber
Suspension Shock Absorber- Select Vehicle by Model
- Select Vehicle by VIN
Select Vehicle by Model
orMake
Model
Year
Select Vehicle by VIN
For the most accurate results, select vehicle by your VIN (Vehicle Identification Number).
5 Shock Absorbers found

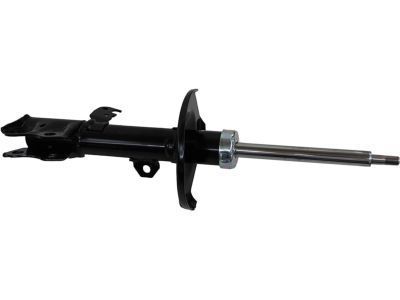
2009 Toyota Corolla Strut, Front Driver Side
Part Number: 48520-09M20$125.36 MSRP: $177.46You Save: $52.10 (30%)Ships in 1-3 Business DaysProduct Specifications- Other Name: Absorber Assembly, Shock; Front Left Suspension Strut Kit; Complete Strut; Shock Absorber; Absorber Assembly, Shock, Front Driver Side
- Manufacturer Note: MARK 48520-02570
- Position: Front Driver Side
- Replaces: 48520-80143
- Part Name Code: 48520
- Item Weight: 9.10 Pounds
- Item Dimensions: 27.4 x 8.4 x 7.6 inches
- Condition: New
- Fitment Type: Direct Replacement
- SKU: 48520-09M20
- Warranty: This genuine part is guaranteed by Toyota's factory warranty.

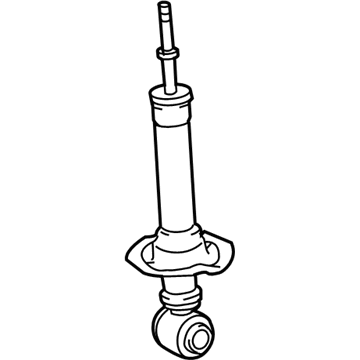
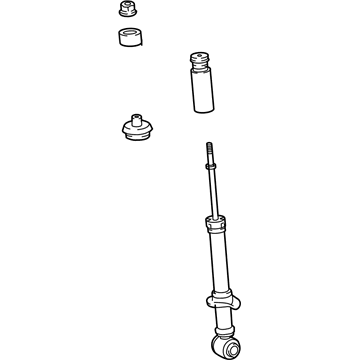
2009 Toyota Corolla Shock Absorber
Part Number: 48530-02630$100.24 MSRP: $140.70You Save: $40.46 (29%)Ships in 1-3 Business DaysProduct Specifications- Other Name: Absorber Assembly, Shock; Suspension Strut, Rear; Suspension Strut Assembly Kit; Complete Strut Kit; Complete Strut; Shock; Absorber Assembly, Shock, Rear Passenger Side; Absorber Assembly, Shock, Rear Driver Side
- Manufacturer Note: MARK 48530-02630
- Item Weight: 5.30 Pounds
- Item Dimensions: 26.6 x 6.6 x 5.9 inches
- Condition: New
- Fitment Type: Direct Replacement
- SKU: 48530-02630
- Warranty: This genuine part is guaranteed by Toyota's factory warranty.
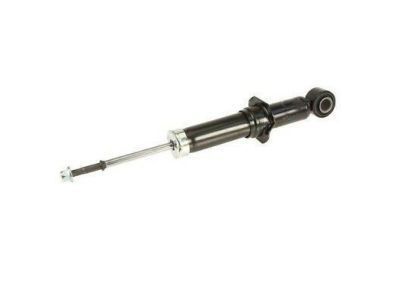
2009 Toyota Corolla Shock
Part Number: 48530-80440$92.30 MSRP: $129.55You Save: $37.25 (29%)Ships in 1-2 Business DaysProduct Specifications- Other Name: Absorber Assembly, Shock
- Condition: New
- SKU: 48530-80440
- Warranty: This genuine part is guaranteed by Toyota's factory warranty.
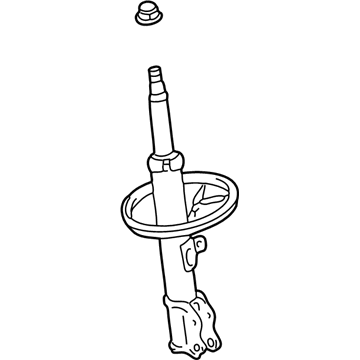
2009 Toyota Corolla Strut, Front Driver Side
Part Number: 48520-09M00$125.01 MSRP: $176.96You Save: $51.95 (30%)Ships in 1-3 Business DaysProduct Specifications- Other Name: Absorber Assembly, Shock; Suspension Strut, Front Left; Shock Absorber; Absorber Assembly, Shock, Front Driver Side
- Position: Front Driver Side
- Part Name Code: 48520
- Item Weight: 16.20 Pounds
- Item Dimensions: 25.8 x 8.2 x 7.2 inches
- Condition: New
- Fitment Type: Direct Replacement
- SKU: 48520-09M00
- Warranty: This genuine part is guaranteed by Toyota's factory warranty.
2009 Toyota Corolla Shock Absorber
Part Number: 48530-02640$88.15 MSRP: $123.73You Save: $35.58 (29%)Ships in 1-3 Business DaysProduct Specifications- Other Name: Absorber Assembly, Shock; Suspension Strut, Rear; Shock; Absorber Assembly, Shock, Rear Passenger Side; Absorber Assembly, Shock, Rear Driver Side
- Item Weight: 6.70 Pounds
- Item Dimensions: 25.6 x 6.5 x 5.8 inches
- Condition: New
- Fitment Type: Direct Replacement
- SKU: 48530-02640
- Warranty: This genuine part is guaranteed by Toyota's factory warranty.
2009 Toyota Corolla Shock Absorber
Looking for affordable OEM 2009 Toyota Corolla Shock Absorber? Explore our comprehensive catalogue of genuine 2009 Toyota Corolla Shock Absorber. All our parts are covered by the manufacturer's warranty. Plus, our straightforward return policy and speedy delivery service ensure an unparalleled shopping experience. We look forward to your visit!
2009 Toyota Corolla Shock Absorber Parts Q&A
- Q: How should the front shock absorber assembly be disposed of safely on 2009 Toyota Corolla?A: Disposing of the front shock absorber assembly requires proper positioning with extended piston rod along with drilling a hole between points A and B of the cylinder for gas discharge. Take all safety precautions when drilling the system since the gas cannot be sensed by smell or sight and the process releases metal fragments in the air.
