×
ToyotaParts- Hello
- Login or Register
- Quick Links
- Live Chat
- Track Order
- Parts Availability
- RMA
- Help Center
- Contact Us
- Shop for
- Toyota Parts
- Scion Parts
My Garage
My Account
Cart
OEM 2009 Toyota Avalon Coil Springs
Strut Spring- Select Vehicle by Model
- Select Vehicle by VIN
Select Vehicle by Model
orMake
Model
Year
Select Vehicle by VIN
For the most accurate results, select vehicle by your VIN (Vehicle Identification Number).
4 Coil Springs found
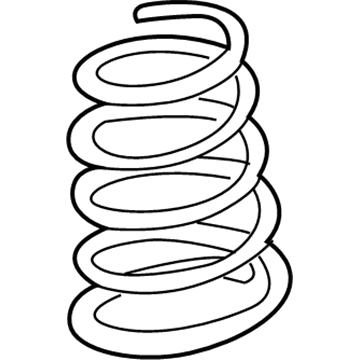
2009 Toyota Avalon Coil Spring, Front
Part Number: 48131-07093$97.75 MSRP: $137.21You Save: $39.46 (29%)Ships in 1-3 Business DaysProduct Specifications- Other Name: Spring, Coil, Front; Coil Spring, Front; Coil Springs; Spring; Spring, Front Coil, Passenger Side; Spring, Front Coil, Driver Side
- Manufacturer Note: SPORTS PACKAGE
- Position: Front
- Replaces: 48131-07092
- Item Weight: 7.10 Pounds
- Item Dimensions: 15.6 x 7.1 x 5.9 inches
- Condition: New
- Fitment Type: Direct Replacement
- SKU: 48131-07093
- Warranty: This genuine part is guaranteed by Toyota's factory warranty.
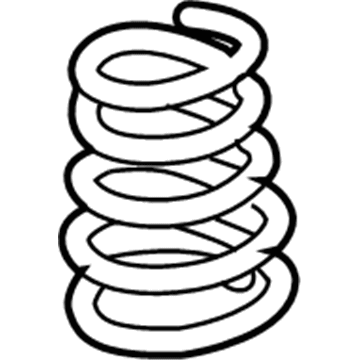
2009 Toyota Avalon Coil Spring, Rear
Part Number: 48231-07071$96.45 MSRP: $135.38You Save: $38.93 (29%)Ships in 1-3 Business DaysProduct Specifications- Other Name: Spring, Coil, Rear; Coil Spring, Rear; Coil Springs; Spring; Spring, Coil, Rear Passenger Side; Spring, Coil, Rear Driver Side
- Manufacturer Note: SPORTS PACKAGE
- Position: Rear
- Replaces: 48231-07070
- Item Weight: 4.30 Pounds
- Item Dimensions: 17.5 x 11.0 x 5.8 inches
- Condition: New
- Fitment Type: Direct Replacement
- SKU: 48231-07071
- Warranty: This genuine part is guaranteed by Toyota's factory warranty.
2009 Toyota Avalon Coil Spring, Rear
Part Number: 48231-07061$95.85 MSRP: $134.55You Save: $38.70 (29%)Ships in 1-3 Business DaysProduct Specifications- Other Name: Spring, Coil, Rear; Coil Spring, Rear, Rear Left, Rear Right; Coil Springs; Spring; Spring, Coil, Rear Passenger Side; Spring, Coil, Rear Driver Side
- Position: Rear
- Replaces: 48231-07060
- Item Weight: 4.40 Pounds
- Item Dimensions: 16.8 x 11.0 x 5.8 inches
- Condition: New
- Fitment Type: Direct Replacement
- SKU: 48231-07061
- Warranty: This genuine part is guaranteed by Toyota's factory warranty.
2009 Toyota Avalon Coil Spring, Front
Part Number: 48131-07082$95.03 MSRP: $133.38You Save: $38.35 (29%)Ships in 1-3 Business DaysProduct Specifications- Other Name: Spring, Coil, Front; Coil Spring, Front, Front Left, Front Right; Coil Springs; Spring; Spring, Front Coil, Passenger Side; Spring, Front Coil, Driver Side
- Position: Front
- Item Weight: 6.10 Pounds
- Item Dimensions: 15.9 x 7.1 x 5.8 inches
- Condition: New
- Fitment Type: Direct Replacement
- SKU: 48131-07082
- Warranty: This genuine part is guaranteed by Toyota's factory warranty.
2009 Toyota Avalon Coil Springs
Looking for affordable OEM 2009 Toyota Avalon Coil Springs? Explore our comprehensive catalogue of genuine 2009 Toyota Avalon Coil Springs. All our parts are covered by the manufacturer's warranty. Plus, our straightforward return policy and speedy delivery service ensure an unparalleled shopping experience. We look forward to your visit!
2009 Toyota Avalon Coil Springs Parts Q&A
- Q: How to install the front shock absorber with coil springs on 2009 Toyota Avalon?A: The assembly of front shock absorber with coil spring starts by properly positioning it while tightening the 3 nuts on the upper side to 85 Nm torque (867 kgf-cm, 63 ft-lbf). Do not allow the collar to drop when you have a front suspension upper brace center. Attach the 2 bolts and 2 nuts to the lower side by applying a torque of 210 Nm (2,140 kgf-cm, 155 ft-lbf) without allowing bolt rotation but inserting them through the front vehicle opening. Follow up the lock nut installation by applying 70 Nm (714 kgf-cm, 51 ft-lbf) torque value. Fasten the front flexible hose No.1 with speed sensor front LH using a bolt that requires a torque force of 19 Nm (192 kgf-cm, 14 ft-lbf). Take the front stabilizer link assembly LH and secure it with its nut by applying 74 Nm (755 kgf-cm, 55 ft-lbf) torque while using a hexagon (6 mm) wrench to stabilize the ball joint if it rotates with the nut. Position the front wheel then secure it by achieving a torque of 103 Nm (1,050 kgf-cm, 76 ft-lbf). The front wheel alignment needs an inspection and necessary adjustments must be performed.


