×
ToyotaParts- Hello
- Login or Register
- Quick Links
- Live Chat
- Track Order
- Parts Availability
- RMA
- Help Center
- Contact Us
- Shop for
- Toyota Parts
- Scion Parts
My Garage
My Account
Cart
OEM 2007 Toyota Highlander Timing Chain
Engine Timing Chain- Select Vehicle by Model
- Select Vehicle by VIN
Select Vehicle by Model
orMake
Model
Year
Select Vehicle by VIN
For the most accurate results, select vehicle by your VIN (Vehicle Identification Number).
2 Timing Chains found

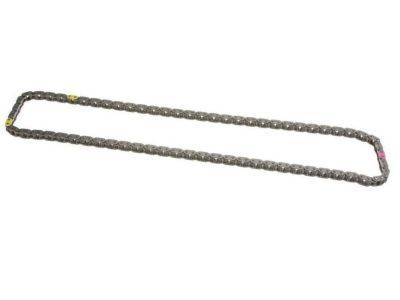
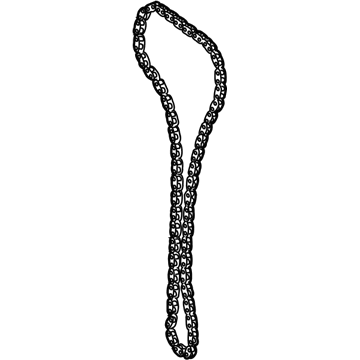
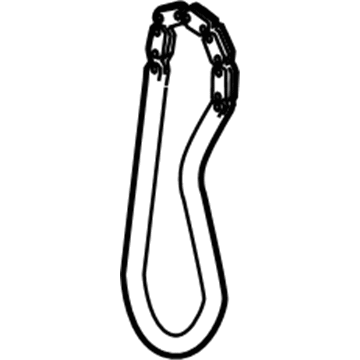
2007 Toyota Highlander Timing Chain
Part Number: 13506-0H011$268.87 MSRP: $383.89You Save: $115.02 (30%)Ships in 1-2 Business DaysProduct Specifications- Other Name: Chain Sub-Assembly, Timing; Engine Timing Chain; Chain Sub-Assembly
- Replaces: 13506-28020, 13506-0H031, 13506-28010, 13506-28011, 13506-28021, 13506-0H010
- Part Name Code: 13506
- Item Weight: 1.20 Pounds
- Item Dimensions: 6.8 x 3.4 x 1.4 inches
- Condition: New
- Fitment Type: Direct Replacement
- SKU: 13506-0H011
- Warranty: This genuine part is guaranteed by Toyota's factory warranty.

2007 Toyota Highlander Timing Chain
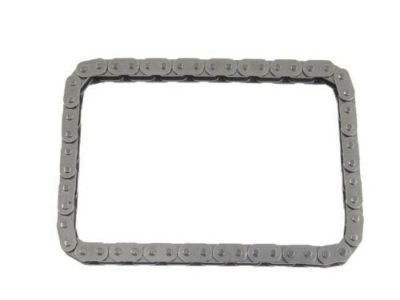
Part Number: 13507-28010$89.46 MSRP: $125.57You Save: $36.11 (29%)Ships in 1-2 Business DaysProduct Specifications- Other Name: Chain Sub-Assembly, Oil; Engine Timing Chain; Chain; Chain Sub-Assembly
- Replaces: 13507-0H020
- Part Name Code: 13507
- Item Weight: 0.70 Pounds
- Item Dimensions: 2.6 x 2.4 x 0.4 inches
- Condition: New
- Fitment Type: Direct Replacement
- SKU: 13507-28010
- Warranty: This genuine part is guaranteed by Toyota's factory warranty.
2007 Toyota Highlander Timing Chain
Looking for affordable OEM 2007 Toyota Highlander Timing Chain? Explore our comprehensive catalogue of genuine 2007 Toyota Highlander Timing Chain. All our parts are covered by the manufacturer's warranty. Plus, our straightforward return policy and speedy delivery service ensure an unparalleled shopping experience. We look forward to your visit!
2007 Toyota Highlander Timing Chain Parts Q&A
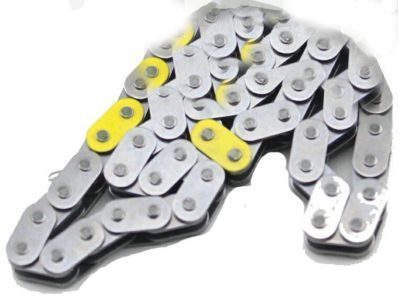
- Q: How to install the timing chain sub-assembly on 2007 Toyota Highlander?A: The first step for timing chain sub-assembly installation requires aligning the No. 1 cylinder at TDC/compression by regulating camshaft timing sprocket and bearing cap (No. 1 and No. 2) timing marks followed by crankshaft alignment using the crankshaft pulley bolt to elevate the set key position. The installation of the crankshaft timing sprocket requires that the mark link displays its gold or orange color while the Special Service Tool: 09309-37010 helps secure the sprocket in place as the link touches the timing mark. Install the timing chain by revealing the mark links which possess a red or yellow color before integrating the camshaft timing gears and camshaft timing sprockets. Energetically install the chain tensioner slipper to 19 Nm (194 kgf-cm, 14 ft. lbs.), making subsequent installations of the crankshaft position sensor plate No.1 then the timing chain or belt cover subassembly. Seal Packing must be placed in a continuous bead (2.0 mm (0.079 inch) wide and 3.0 to 4.0 mm (0.12 to 0.16 inch)) after cleaning the contact surface for installation of the timing chain cover using Toyota Genuine Seal Packing Black or Three Bond 1207B or equivalent. The installation requires 14 bolts and 2 nuts with torques of Bolt A is 9.0 Nm (92 kgf-cm, 80 inch lbs.), Bolt B is 25 Nm (255 kgf-cm, 18 ft. lbs.), Bolt After installing the drive belt tensioner stud bolt to 10 Nm (102 kgf-cm, 7 ft. lbs.) torque, install chain tensioner assembly No.1 and V-ribbed belt tensioner assembly followed by engine mounting bracket RH with its 3 bolts torqued to 54 Nm (551 kgf-cm, 40 ft. lbs.). First elevate the engine to install transverse engine mounting insulator RH using 4 nuts before tightening Bolt A to 95 Nm (969 kgf-cm, 70 ft. lbs.) and Bolt B to 87 Nm (887 kgf-cm, 64 ft. lbs.). Afterward, secure the steering gear return hose clamp to the frame with a 8.0 Nm (82 kgf-cm, 71 inch lbs.) bolt and the engine mounting insulator FR uses a 87 Nm (887 kgf-cm, 64 ft. lbs.) bolt. First install the oil pan sub-assembly with crankshaft position sensor and crankshaft pulley by setting the key into the key groove and using Special Service Tools: 09213-54015 (91651-60855), 09330-00021 to bolt it with 180 Nm (1,835 kgf-cm, 133 ft. lbs.) torque while using a light engine oil on the bolt threads and washer contact areas. The chain tensioner assembly No.1 installation requires operators to free the ratchet pawl while pushing the plunger and hooking the pin then adding new gaskets before tightening the nuts to 9.0 Nm (92 kgf-cm, 80 inch lbs.). The plunger knock pin and slipper should be examined by rotating the crankshaft both counterclockwise and clockwise. Finally, install the cylinder head cover sub-assembly, ignition coil assembly with a torque of 19 Nm (194 kgf-cm, 14 ft. lbs.), vane pump assembly, generator assembly, engine wire, fan and generator V belt, engine mounting bracket No.2 RH with a torque of 52 Nm (531 kgf-cm, 38 ft. lbs.), engine mounting stay No.2 RH with a torque of 64 Nm (653 kgf-cm, 47 ft. lbs.), engine moving control rod w/bracket, exhaust pipe assembly front, front wheel RH, and hood sub-assembly with a torque of 13 Nm (133 kgf-cm, 10 ft. lbs.), then add engine oil and inspect for engine oil leaks.
