×
ToyotaParts- Hello
- Login or Register
- Quick Links
- Live Chat
- Track Order
- Parts Availability
- RMA
- Help Center
- Contact Us
- Shop for
- Toyota Parts
- Scion Parts
My Garage
My Account
Cart
OEM 2007 Toyota FJ Cruiser Windshield
Glass Windshield- Select Vehicle by Model
- Select Vehicle by VIN
Select Vehicle by Model
orMake
Model
Year
Select Vehicle by VIN
For the most accurate results, select vehicle by your VIN (Vehicle Identification Number).
1 Windshield found

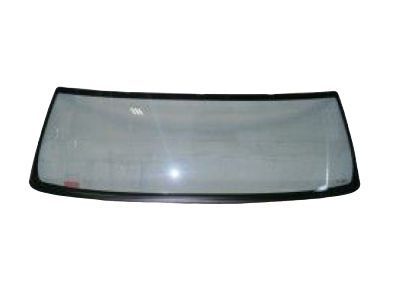
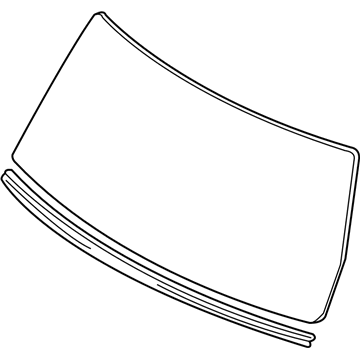
2007 Toyota FJ Cruiser Windshield, Front
Part Number: 56101-35072$519.02 MSRP: $760.64You Save: $241.62 (32%)Ships in 1-3 Business DaysProduct Specifications- Other Name: Glass Sub-Assembly, Windshield; Windshield Glass, Front; Glass, Windshield
- Manufacturer Note: *LAM,T=4.56,GREEN
- Position: Front
- Replaces: 56101-35071, 56101-35070
- Part Name Code: 56111
- Item Weight: 27.50 Pounds
- Item Dimensions: 64.3 x 30.2 x 11.7 inches
- Condition: New
- Fitment Type: Direct Replacement
- SKU: 56101-35072
- Warranty: This genuine part is guaranteed by Toyota's factory warranty.
2007 Toyota FJ Cruiser Windshield
Looking for affordable OEM 2007 Toyota FJ Cruiser Windshield? Explore our comprehensive catalogue of genuine 2007 Toyota FJ Cruiser Windshield. All our parts are covered by the manufacturer's warranty. Plus, our straightforward return policy and speedy delivery service ensure an unparalleled shopping experience. We look forward to your visit!
2007 Toyota FJ Cruiser Windshield Parts Q&A
- Q: How to remove and install the windshield glass on 2007 Toyota FJ Cruiser?A: The windshield glass removal process begins with disconnecting the negative battery cable followed by removal of windshield wiper arm covers and successive removal of front wiper arms and blades for both sides then the roof antenna pole and antenna ornament components. After disconnecting the vehicle from power start by removing the front fender side panel upper sections on both sides together with the cowl top ventilator louver sub-assembly and its individual cowl top ventilator louvers. Begin by removing front and rear door scuff plates before proceeding to take off the front floor footrest and its clip followed by cowl side trim boards and roof side inner garnish covers and roof side rail garnishes. You should remove the front door opening trim Weather Strips together with assist grip plug and assembly and front pillar garnishes while also taking away visor assemblies and holder, inner rear view mirror stay holder cover, inner rear view mirror assembly, room light assembly, and the roof headlining requires only slight lowering. The second step requires removal of the windshield outside upper moulding sub-assembly, roof drip side finish moulding retainer, front pillar outer garnish, and roof side garnish protector. The windshield outside lower moulding can be removed after putting protective tape on the windshield glass perimeter followed by dislodging its 6 claws. Apply protective tape this time around the windshield glass' outer circumference before using a knife to cut off the outside windscreen moulding and avoiding body damage to the vehicle. Use piano wires to insert through the body and glass interface of the vehicle before attaching handles to wire ends to slice adhesive and release two stoppers for suction cup removal of the windshield glass which should keep maximum adhesive on the body structure. Before installation wash both the glass on the windshield and the vehicle body until the installation surfaces show appropriate shapes. Install new stoppers to both the vehicle body and windshield glass while you should first apply Primer G to the installation points then let the Primer G dry before moving forward. Primer G should be applied to the glass edges and contact points before the moulding gets installed with double-sided adhesive tape for the adhesive dam. Ensure the windshield glass alignment through suction cup usage of matchmarks before applying hand primer on the exposed vehicle body section. Use the adhesive for mounting the windshield glass before validation of correct placement while removing any unneeded glue. The final step is installing the external lower windshield moulding followed by a leak inspection before reinstalling all removed parts starting from the highest point down while torquing the cable to the negative battery terminal at 3.9 N.m (40 kgf.cm, 35 in.lbf).


