×
ToyotaParts- Hello
- Login or Register
- Quick Links
- Live Chat
- Track Order
- Parts Availability
- RMA
- Help Center
- Contact Us
- Shop for
- Toyota Parts
- Scion Parts
My Garage
My Account
Cart
OEM 2007 Toyota Camry Ball Joint
Control Arm Joint- Select Vehicle by Model
- Select Vehicle by VIN
Select Vehicle by Model
orMake
Model
Year
Select Vehicle by VIN
For the most accurate results, select vehicle by your VIN (Vehicle Identification Number).
4 Ball Joints found

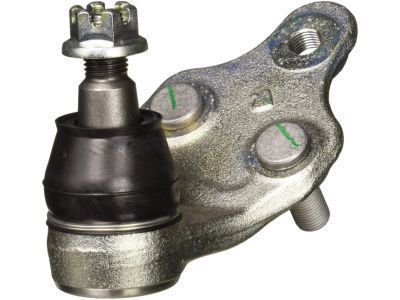
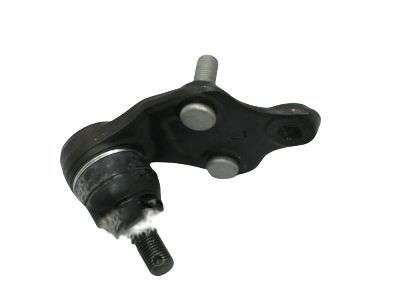
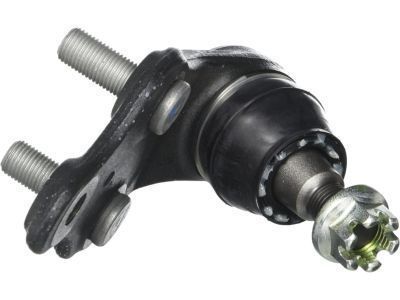
2007 Toyota Camry Ball Joint, Front Passenger Side
Part Number: 43330-09810$63.03 MSRP: $88.48You Save: $25.45 (29%)Ships in 1-3 Business DaysProduct Specifications- Other Name: Joint Assembly, Lower Ball; Suspension Ball Joint, Front Right; Lower Ball Joint; Joint Assembly, Lower Ball, Front Passenger Side; Suspension Ball Joint
- Position: Front Passenger Side
- Replaces: 43330-09330
- Part Name Code: 43330K
- Item Weight: 2.40 Pounds
- Item Dimensions: 5.4 x 3.5 x 3.7 inches
- Condition: New
- Fitment Type: Direct Replacement
- SKU: 43330-09810
- Warranty: This genuine part is guaranteed by Toyota's factory warranty.

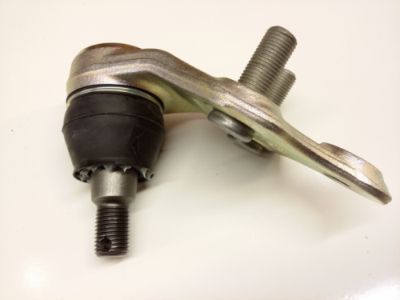
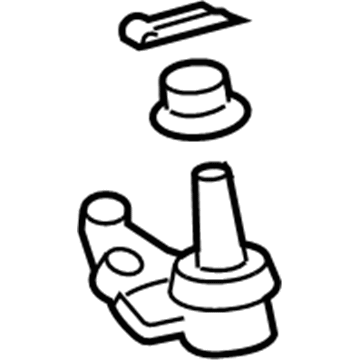
2007 Toyota Camry Joint Assembly, Lower Ball, Front Driver Side
Part Number: 43340-39605$71.92 MSRP: $100.95You Save: $29.03 (29%)Ships in 1-3 Business DaysProduct Specifications- Other Name: Joint Assembly, Lower Ball; Suspension Ball Joint; Ball Joint
- Position: Front Driver Side
- Replaces: 43340-39615, 43340-39545
- Part Name Code: 43340A
- Item Weight: 1.50 Pounds
- Item Dimensions: 5.6 x 3.4 x 2.5 inches
- Condition: New
- Fitment Type: Direct Replacement
- SKU: 43340-39605
- Warranty: This genuine part is guaranteed by Toyota's factory warranty.

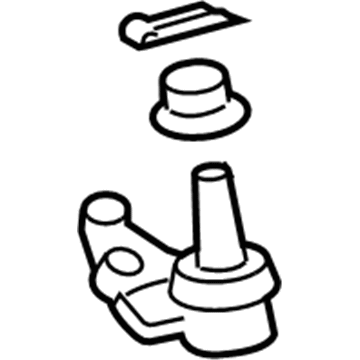
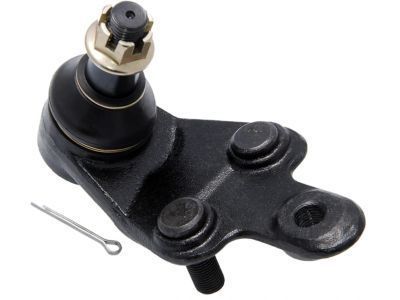
2007 Toyota Camry Ball Joint, Front Passenger Side
Part Number: 43330-39845$75.59 MSRP: $106.11You Save: $30.52 (29%)Ships in 1-3 Business DaysProduct Specifications- Other Name: Joint Assembly, Lower Ball; Suspension Ball Joint, Front Right; Lower Ball Joint; Joint Assembly, Lower Ball, Front Passenger Side; Suspension Ball Joint
- Position: Front Passenger Side
- Replaces: 43330-39775, 43330-39855
- Part Name Code: 43330K
- Item Weight: 2.20 Pounds
- Item Dimensions: 5.8 x 3.0 x 3.3 inches
- Condition: New
- Fitment Type: Direct Replacement
- SKU: 43330-39845
- Warranty: This genuine part is guaranteed by Toyota's factory warranty.

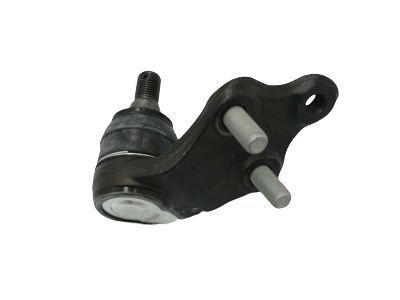
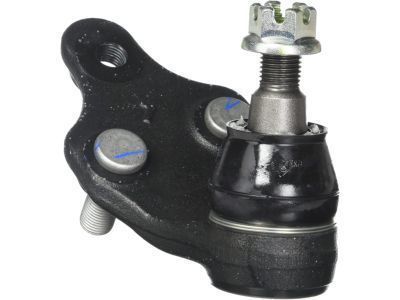
2007 Toyota Camry Ball Joint, Front Driver Side
Part Number: 43340-09170$62.56 MSRP: $87.81You Save: $25.25 (29%)Ships in 1-3 Business DaysProduct Specifications- Other Name: Joint Assembly, Lower Ball; Suspension Ball Joint, Front Left; Lower Ball Joint; Joint Assembly, Lower Ball, Front Driver Side; Suspension Ball Joint
- Position: Front Driver Side
- Replaces: 43340-09040
- Part Name Code: 43340A
- Item Weight: 2.40 Pounds
- Item Dimensions: 5.4 x 3.3 x 2.4 inches
- Condition: New
- Fitment Type: Direct Replacement
- SKU: 43340-09170
- Warranty: This genuine part is guaranteed by Toyota's factory warranty.
2007 Toyota Camry Ball Joint
Looking for affordable OEM 2007 Toyota Camry Ball Joint? Explore our comprehensive catalogue of genuine 2007 Toyota Camry Ball Joint. All our parts are covered by the manufacturer's warranty. Plus, our straightforward return policy and speedy delivery service ensure an unparalleled shopping experience. We look forward to your visit!
2007 Toyota Camry Ball Joint Parts Q&A
- Q: How to service and repair the front lower ball joint on 2007 Toyota Camry?A: Start service and repair of the front lower ball joint by taking out the front wheel and then proceeding with front axle hub nut followed by front speed sensor and front disc brake caliper assembly and front disc and tie rod end subassembly and front suspension lower No. 1 arm followed by front axle assembly and front wheel No. 1 bearing dust deflector and front axle hub hole snap ring and front axle hub along with front disc brake dust cover and front axle hub bearing. The procedure requires using Special Service Tool: 09628-62011 to extract the front lower ball joint after removing the steering knuckle from a vise using aluminum plates and unattaching the nut with the cotter pin in place while avoiding damage to the dust cover or steering knuckle. To inspect the front lower ball joint begin by setting the assembly in a vise then install the assembly stud with its nut and measure the turning torque through a torque wrench; this reading should fall between 1.0 to 3.4 Nm (10 to 35 kgf-cm, 9 to 30 inch lbs.) otherwise replace the assembly. Review the dust cover to verify its condition and its presence of grease. Installation begins by attaching the front lower ball joint onto the steering knuckle before torquing the nut to 123 Nm (1,250 kgf-cm, 91 ft. lbs.) with caution to keep all oil away from the screw and tapered areas. A new cotter pin should follow, except when the cotter pin holes are misaligned since you need to tighten the nut up to 60°. Installation of the front axle hub bearing should be followed by the front disc brake dust cover and front axle hub before adding the front axle hub hole snap ring. After setting the front wheel No. 1 bearing dust deflector into place, position the front axle assembly followed by the front suspension lower No. 1 arm and tie rod end subassembly. After reinstalling the front disc along with front disc brake caliper assembly and front speed sensor and front axle hub nut check the ABS speed sensor signal. Install the front wheel by applying torque to 103 Nm and check the front wheel alignment after installation.
