×
ToyotaParts- Hello
- Login or Register
- Quick Links
- Live Chat
- Track Order
- Parts Availability
- RMA
- Help Center
- Contact Us
- Shop for
- Toyota Parts
- Scion Parts
My Garage
My Account
Cart
OEM 2006 Toyota Sienna Coil Springs
Strut Spring- Select Vehicle by Model
- Select Vehicle by VIN
Select Vehicle by Model
orMake
Model
Year
Select Vehicle by VIN
For the most accurate results, select vehicle by your VIN (Vehicle Identification Number).
4 Coil Springs found

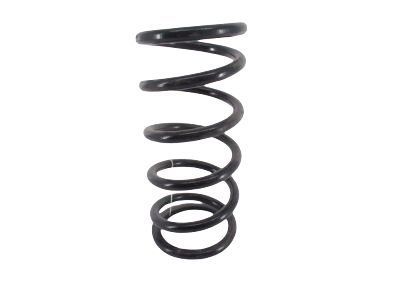
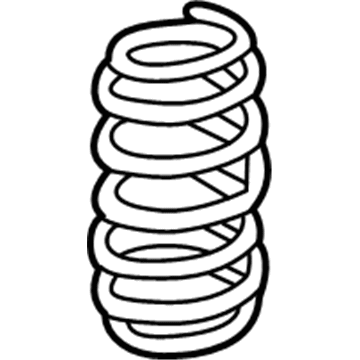
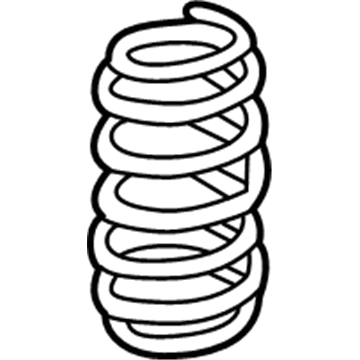
2006 Toyota Sienna Coil Spring, Rear
Part Number: 48231-AE031$142.28 MSRP: $201.42You Save: $59.14 (30%)Ships in 1-3 Business DaysProduct Specifications- Other Name: Spring, Coil, Rear; Coil Spring, Rear; Coil Spring Kit Rear; Coil Spring Set; Coil Springs; Spring; Spring, Coil, Rear Passenger Side; Spring, Coil, Rear Driver Side
- Position: Rear
- Replaces: 48231-AE030
- Item Weight: 4.20 Pounds
- Item Dimensions: 17.0 x 10.8 x 5.7 inches
- Condition: New
- Fitment Type: Direct Replacement
- SKU: 48231-AE031
- Warranty: This genuine part is guaranteed by Toyota's factory warranty.

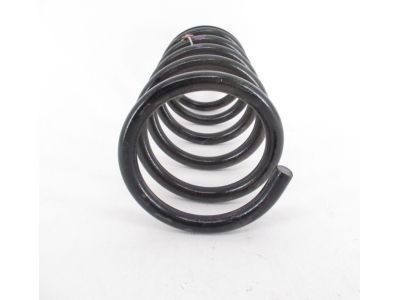
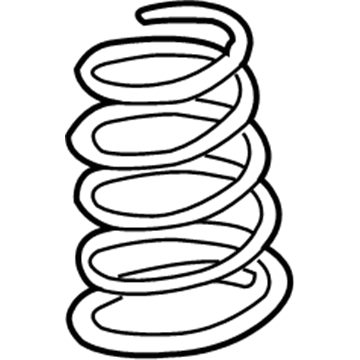
2006 Toyota Sienna Coil Spring, Front
Part Number: 48131-AE043$157.20 MSRP: $222.55You Save: $65.35 (30%)Ships in 1-3 Business DaysProduct Specifications- Other Name: Spring, Coil, Front; Coil Spring, Front; Coil Spring Kit Front; Coil Spring Set; Coil Springs; Spring; Spring, Front Coil, Passenger Side; Spring, Front Coil, Driver Side
- Manufacturer Note: PASSENGERS CAR & R.V.-MOBILITY BASE VEICLE
- Position: Front
- Replaces: 48131-AE041, 48131-AE042
- Item Weight: 5.30 Pounds
- Item Dimensions: 15.8 x 7.1 x 5.7 inches
- Condition: New
- Fitment Type: Direct Replacement
- SKU: 48131-AE043
- Warranty: This genuine part is guaranteed by Toyota's factory warranty.

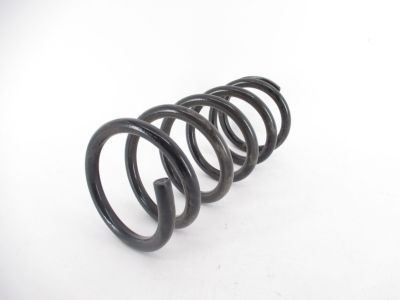
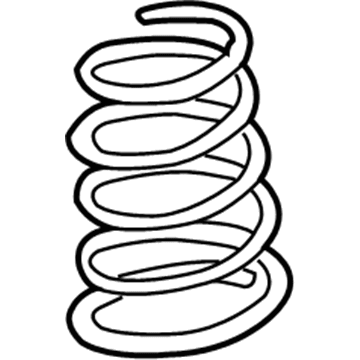
2006 Toyota Sienna Coil Spring, Front
Part Number: 48131-AE033$149.33 MSRP: $211.39You Save: $62.06 (30%)Ships in 1-3 Business DaysProduct Specifications- Other Name: Spring, Coil, Front; Coil Spring, Front; Coil Spring Kit Front; Coil Spring Set; Coil Springs; Spring; Spring, Front Coil, Passenger Side; Spring, Front Coil, Driver Side
- Position: Front
- Replaces: 48131-AE031, 48131-AE032
- Item Weight: 1.40 Pounds
- Item Dimensions: 15.9 x 7.0 x 5.8 inches
- Condition: New
- Fitment Type: Direct Replacement
- SKU: 48131-AE033
- Warranty: This genuine part is guaranteed by Toyota's factory warranty.
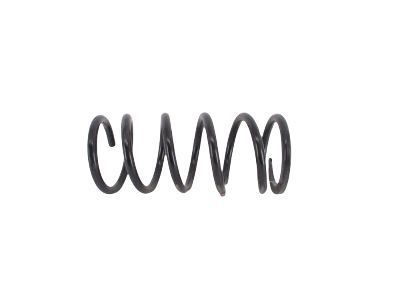
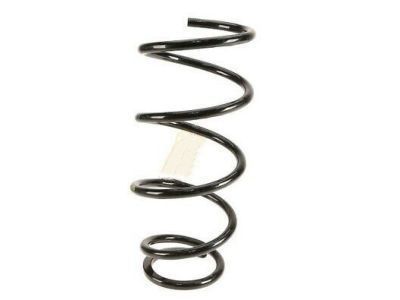
2006 Toyota Sienna Coil Spring, Rear
Part Number: 48231-AE041$156.26 MSRP: $221.21You Save: $64.95 (30%)Ships in 1-3 Business DaysProduct Specifications- Other Name: Spring, Coil, Rear; Coil Spring, Rear; Coil Spring Kit Rear; Coil Spring Set; Coil Springs; Spring; Spring, Coil, Rear Passenger Side; Spring, Coil, Rear Driver Side
- Manufacturer Note: PASSENGERS CAR & R.V.-MOBILITY BASE VEICLE
- Position: Rear
- Replaces: 48231-AE040
- Item Weight: 11.60 Pounds
- Item Dimensions: 16.7 x 10.8 x 5.7 inches
- Condition: New
- Fitment Type: Direct Replacement
- SKU: 48231-AE041
- Warranty: This genuine part is guaranteed by Toyota's factory warranty.
2006 Toyota Sienna Coil Springs
Looking for affordable OEM 2006 Toyota Sienna Coil Springs? Explore our comprehensive catalogue of genuine 2006 Toyota Sienna Coil Springs. All our parts are covered by the manufacturer's warranty. Plus, our straightforward return policy and speedy delivery service ensure an unparalleled shopping experience. We look forward to your visit!
2006 Toyota Sienna Coil Springs Parts Q&A
- Q: How to service and repair the front shock absorber and coil springs on 2006 Toyota Sienna?A: The procedure for servicing the front shock absorber with coil spring starts with removing the front wheel followed by taking off the front wiper arm head cap and both front wiper arms from their respective sides (RH and LH). You must first disconnect the wire harness then remove nine bolts with the cowl top brace to take out the cowl top ventilator louver sub-assembly and windshield wiper motor & link assembly and the cowl top panel sub-assembly outer front. The front stabilizer link assembly LH can be removed by unfastening its nut and disconnection from the shock absorber assembly front LH through the use of a hexagon (6 mm) wrench if the ball joint rotates together with the nut. First disconnect the front flexible hose No.1 and speed sensor front LH then unscrew the locknut on the front shock absorber with coil spring before removing the 2 lower nuts and 2 bolts and 3 upper nuts which enables front shock absorber with coil spring removal. Secure the front shock absorber with coil spring inside a vise using two nuts with a bolt. Compress the front coil spring on the left-hand side by using Special Service Tool: 09727-30021 (09727-00010, 09727-00021, 09727-00031), followed by removing the lock nut and front suspension support sub-assembly. The procedure requires removing the front suspension support LH bearing then the front coil spring seat upper LH, front coil spring insulator upper LH, front coil spring LH, front spring bumper LH, and front coil spring insulator lower LH before proceeding with shock absorber assembly front LH. A front shock absorber inspection requires extending and compressing its rod to detect irregular sounds or resistance which would require a replacement. The shock absorber assembly front LH should be installed first followed by front coil spring insulator lower LH then front spring bumper LH before reusing the Special Service Tool to compress front coil spring LH before attaching it to the shock absorber assembly. The correct installation order involves placing the front coil spring insulator upper LH at the same time as the front coil spring seat upper LH with marking outward plus the front suspension support LH bearing and front suspension support sub-assembly LH with marked outer surface. Secure this assembly by using a new lock nut only for the temporary period. Install the front shock absorber with coil spring in its position while tightening 3 upper-side nuts to 80 Nm and 2 lower-side bolts and nuts to 210 Nm while holding the nuts to avoid rotation. Engineers must fully tighten the lock nut to 49 Nm before installing front flexible hose No.1 and speed sensor front LH while setting Torque at 19 Nm. The completion of installation requires installing the front stabilizer link assembly LH (Torque: 74 Nm) and the cowl top panel sub-assembly outer front with 9 bolts (Torque: 7.5 Nm), and all necessary components such as windshield wiper motor & link assembly, both front wiper arms, and the front wheel (Torque: 103 Nm). Before finalizing the work, perform an inspection and adjustment of the front wheel alignment. Stretch the shock absorber rod to its full extent before drilling a hole in the cylinder to release the gas from the shock absorber assembly front LH. Proper care should be taken to prevent flying chips since the gas has no color or odor and poses no poisoning threat.
