×
ToyotaParts- Hello
- Login or Register
- Quick Links
- Live Chat
- Track Order
- Parts Availability
- RMA
- Help Center
- Contact Us
- Shop for
- Toyota Parts
- Scion Parts
My Garage
My Account
Cart
OEM 2006 Toyota Avalon Ball Joint
Control Arm Joint- Select Vehicle by Model
- Select Vehicle by VIN
Select Vehicle by Model
orMake
Model
Year
Select Vehicle by VIN
For the most accurate results, select vehicle by your VIN (Vehicle Identification Number).
2 Ball Joints found

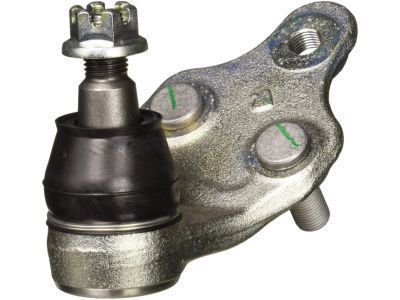
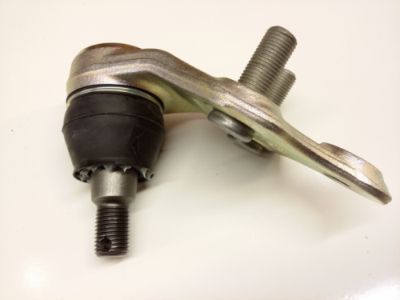
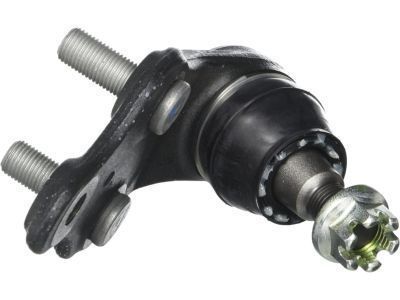
2006 Toyota Avalon Ball Joint, Front Passenger Side
Part Number: 43330-09810$63.03 MSRP: $88.48You Save: $25.45 (29%)Ships in 1-3 Business DaysProduct Specifications- Other Name: Joint Assembly, Lower Ball; Suspension Ball Joint, Front Right; Lower Ball Joint; Joint Assembly, Lower Ball, Front Passenger Side; Suspension Ball Joint
- Position: Front Passenger Side
- Replaces: 43330-09330
- Part Name Code: 43330K
- Item Weight: 2.40 Pounds
- Item Dimensions: 5.4 x 3.5 x 3.7 inches
- Condition: New
- Fitment Type: Direct Replacement
- SKU: 43330-09810
- Warranty: This genuine part is guaranteed by Toyota's factory warranty.

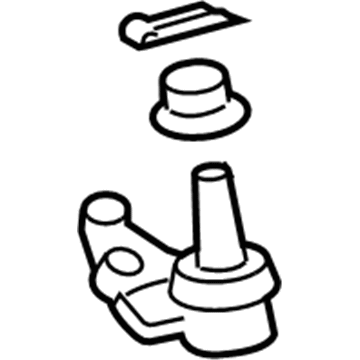
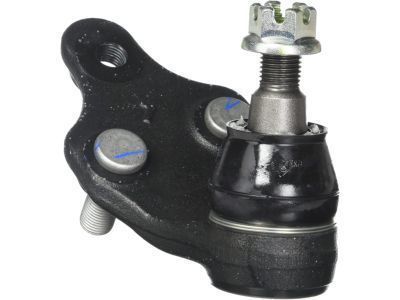
2006 Toyota Avalon Ball Joint, Front Driver Side
Part Number: 43340-09170$62.56 MSRP: $87.81You Save: $25.25 (29%)Ships in 1-3 Business DaysProduct Specifications- Other Name: Joint Assembly, Lower Ball; Suspension Ball Joint, Front Left; Lower Ball Joint; Joint Assembly, Lower Ball, Front Driver Side; Suspension Ball Joint
- Position: Front Driver Side
- Replaces: 43340-09040
- Part Name Code: 43340A
- Item Weight: 2.40 Pounds
- Item Dimensions: 5.4 x 3.3 x 2.4 inches
- Condition: New
- Fitment Type: Direct Replacement
- SKU: 43340-09170
- Warranty: This genuine part is guaranteed by Toyota's factory warranty.
2006 Toyota Avalon Ball Joint
Looking for affordable OEM 2006 Toyota Avalon Ball Joint? Explore our comprehensive catalogue of genuine 2006 Toyota Avalon Ball Joint. All our parts are covered by the manufacturer's warranty. Plus, our straightforward return policy and speedy delivery service ensure an unparalleled shopping experience. We look forward to your visit!
2006 Toyota Avalon Ball Joint Parts Q&A
- Q: How to replace the lower ball joint assembly front LH on 2006 Toyota Avalon?A: The replacement of the lower ball joint assembly front LH starts with using special service tool: 09930-00010 to take off the front wheel and forward axle hub LH nut. The maintenance process starts by eliminating the front disc brake caliper assembly LH along with the front speed sensor front LH and front disc. proceed by using special service tool: 09628-62011 to disconnect the tie rod assembly LH while moving next to the front suspension arm sub-assembly lower NO.1 LH. Disassemble the lower ball joint assembly front LH by beginning with a nut and pin removal then detaching the unit with special service tool: 09628-62011. You must inspect the lower ball joint assembly front LH inside a vise clamp by installing its stud bolt and nu while moving the ball joint backward and forward at least five times then using a torque wrench to rotate the nut for 3 to 5 seconds per revolution during the fifth rotation to verify a turning torque within 0.98 to 3.43 Nm (10 to 35 kgf-cm, 8.7 to 30 inch lbs.). The assembly should be replaced with a new one when the measured value goes beyond the established specification. The installment of the new lower ball joint assembly front LH requires attaching it to the steering knuckle with the castle nut as you torque it to 123 Nm (1,250 kgf-cm, 91 ft. lbs.) and follow by installing a fresh cotter pin but only if the holes line up or increase the nut torque to 60°. After mounting the front axle assembly LH the system requires installation of the front suspension arm sub-assembly lower NO.1 LH and tie rod assembly LH along with front disc and front disc brake caliper assembly LH and speed sensor front LH. complete hub nut installation with 103 Nm (1,050 kgf-cm, 76 ft. lbs.) torque, then replace the front wheel, align both front wheels along with checking the abs speed sensor signals during vsc turned on and off.
