×
ToyotaParts- Hello
- Login or Register
- Quick Links
- Live Chat
- Track Order
- Parts Availability
- RMA
- Help Center
- Contact Us
- Shop for
- Toyota Parts
- Scion Parts
My Garage
My Account
Cart
OEM 2006 Scion xB Radiator
Cooling Radiator- Select Vehicle by Model
- Select Vehicle by VIN
Select Vehicle by Model
orMake
Model
Year
Select Vehicle by VIN
For the most accurate results, select vehicle by your VIN (Vehicle Identification Number).
2 Radiators found
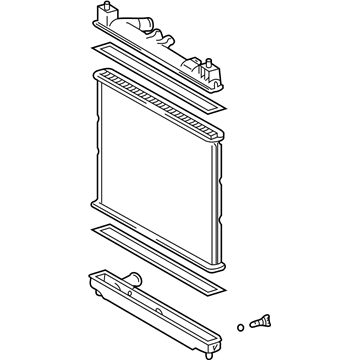
2006 Scion xB Radiator Assembly
Part Number: 16400-21071$251.86 MSRP: $359.61You Save: $107.75 (30%)Ships in 1-3 Business DaysProduct Specifications- Other Name: Radiator
- Replaces: 16400-21070
- Item Weight: 8.50 Pounds
- Item Dimensions: 24.7 x 22.2 x 4.0 inches
- Condition: New
- SKU: 16400-21071
- Warranty: This genuine part is guaranteed by Toyota's factory warranty.
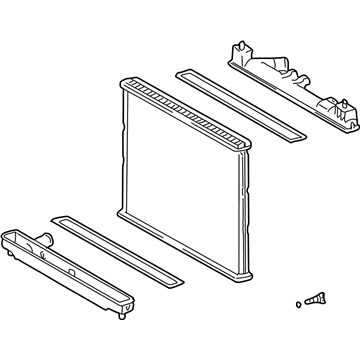
2006 Scion xB Radiator Assembly
Part Number: 16400-21121$223.44 MSRP: $319.02You Save: $95.58 (30%)Ships in 1-3 Business DaysProduct Specifications- Other Name: Radiator
- Replaces: 16400-21120
- Item Weight: 5.50 Pounds
- Condition: New
- SKU: 16400-21121
- Warranty: This genuine part is guaranteed by Toyota's factory warranty.
2006 Scion xB Radiator
Looking for affordable OEM 2006 Scion xB Radiator? Explore our comprehensive catalogue of genuine 2006 Scion xB Radiator. All our parts are covered by the manufacturer's warranty. Plus, our straightforward return policy and speedy delivery service ensure an unparalleled shopping experience. We look forward to your visit!
2006 Scion xB Radiator Parts Q&A
- Q: How to remove and install a radiator on 2006 Scion xB?A: You must start by disconnecting the negative battery terminal cable followed by a 90-second wait before proceeding to stop activation of Air Bags and seat belts. Afterward, remove the radiator. Engine coolant removal must be followed by disconnecting the radiator hose inlet along with the radiator hose outlet and the automatic transaxle's oil cooler inlet hose and oil cooler outlet hose. First disconnect the negative battery terminal cable and let the battery power drain for 90 seconds to avoid Air Bag and seat belt pretensioner activation. Then remove 3 bolts from the hood lock assembly while detaching a clip and hood lock to gain access to the hood lock support brace which needs its five bolts removed. Start by removing the radiator support opening cover through 2 clip removal before continuing to disconnect the connector from the horn while uninstalling 2 bolts to remove the condenser from the radiator support upper and pulling off 4 bolts. The radiator removal process requires disconnecting the cooling fan motor connector before removing 3 bolts to detach the fan shroud with fan and then removing 2 bolts used for the water filler. Further steps involve removing 2 radiator support cushions and the radiator support lower. The correct installation begins by fitting the radiator assembly with 2 radiator support cushions and radiator support lower followed by attachment of the water filler with 2 bolts (Torque: 7.5 Nm), and completion with fan shroud with fan using 3 bolts (Torque: 7.5 Nm) and cooling fan motor connection. The installation of these components begins with placing 4 bolts (Torque: 5.0 Nm for bolt A) into the radiator support sub-assembly upper and closing the system with 2 bolts (Torque: 9.8 Nm for bolt B) that affix the condenser to the radiator support upper and connecting the horn. The work sequence includes installing the radiator support opening cover followed by assembling the hood lock support brace with 5 bolts (Torque: 5.0 Nm) and placing the hood lock assembly with 3 bolts and a clip before making adjustments to the hood lock assembly and proceeding with installing the front bumper cover together with the front fender liner LH and front fender liner RH and radiator grille. The last sequence includes connecting automatic transaxle inlet and outlet hoses alongside connecting radiator hose outlet to inlet and reconnecting the negative battery terminal cable. Inspect for engine coolant leaks while also performing the engine coolant addition.


