My Garage
Cart

OEM 2006 Scion tC Windshield

Glass Windshield
  • Select Vehicle by Model
  • Select Vehicle by VIN
Select Vehicle by Model
Make
Model
Year
or
Select Vehicle by VIN
For the most accurate results, select vehicle by your VIN (Vehicle Identification Number).

1 Windshield found

  • 2006 Scion tC Windshield - 56111-21190
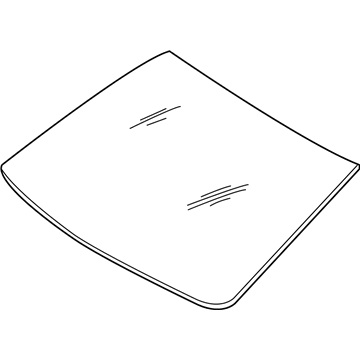
    2006 Scion tC Windshield Diagram - 56111-21190
    View related parts

    2006 Scion tC Windshield, Front

    Part Number: 56111-21190
    $553.64 MSRP: $811.37
    You Save: $257.73 (32%)
    Product Specifications
    • Other Name: Glass, Windshield; Windshield, Front
    • Manufacturer Note: *LAM,T=4.56,GREEN
    • Position: Front
    • Replaces: 56111-21150, 56111-21151
    • Part Name Code: 56111
    • Condition: New
    • Fitment Type: Direct Replacement
    • SKU: 56111-21190
    • Warranty: This genuine part is guaranteed by Toyota's factory warranty.
    More Info
    Fits the following 2006 Scion tC Submodels:
    • Base, Spec | 4 Cyl 2.4 L GAS

2006 Scion tC Windshield

Looking for affordable OEM 2006 Scion tC Windshield? Explore our comprehensive catalogue of genuine 2006 Scion tC Windshield. All our parts are covered by the manufacturer's warranty. Plus, our straightforward return policy and speedy delivery service ensure an unparalleled shopping experience. We look forward to your visit!

2006 Scion tC Parts Questions & Experts Answers

  • Q: How to remove and install a windshield on 2006 Scion tC?
    A: A successful windshield removal begins with disconnecting the negative cable from the battery and waiting for at least 90 seconds until proceeding with windshield removal. The replacement process begins by taking out the inner rear view mirror assembly followed by cutting the front door scuff plates (LH and RH), cowl side trim sub-assemblies (LH and RH), front door opening trim Weather Strips (LH and RH), front pillar garnishes (LH and RH), assist grip cover and sub-assembly, both visor assemblies and holders, map light assembly, and a slight lowering of the roof headlining assembly which remains uncompletely detached. The next step includes the removal of front wiper arm head caps followed by front wiper arms and hood to cowl top seals and cowl top ventilator louvers that exist on both left-hand and right-hand sides. Start by removing the outside windshield molding with caution so as not to harm the body of the vehicle before using protective tape for the outer glass surface and inserting a piano wire between the glass and body while securing handles to the wire ends to cut through the adhesive while protecting paint and ornaments. Use a scraper to remove all damaged stoppers and dams together with adhesive from the windshield glass while using white gasoline to clean the outer edges. Remove excessive adhesive from the vehicle body contact areas using tools that also apply cleaning solutions. Users should apply Primer G to the installation portion of No. 2 windshield glass stopper before installing two new stoppers on the glass. Place the No.1 windshield glass stopper onto the vehicle body and follow this step by adding Primer G to the glass contact areas and removing adhesive part peeling paper from the department. To properly install the windshield glass apply suction cups that produce even contact and mark both edges when replacing damaged glass. After applying Primer M to the exposed vehicle body area and Primer G to the glass contact region mirror the glass surface with adhesive (Part No. 08850-00801 or equivalent) while managing to finish using all adhesive contents before its designated expiration. Press the glass into proper position against the vehicle body while aligning matchmarks before secure it with tape until the adhesive dries fully. Place the windshield moulding outside by putting Primer G onto the contact area then line up moulding marks with glass notches before the adhesive hardens. The installation process requires front wiper arms, cowl top ventilator louvers (each side), hood to cowl top seal, roof headlining assembly, map light assembly, both visor holders and assemblies, assist grip sub-assembly with cover, front pillar garnishes (both sides) and Weather Strips (each side), and front door scuff plates (each side) along with the inner rear view mirror assembly. Check for leaks before fixing them with auto glass sealer while reconnecting the negative battery terminal cable then begin system initialization procedures that need battery connection for certain systems.

Related 2006 Scion tC Parts