×
ToyotaParts- Hello
- Login or Register
- Quick Links
- Live Chat
- Track Order
- Parts Availability
- RMA
- Help Center
- Contact Us
- Shop for
- Toyota Parts
- Scion Parts
My Garage
My Account
Cart
OEM 2004 Toyota Tundra Ball Joint
Control Arm Joint- Select Vehicle by Model
- Select Vehicle by VIN
Select Vehicle by Model
orMake
Model
Year
Select Vehicle by VIN
For the most accurate results, select vehicle by your VIN (Vehicle Identification Number).
3 Ball Joints found

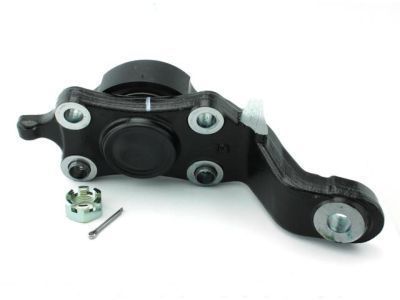
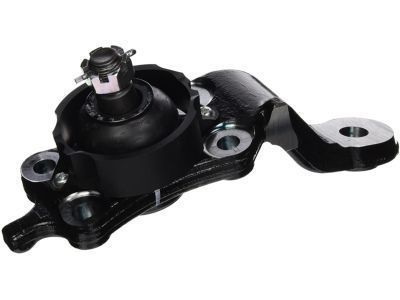
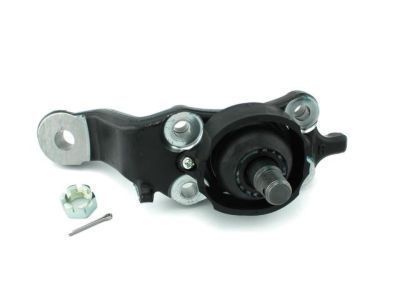
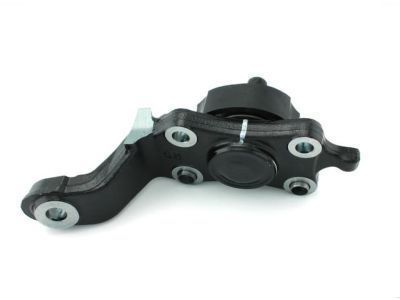
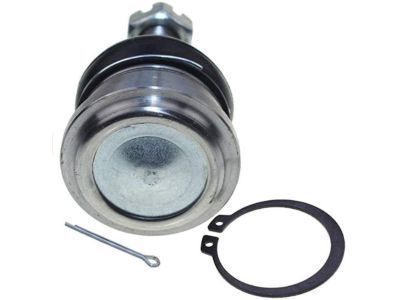
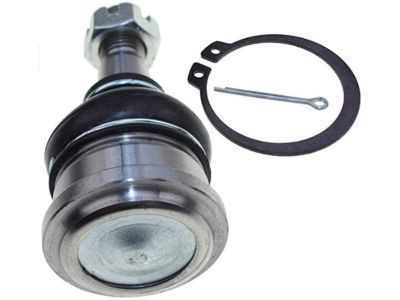
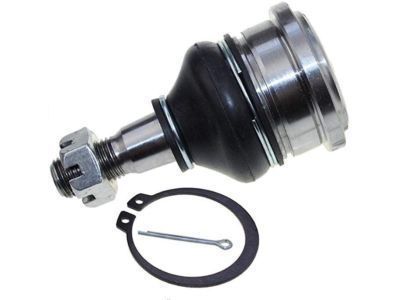
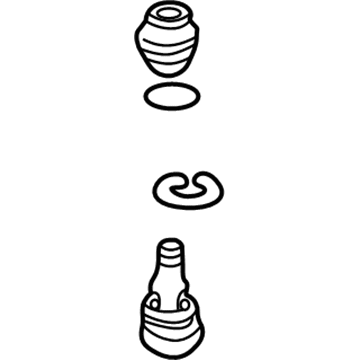
2004 Toyota Tundra Lower Ball Joint, Front Driver Side
Part Number: 43340-39595$147.10 MSRP: $208.24You Save: $61.14 (30%)Product Specifications- Other Name: Joint Assembly, Lower Ball; Suspension Ball Joint, Front Left Lower; Joint Assembly, Lower Ball, Front Driver Side; Suspension Ball Joint; Ball Joint
- Position: Front Driver Side
- Replaces: 43340-39495, 43340-39575, 43340-39515
- Part Name Code: 43340A
- Item Weight: 3.30 Pounds
- Item Dimensions: 5.5 x 3.2 x 2.4 inches
- Condition: New
- Fitment Type: Direct Replacement
- SKU: 43340-39595
- Warranty: This genuine part is guaranteed by Toyota's factory warranty.

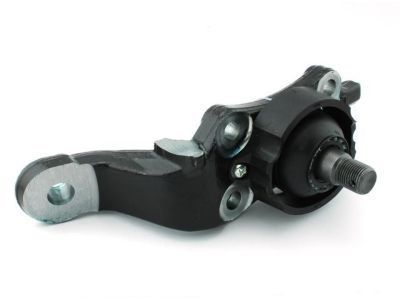
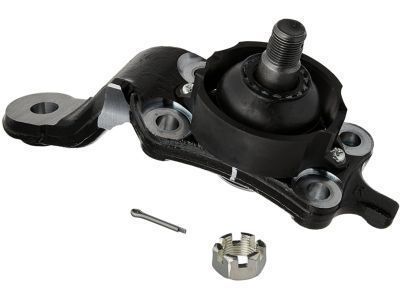
2004 Toyota Tundra Lower Ball Joint, Front Passenger Side
Part Number: 43330-39825$145.81 MSRP: $206.40You Save: $60.59 (30%)Product Specifications- Other Name: Joint Assembly, Lower Ball; Suspension Ball Joint, Front Right Lower; Joint Assembly, Lower Ball, Front Passenger Side; Suspension Ball Joint; Ball Joint
- Position: Front Passenger Side
- Replaces: 43330-39615, 43330-39805, 43330-39655
- Part Name Code: 43330K
- Item Weight: 5.10 Pounds
- Item Dimensions: 5.4 x 3.3 x 2.4 inches
- Condition: New
- Fitment Type: Direct Replacement
- SKU: 43330-39825
- Warranty: This genuine part is guaranteed by Toyota's factory warranty.

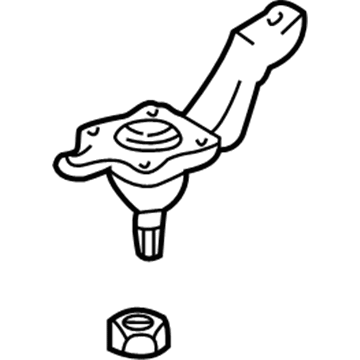
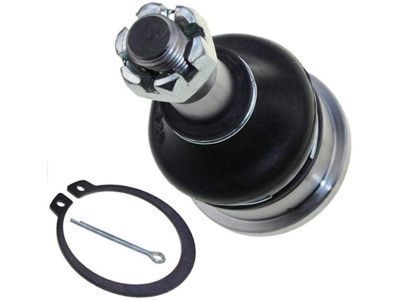
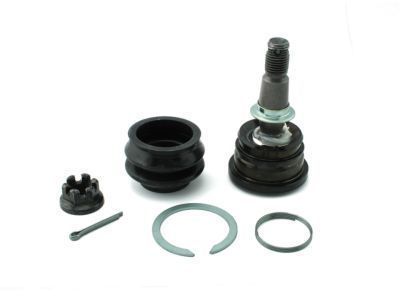
2004 Toyota Tundra Upper Ball Joint, Front
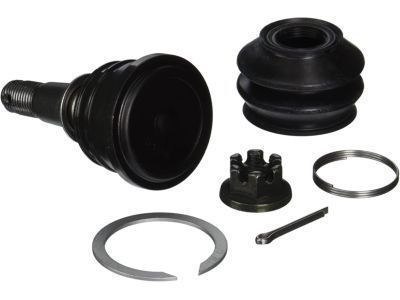
Part Number: 43310-39016$49.94 MSRP: $69.51You Save: $19.57 (29%)Ships in 1-3 Business DaysProduct Specifications- Other Name: Joint Assembly, Front Upper Ball; Suspension Ball Joint, Front Upper; Upper Ball Joints; Front Upper Ball Joint Assembly for Driver & Passenger Side.
- Position: Front Upper
- Replaces: 43310-39085, 43310-39065
- Item Weight: 1.50 Pounds
- Item Dimensions: 5.5 x 3.2 x 2.5 inches
- Condition: New
- Fitment Type: Direct Replacement
- SKU: 43310-39016
- Warranty: This genuine part is guaranteed by Toyota's factory warranty.
2004 Toyota Tundra Ball Joint
Looking for affordable OEM 2004 Toyota Tundra Ball Joint? Explore our comprehensive catalogue of genuine 2004 Toyota Tundra Ball Joint. All our parts are covered by the manufacturer's warranty. Plus, our straightforward return policy and speedy delivery service ensure an unparalleled shopping experience. We look forward to your visit!
2004 Toyota Tundra Ball Joint Parts Q&A
- Q: How to service and repair the upper ball joint on 2004 Toyota Tundra?A: The service and repair of the upper ball joint requires removal of the steering knuckle along with the axle hub followed by upper ball joint removal by stripping the wire and boot before using a snap ring expander to separate the snap ring and implementing Special Service Tool: 09950-40011 (09951-04010, 09952-04010, 09953-04020, 09954-04010, 09955-04031, 09957-04010, 09958-04011) connected to a deep socket wrench to extract the upper ball joint. Check for any damage to the upper ball joint boot during inspection and test the ball joint stud rotation condition by rotating it back and forth five times before putting the nut into place. Turn the nut continuously for one complete round during 2-4 seconds while measuring torque on the fifth round until it reaches 0.7-4.4 Nm (7-45 kgf-cm, 6-39 inch lbs.). To install the ball joint and snap ring replace with Special Service Tool 09309-37010 using a socket wrench while you should use a snap ring expander to set the new snap ring before boot installation and wire attachment using provided grease for coating followed by repairing the steering knuckle with the axle hub.
