×
ToyotaParts- Hello
- Login or Register
- Quick Links
- Live Chat
- Track Order
- Parts Availability
- RMA
- Help Center
- Contact Us
- Shop for
- Toyota Parts
- Scion Parts
My Garage
My Account
Cart
OEM 2004 Toyota Matrix Coil Springs
Strut Spring- Select Vehicle by Model
- Select Vehicle by VIN
Select Vehicle by Model
orMake
Model
Year
Select Vehicle by VIN
For the most accurate results, select vehicle by your VIN (Vehicle Identification Number).
6 Coil Springs found

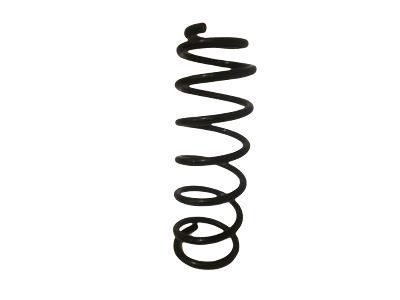
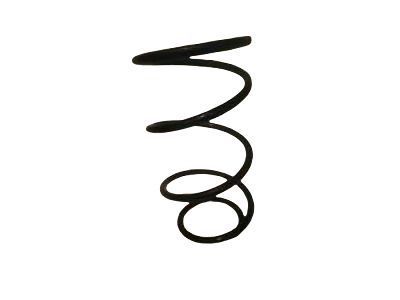
2004 Toyota Matrix Coil Spring, Rear
Part Number: 48231-AB010$76.30 MSRP: $107.10You Save: $30.80 (29%)Ships in 1-3 Business DaysProduct Specifications- Other Name: Spring, Coil, Rear; Coil Spring, Rear; Coil Spring Kit Rear; Coil Spring Set; Coil Springs; Spring; Spring, Coil, Rear Passenger Side; Spring, Coil, Rear Driver Side
- Position: Rear
- Item Weight: 3.60 Pounds
- Item Dimensions: 17.3 x 10.7 x 5.7 inches
- Condition: New
- Fitment Type: Direct Replacement
- SKU: 48231-AB010
- Warranty: This genuine part is guaranteed by Toyota's factory warranty.

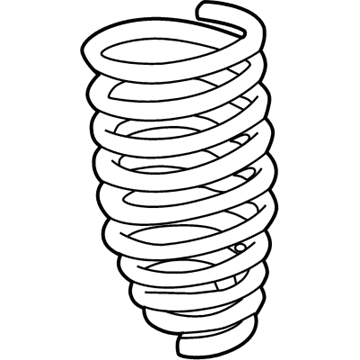
2004 Toyota Matrix Coil Spring, Front
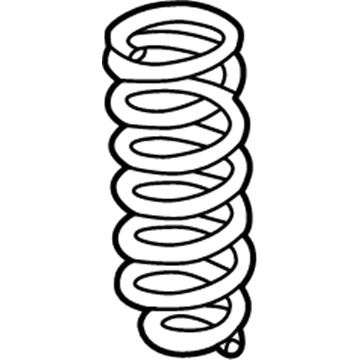
Part Number: 48131-AB060$72.39 MSRP: $101.62You Save: $29.23 (29%)Ships in 1-3 Business DaysProduct Specifications- Other Name: Spring, Coil, Front; Coil Spring, Front; Coil Springs; Spring; Spring, Front Coil, Passenger Side; Spring, Front Coil, Driver Side
- Manufacturer Note: L=309.5
- Position: Front
- Item Weight: 4.60 Pounds
- Item Dimensions: 16.2 x 7.0 x 5.7 inches
- Condition: New
- Fitment Type: Direct Replacement
- SKU: 48131-AB060
- Warranty: This genuine part is guaranteed by Toyota's factory warranty.
2004 Toyota Matrix Coil Spring, Front
Part Number: 48135-02060$90.94 MSRP: $127.64You Save: $36.70 (29%)Ships in 1-3 Business DaysProduct Specifications- Other Name: Spring, Coil, Front; Coil Spring, Front; Coil Springs; Spring; Spring, Front Coil, Passenger Side; Spring, Front Coil, Driver Side
- Manufacturer Note: L=333.0
- Position: Front
- Item Weight: 4.70 Pounds
- Item Dimensions: 15.5 x 6.9 x 5.8 inches
- Condition: New
- Fitment Type: Direct Replacement
- SKU: 48135-02060
- Warranty: This genuine part is guaranteed by Toyota's factory warranty.
2004 Toyota Matrix Coil Spring, Rear
Part Number: 48231-02330$82.19 MSRP: $115.36You Save: $33.17 (29%)Ships in 1-3 Business DaysProduct Specifications- Other Name: Spring, Coil, Rear; Coil Spring, Rear; Coil Spring Kit Rear; Coil Spring Set; Coil Springs; Spring; Spring, Coil, Rear Passenger Side; Spring, Coil, Rear Driver Side
- Position: Rear
- Item Weight: 4.40 Pounds
- Item Dimensions: 17.3 x 10.7 x 5.6 inches
- Condition: New
- Fitment Type: Direct Replacement
- SKU: 48231-02330
- Warranty: This genuine part is guaranteed by Toyota's factory warranty.
2004 Toyota Matrix Coil Spring, Front
Part Number: 48131-AB090$69.48 MSRP: $97.52You Save: $28.04 (29%)Ships in 1-3 Business DaysProduct Specifications- Other Name: Spring, Coil, Front; Coil Springs; Spring; Spring, Front Coil, Passenger Side; Spring, Front Coil, Driver Side
- Position: Front
- Item Weight: 7.30 Pounds
- Item Dimensions: 15.9 x 6.9 x 6.0 inches
- Condition: New
- Fitment Type: Direct Replacement
- SKU: 48131-AB090
- Warranty: This genuine part is guaranteed by Toyota's factory warranty.
2004 Toyota Matrix Coil Spring, Front
Part Number: 48131-AB050$70.14 MSRP: $98.46You Save: $28.32 (29%)Ships in 1-3 Business DaysProduct Specifications- Other Name: Spring, Coil, Front; Coil Spring, Front; Coil Springs; Spring; Spring, Front Coil, Passenger Side; Spring, Front Coil, Driver Side
- Manufacturer Note: L=304.0
- Position: Front
- Item Weight: 7.10 Pounds
- Item Dimensions: 16.2 x 7.0 x 6.0 inches
- Condition: New
- Fitment Type: Direct Replacement
- SKU: 48131-AB050
- Warranty: This genuine part is guaranteed by Toyota's factory warranty.
2004 Toyota Matrix Coil Springs
Looking for affordable OEM 2004 Toyota Matrix Coil Springs? Explore our comprehensive catalogue of genuine 2004 Toyota Matrix Coil Springs. All our parts are covered by the manufacturer's warranty. Plus, our straightforward return policy and speedy delivery service ensure an unparalleled shopping experience. We look forward to your visit!
2004 Toyota Matrix Coil Springs Parts Q&A
- Q: How to overhaul the rear coil springs on 2004 Toyota Matrix?A: To replace the rear coil spring, take off the rear wheel and other parts then hold the rear axle beam at the jack. Take off the shock absorber and coil spring, check on any problems, and replace when necessary. Install again with a special tool and make sure it is properly torqued and aligned. Lastly, safely discard shock absorber.
