×
ToyotaParts- Hello
- Login or Register
- Quick Links
- Live Chat
- Track Order
- Parts Availability
- RMA
- Help Center
- Contact Us
- Shop for
- Toyota Parts
- Scion Parts
My Garage
My Account
Cart
OEM 2004 Scion xA Car Speakers
Audio Speakers- Select Vehicle by Model
- Select Vehicle by VIN
Select Vehicle by Model
orMake
Model
Year
Select Vehicle by VIN
For the most accurate results, select vehicle by your VIN (Vehicle Identification Number).
4 Car Speakers found

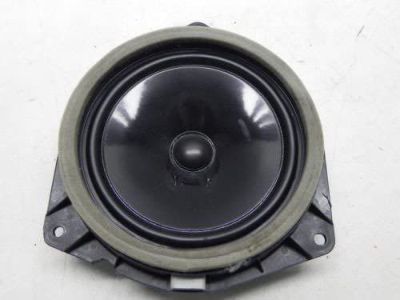
2004 Scion xA Door Speaker, Rear
Part Number: 86160-33620$112.44 MSRP: $152.97You Save: $40.53 (27%)Ships in 1-3 Business DaysProduct Specifications- Other Name: Speaker Assembly, Radio; Speaker, Center, Front, Rear; Quarter Panel Speaker; Front Driver Speaker; Rear Driver Speaker; Speaker Assembly, Front; Speaker Assembly, Rear
- Position: Rear
- Item Weight: 3.20 Pounds
- Item Dimensions: 12.6 x 12.1 x 8.5 inches
- Condition: New
- Fitment Type: Direct Replacement
- Require Quantity: 2
- SKU: 86160-33620
- Warranty: This genuine part is guaranteed by Toyota's factory warranty.
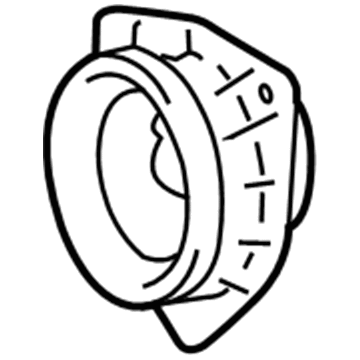
2004 Scion xA Tweeter, Passenger Side
Part Number: 86160-52120$83.35 MSRP: $113.40You Save: $30.05 (27%)Ships in 1-3 Business DaysProduct Specifications- Other Name: Speaker Assembly, Radio; Speaker, Right; Speaker Assembly, Front
- Manufacturer Note: RH
- Position: Passenger Side
- Part Name Code: 86160P
- Item Weight: 0.80 Pounds
- Condition: New
- Fitment Type: Direct Replacement
- SKU: 86160-52120
- Warranty: This genuine part is guaranteed by Toyota's factory warranty.
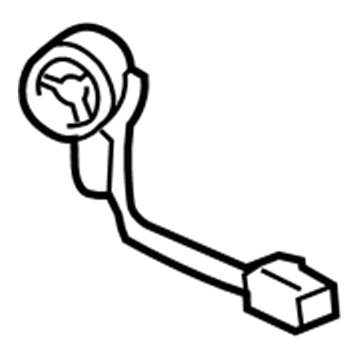
2004 Scion xA Rear Driver Speaker
Part Number: 86160-2B570$149.93 MSRP: $205.71You Save: $55.78 (28%)Ships in 1-3 Business DaysProduct Specifications- Other Name: Speaker Assembly, Radio; Speaker, Rear; Speaker Assembly, Rear
- Position: Rear
- Part Name Code: 86160B
- Item Weight: 2.30 Pounds
- Condition: New
- Fitment Type: Direct Replacement
- Require Quantity: 2
- SKU: 86160-2B570
- Warranty: This genuine part is guaranteed by Toyota's factory warranty.
- Product Specifications
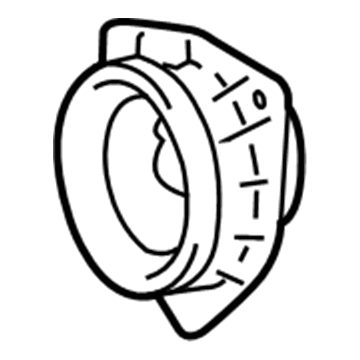
- Other Name: Speaker Assembly, Radio; Speaker, Left; Speaker Assembly, Front
- Manufacturer Note: LH
- Position: Driver Side
- Part Name Code: 86160P
- Item Weight: 0.80 Pounds
- Condition: New
- Fitment Type: Direct Replacement
- SKU: 86160-52130
- Warranty: This genuine part is guaranteed by Toyota's factory warranty.
2004 Scion xA Car Speakers
Looking for affordable OEM 2004 Scion xA Car Speakers? Explore our comprehensive catalogue of genuine 2004 Scion xA Car Speakers. All our parts are covered by the manufacturer's warranty. Plus, our straightforward return policy and speedy delivery service ensure an unparalleled shopping experience. We look forward to your visit!
2004 Scion xA Car Speakers Parts Q&A
- Q: How to replace the Front No. 1 Car Speakers Assy on 2004 Scion xA?A: The procedure to swap the Front No. 1 Speaker Assy starts by taking off the Front Door Lower Frame Bracket Garnish LH followed by the Power Window Regulator Master Switch Assy and then the Front Door Trim Board Sub-Assy LH. After connector detachment from the Front No. 1 Speaker Assy use a drill with less than 4 mm (0.16 in.) diameter to drill 3 rivet heads and separate the speaker from the front door panel while rotating the drill near the rivet head to cut flanges. Avoiding both the damage to rivet holes and drill bit breakage. Take precautions because the severed rivet will be warm so proceed with drilling until you remove all debris pieces. The procedure requires vacuum cleaning of the drilled rivet along with the interior front door panel dust. When installing the Front No. 1 Speaker Assy on the front door panel you should use an air riveter or hand riveter to add three new strike rivets according to the provided order illustration. The riveter requires operator care to prevent damage by not prizing it and by keeping it level to rivet at correct alignment. You must not break the tightened rivets from materials once they become securely fastened. Drop the rivet into place only when the materials have no space between them before reattaching the connector.


