My Garage
Cart

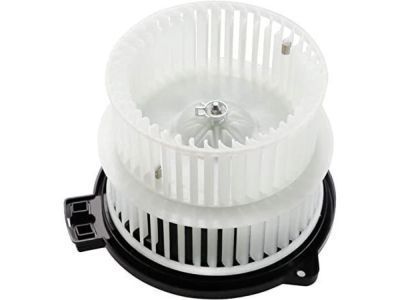
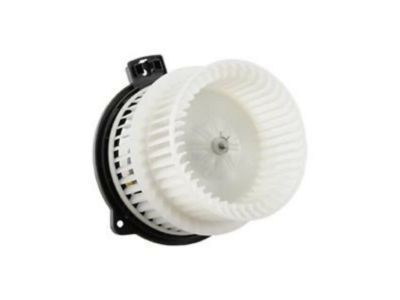
OEM 2004 Scion xA Blower Motor

A/C Heater Blower Motor
  • Select Vehicle by Model
  • Select Vehicle by VIN
Select Vehicle by Model
Make
Model
Year
or
Select Vehicle by VIN
For the most accurate results, select vehicle by your VIN (Vehicle Identification Number).

1 Blower Motor found

  • 2004 Scion xA Blower Motor - 87103-52080
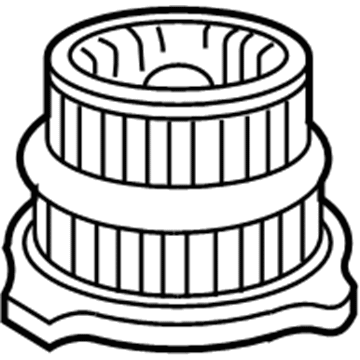
    2004 Scion xA Blower Motor Diagram - 87103-52080
    View related parts

    2004 Scion xA Blower Motor

    Part Number: 87103-52080
    $156.83 MSRP: $222.01
    You Save: $65.18 (30%)
    Product Specifications
    • Other Name: Motor Sub-Assembly, Blower; HVAC Blower Motor Assembly; Blower Assembly; Fan & Motor; Motor Sub-Assembly, Blower W/Fan; HVAC Blower Motor
    • Manufacturer Note: COLD SPEC
    • Part Name Code: 87103B
    • Item Weight: 3.50 Pounds
    • Item Dimensions: 9.4 x 9.1 x 10.2 inches
    • Condition: New
    • Fitment Type: Direct Replacement
    • SKU: 87103-52080
    • Warranty: This genuine part is guaranteed by Toyota's factory warranty.
    More Info
    Fits the following 2004 Scion xA Submodels:
    • Base | 4 Cyl 1.5 L GAS

2004 Scion xA Blower Motor

Looking for affordable OEM 2004 Scion xA Blower Motor? Explore our comprehensive catalogue of genuine 2004 Scion xA Blower Motor. All our parts are covered by the manufacturer's warranty. Plus, our straightforward return policy and speedy delivery service ensure an unparalleled shopping experience. We look forward to your visit!

2004 Scion xA Parts Questions & Experts Answers

  • Q: How to service and repair the blower motor on 2004 Scion xA?
    A: The blower motor service demands a complete refrigerant discharge using Special Service Tool: 07110-58060 (07117-58080, 07117-58090, 07117-78050, 07117-88060, 07117-88070, 07117-88080). Use Special Service Tool: 09870-00015 by installing it onto the piping clamp without tube deformation and activate the tool by pushing down on its release lever while pulling slightly until the clamp releases for removal. Use the bolt removal procedure to split the bracket thus disconnecting the suction hose sub assembly while capping all open fittings to stop outside moisture or dirt from seeping into the system. Use vinyl tape to seal both openings of the suction hose sub assy before removing its two O-rings. Disconnection of liquid tube sub-assy A requires the use of Special Service Tool: 09870-00025 in identical manner to both suction and liquid hose procedures. Start the disassembly process by removing the instrument panel sub assy with passenger Air Bag assy and then proceed with the instrument panel sub assy lower with heater duct and finally separate the air conditioning amplifier assy. Extract the ECM through a three-step procedure of disengaging two claws, connector removal, then two screw extraction and claw release. The air conditioning blower assy removal requires you to first disconnect the clamp before removing connectors while moving the clamps and wire harness into position and then taking out the 2 bolts and 3 nuts and 2 screws. The wire harness needs disconnection and then use the two claws to remove the air filter case. Use the 3 screws to remove the damper servo sub assy while the next step includes disconnecting the blower resistor connector and removing its 2 screws. To remove the blower motor cover disconnect the rod then take out the 4 screws and holding spring that is attached. Next separate the blower w/fan motor sub assy by disconnecting the connector followed by removing the 3 screws. To access cooler thermistor No.1 you must first disengage its 2 claws then extract the air conditioning tube assy through packing and the procedure requires a 5mm hexagon wrench to loosen the installation along with both O-rings. A 4mm hexagon wrench can be used to detach the cooler expansion valve through removal of its 2 bolts. To remove Cooler Evaporator Sub Assy No.1 the mechanic must first unscrew the fastener and unlatch the 2 claws to detach the air duct, remove the 3 screws from the evaporator cover and finally extract the assembly with its pair of O-rings. To install the cooler evaporator sub assy No.1, first apply compressor oil (ND-OIL 8 or equivalent) on the new O-rings and place them before mounting the evaporator cover with the 3 screws and the air duct with its screw and 2 claws. The installation of the cooler expansion valve requires a 4mm hexagon wrench for attaching the 2 bolts which need a torque of 5.4 Nm (55 kgf.cm, 48 in.lbf). Use new O-rings which received compressor oil application and install the air conditioning tube assy applying the 5mm hexagon wrench at a torque setting of 5.4 Nm (55 kgf.cm, 48 in.lbf). Finish the installation by adding the packing. The technical task involves reattaching the instrument panel sub assy lower with heater duct followed by the instrument panel sub assy with passenger Air Bag assy. To install liquid tube sub assy A remove vinyl tape first then lubricate compressor oil on two new O-rings before installation of the tube sub assy A and piping clamp with appropriate checking of claw fittings. Viewpoints on installing the suction hose sub assy begin with tape removal followed by oil treatment of two new O-rings and their subsequent installation. Then attach the suction hose sub assy to its piping clamp before inspecting the claw fit. Install the bracket with the bolt and set its torque at 9.8 Nm (100 kgf.cm, 87 in.lbf). Use Special Service Tool: 07110-58060 (07117-58060, 07117-58070, 07117-58080, 07117-58090, 07117-78050, 07117-88060, 07117-88070, 07117-88080) to charge the refrigerator with 460 ± 30 g (16.2 ± 1.1 oz.) specified amount. Then warm up the engine while inspect for refrigerant leakage.

Related 2004 Scion xA Parts