×
ToyotaParts- Hello
- Login or Register
- Quick Links
- Live Chat
- Track Order
- Parts Availability
- RMA
- Help Center
- Contact Us
- Shop for
- Toyota Parts
- Scion Parts
My Garage
My Account
Cart
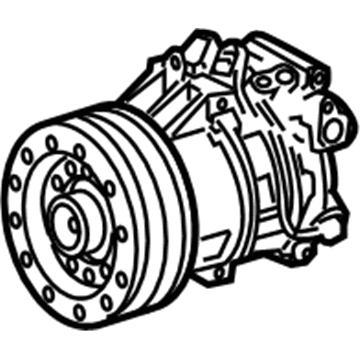
OEM 2004 Scion xA A/C Compressor
Air Conditioning Compressor- Select Vehicle by Model
- Select Vehicle by VIN
Select Vehicle by Model
orMake
Model
Year
Select Vehicle by VIN
For the most accurate results, select vehicle by your VIN (Vehicle Identification Number).
1 A/C Compressor found
2004 Scion xA Compressor
Part Number: 88310-52250-84$484.38 MSRP: $717.26You Save: $232.88 (33%)Ships in 1-3 Business DaysProduct Specifications- Other Name: Reman Var Compressor Assembly; A/C Compressor
- Item Weight: 8.30 Pounds
- Item Dimensions: 11.1 x 8.0 x 7.8 inches
- Condition: New
- SKU: 88310-52250-84
- Warranty: This genuine part is guaranteed by Toyota's factory warranty.
2004 Scion xA A/C Compressor
Looking for affordable OEM 2004 Scion xA A/C Compressor? Explore our comprehensive catalogue of genuine 2004 Scion xA A/C Compressor. All our parts are covered by the manufacturer's warranty. Plus, our straightforward return policy and speedy delivery service ensure an unparalleled shopping experience. We look forward to your visit!
2004 Scion xA A/C Compressor Parts Q&A
- Q: How to replace the A/C Compressor with a pulley assembly on 2004 Scion xA?A: Refrigerant removal from the refrigeration system begins through the use of Special Service Tool: 07110-58060 (07117-58080, 07117-58090, 07117-78050, 07117-88060, 07117-88070, 07117-88080). Disconnection starts with removing the V belt from fan and generator after which technicians must detach cooler refrigerant discharge hose No.1 by unfastening the bolt and then its O-ring. Finally, technicians will close off the tubings with vinyl tape to halt moisture and foreign materials from entrance. The procedure requires removal of a suction hose sub assembly bolt together with its O-ring before sealing the open ends. Begin by removing the engine under cover RH followed by disconnecting the w/pulley compressor assembly through the connector removal and bolt removal of four pieces. The appropriate amount of compressor oil needs to be drained from the new components before installation while using ND-OIL 8 as the compressor oil. Fasten the w/pulley compressor assembly using four bolts, torqued at 25 Nm (255 kgf.cm, 18 ft.lbf) and identity the connector to its place. The procedure for installing the suction hose sub assembly includes vinyl tape removal followed by applying compressor oil on a new O-ring then bolting installation with torque setting at 9.8 Nm (100 kgf.cm, 87 in.lbf). The procedure for cooler refrigerant discharge hose No.1 requires applying compressor oil on the new O-ring before torquing the bolt to 9.8 Nm (100 kgf.cm, 87 in.lbf). The operator should now reinstall the fan and generator V belt followed by adjustment before performing a refrigerant charge with Special Service Tool: 07110-58060 (07117-58060, 07117-58070, 07117-58080, 07117-58090, 07117-78050, 07117-88060, 07117-88070, 07117-88080) using 460 plus or minus 30 g (16.2 plus or minus 1.1 oz.) of specified refrigerant. To complete the service procedure you need to heat the engine before checking for leakage of refrigerant.


