×
ToyotaParts- Hello
- Login or Register
- Quick Links
- Live Chat
- Track Order
- Parts Availability
- RMA
- Help Center
- Contact Us
- Shop for
- Toyota Parts
- Scion Parts
My Garage
My Account
Cart
OEM 2001 Toyota Land Cruiser Rack And Pinion
Steering Rack And Pinion- Select Vehicle by Model
- Select Vehicle by VIN
Select Vehicle by Model
orMake
Model
Year
Select Vehicle by VIN
For the most accurate results, select vehicle by your VIN (Vehicle Identification Number).
2 Rack And Pinions found

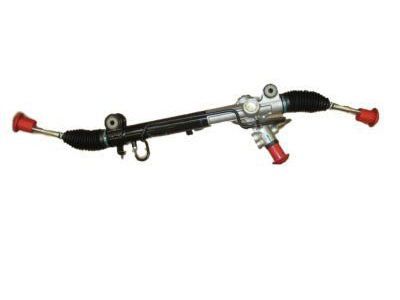
2001 Toyota Land Cruiser Gear Assembly, Power Steering(For Rack & Pinion)
Part Number: 44250-60050$685.64 MSRP: $1004.81You Save: $319.17 (32%)Ships in 1-3 Business DaysProduct Specifications- Other Name: Gear Assembly, Power Steering; Rack and Pinion Assembly; Steering Gearbox
- Part Name Code: 44250
- Item Weight: 40.80 Pounds
- Item Dimensions: 48.8 x 9.5 x 8.1 inches
- Condition: New
- Fitment Type: Direct Replacement
- SKU: 44250-60050
- Warranty: This genuine part is guaranteed by Toyota's factory warranty.
2001 Toyota Land Cruiser Rack, Front
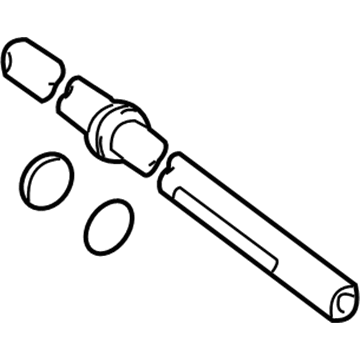
Part Number: 44204-60020$389.74 MSRP: $571.17You Save: $181.43 (32%)Ships in 1-3 Business DaysProduct Specifications- Other Name: Rack Sub-Assembly, Power; Rack And Pinion Rack Gear, Front; Steering Gearbox; Steering Rack; Rack Sub-Assembly, Power Steering
- Position: Front
- Part Name Code: 44204
- Item Weight: 5.40 Pounds
- Item Dimensions: 33.1 x 3.3 x 2.9 inches
- Condition: New
- Fitment Type: Direct Replacement
- SKU: 44204-60020
- Warranty: This genuine part is guaranteed by Toyota's factory warranty.
2001 Toyota Land Cruiser Rack And Pinion
Looking for affordable OEM 2001 Toyota Land Cruiser Rack And Pinion? Explore our comprehensive catalogue of genuine 2001 Toyota Land Cruiser Rack And Pinion. All our parts are covered by the manufacturer's warranty. Plus, our straightforward return policy and speedy delivery service ensure an unparalleled shopping experience. We look forward to your visit!
2001 Toyota Land Cruiser Rack And Pinion Parts Q&A
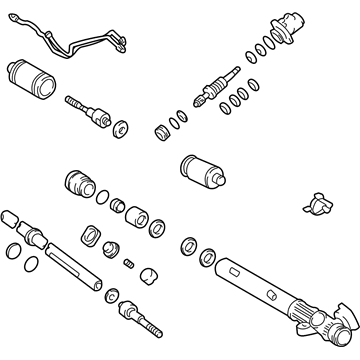
- Q: How to service and repair the Rack And Pinion on 2001 Toyota Land Cruiser?A: Begin the PS rack and pinion assembly repair by fixating the structure in a vise through the use of Special Service Tool: 09630-00014 (09631-00142) while being careful not to over-tighten. Start service and repair operations by removing the 2 turn pressure tubes with Special Service Tool: 09023-38200 and the tube support retainer and its bolt. Untighten the two clamps on rack boot using pliers before removing the clips and boots while making notes to identify right-hand (RH) and left-hand (LH) boots and maintaining their condition. After placing the rack steady on a spanner the operator will use a screwdriver and hammer to stake back the washer on RH and LH ends and extract both rack ends with Special Service Tool: 09922-10010 by marking them. Lightly twist off first the rack guide spring cap lock nut followed by removing the rack guide spring cap and rack guide spring and rack guide subassembly before taking off the dust cover. The control valve housing with its assembly should be matchmarked before extracting the 2 bolts that allows the complete assembly to be pulled away carefully while removing the O-ring. Adjust the bearing guide nut using Special Service Tool: 09631-20060 before winding vinyl tape onto the control valve shaft then tapping out the valve assembly with the bearing guide nut without damaging the oil seal lip. Press out the rack and pinion with oil seal using Special Service Tool: 09950-70010 (09951-07200) while keeping the rack from falling. Do so while maintaining continuous and careful pressure on the tool to remove the rack. Press the oil seal and spacer using Special Service Tool: 09950-60010 (09951-00360) and 09950-70010 (09951-07360). Examine the rack and pinion for runout levels while checking for wear damage using a maximum permitted runout of 0.03 mm (0.0118 inch). Apply molybdenum disulfide lithium base grease as needed for the bearing part. To replace the components use Special Service Tools: 09950-60010 (09951-00260) and 09950-70010 (09951-07150) by installing the oil seal correctly. Check for cracks in the bushing then apply grease to its interior before potential replacement. Introduce new teflon ring and O-ring components from the rack and pinion after coating them with power steering fluid while taking care to avoid damaging the groove. When operating on the control valve assembly install new teflon rings by carefully maintaining the grooves intact. Reassembly requires application of power steering fluid or molybdenum disulfide lithium base grease to the parts before installing the spacer and oil seal through Special Service Tools: 09951-00010 (09951-00350, 09951-00550, 09952-06010) and 09950-70010 (09951-07360). The oil seal must face the designated direction during installation. When installing the rack and pinion it must be followed by the oil seal and spacer and cylinder end stop using Special Service Tool 09922-10010 to torque the stopper to 66 Nm (670 kgf-cm, 48 ft. lbs.). Apply a vacuum pressure of 53 kPa (400 mm Hg, 15.75 inch Hg) through Special Service Tool: 09631-12071 for a duration of 30 seconds to conduct the air tightness test. The control valve assembly needs to be installed while the teflon rings and O-ring receive power steering fluid coating. Then tighten the bearing guide nut to 25 Nm (250 kgf-cm, 18 ft. lbs.). Place the control valve housing with its valve assembly while keeping all matchmarks in line before torquing the bolts up to 18 Nm (180 kgf-cm, 13 ft. lbs.). The rack guide installation process ends with thread insertion of the dust cover and rack guide sub-assembly, rack guide spring, rack guide spring cap while applying sealant to the threads and adjusting the total preload before installing the rack guide spring cap lock nut. Munge the RH and LH claw washers and rack ends first before tightening them to 76 Nm (770 kgf-cm, 56 ft. lbs.). Secure the installation by torquing the RH and LH rack boots and their clamps with clips and tube support retainer and attaching the 2 turn pressure tubes with the proper torque.


