Warranty: This genuine part is guaranteed by Toyota's
factory warranty.
More Info
Fits the following 2001 Toyota Camry Submodels:
Base, CE, DLX, DLX All Trac, DX, LE, LE All Trac, SE, XLE | 4 Cyl 1.8 L DIESEL, 4 Cyl 2.0 L DIESEL, 4 Cyl 2.0 L GAS, 4 Cyl 2.2 L CNG, 4 Cyl 2.2 L GAS
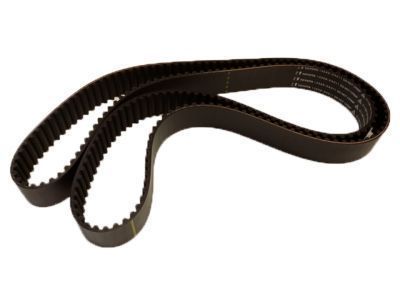
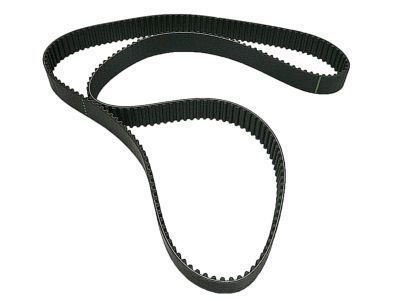
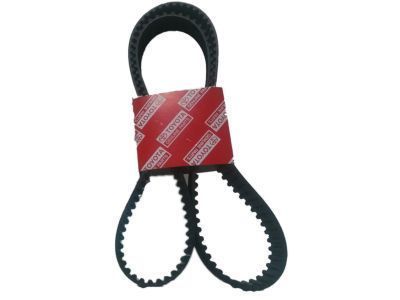
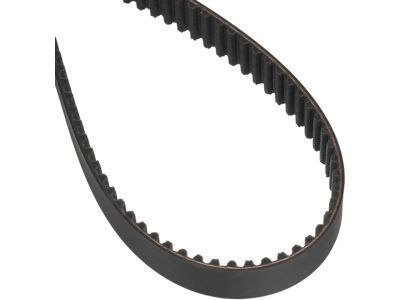
2001 Toyota Camry Timing Belt
Looking for affordable OEM 2001 Toyota Camry Timing Belt? Explore our comprehensive catalogue of genuine 2001 Toyota Camry Timing Belt. All our parts are covered by the manufacturer's warranty. Plus, our straightforward return policy and speedy delivery service ensure an unparalleled shopping experience. We look forward to your visit!
2001 Toyota Camry Parts Questions & Experts Answers
Q: How to remove and install the timing belt on 2001 Toyota Camry?
A: Starting the timing belt replacement begins with generator removal while also taking off the right-hand front wheel and right-hand front fender apron seal together with the power steering pump drive belt through the procedure of bolt loosening. The ground strap connector should be disconnected and then you can remove the engine moving control rod through 3 bolt removal. The operation begins with separating the No.2 right-hand engine mounting bracket together with its 3 mounting bolts. Remove the four spark plugs after detaching their high-tension cables from the clamp placed on both the cylinder head cover and spark plugs. Proceed by disconnecting the 2 engine wires clamps from the No.2 timing belt cover before removing 4 bolts that allow the cover to be taken off. Set the No.1 cylinder to TDC/compression position by rotating the crankshaft pulley until the timing mark "0" of the No.1 timing belt cover line up and the camshaft timing pulley hole points at the bearing cap timing mark. Switch the crankshaft pulley if alignment is incorrect by turning it one complete revolution. Locate and loosen the mounting bolt of No.1 idler pulley then move it to the left side before tightening it enough to remove the camshaft timing pulley timing belt. Special Service Tools: 09249-63010, 09960-10010 (09962-10000, 09963-01000) help to loosen the pulley bolt prior to removing both the bolt and timing pulley. The Special Service Tools 09213-54015 (91651-60855), 09330-00021 need use to remove the crankshaft pulley bolt while understanding that pulley bolts must use either type A (91651-0885) or type B (91121-40665) with a plate washer required for type B. Loosen the crankshaft pulley bolt but verify that the matching mark matches the timing mark "0" of the No.1 timing belt cover. Adjust the pulley position as needed before removing the bolt and pulley. Apply Special Service Tool: 09950-50012 (list of alternative tools also included) to uninstall the pulley because you should not turn the pulley. Detach the crankshaft position sensor wire from its position on the timing belt cover before you drain the 4 retaining bolts to remove the No.1 timing belt cover. Gently remove the timing belt guide and the timing belt from its position and record engine revolution direction before putting matchmarks on reusable parts of the timing belt and crankshaft timing pulley. Start by uninstalling the No.1 idler pulley accompanied by its tension spring then proceed to remove the No.2 idler pulley. To remove the crankshaft timing pulley that cannot be removed manually use special service tool 09950-50012 (with components 09951-05010, 09952-05010, 09953-05010, 09953-05020, 09954-05010) while being careful not to harm the angle sensor. To remove the oil pump pulley nut first loosen it with Special Service Tool: 09960-10010 (09962-01000, 09963-00500). Check that the timing belt shows no damage and is not physically bent nor twisted nor touching oil water or steam while verifying its proper gasket installation and the timing cover gasket is unaffected. If the idler pulleys demonstrate oil leaks with uneven operation the technician must perform component replacement. A test should be performed to determine if the tension spring requires replacement by measuring its free length of 42.0 mm and its installed tension within the specified range of 32 to 37 N at 50.5 mm. Special Service Tool: 09960-10010 (02962-01000) 29963-00500) helps installation of the pulley nut which requires a torque of 24 Nm in this step. Use Special Service Tool: 09249-63010, 09960-10010 (09962-01000, 09963-01000) to install the crankshaft timing pulley bolt after sliding it onto the key groove with a torque of 54 Nm (37 Nm with the tool). The technician should place the No.1 cylinder into a TDC/compression position while aligning the crankshaft pulley groove with timing mark "0" and using Special Service Tool: 09960-10010 (09962-01000, 09963-01000) to match the camshaft timing pulley hole with bearing cap timing mark. The timing belt needs to be installed correctly on the camshaft timing pulley and the tension must be correct while valve timing needs checking through clocking the crankshaft pulley to match the timing marks by removing the No.1 idler pulley bolt. Install the No.2 timing belt cover over the gasket which should remain intact while tightening 4 bolts. First install the spark plugs and high-tension cords then secure the No.2 right-hand engine mounting bracket through tightening its 3 bolts to 52 Nm torque values. The engine moving control rod needs 3 bolts torqued up to 64 Nm which must be followed by reconnecting the ground strap connector, installing the power steering pump drive belt and right-hand front fender apron seal and right-hand front wheel and generator.