×
ToyotaParts- Hello
- Login or Register
- Quick Links
- Live Chat
- Track Order
- Parts Availability
- RMA
- Help Center
- Contact Us
- Shop for
- Toyota Parts
- Scion Parts
My Garage
My Account
Cart
OEM 2000 Toyota Camry Timing Belt
Engine Timing Belt- Select Vehicle by Model
- Select Vehicle by VIN
Select Vehicle by Model
orMake
Model
Year
Select Vehicle by VIN
For the most accurate results, select vehicle by your VIN (Vehicle Identification Number).
2 Timing Belts found

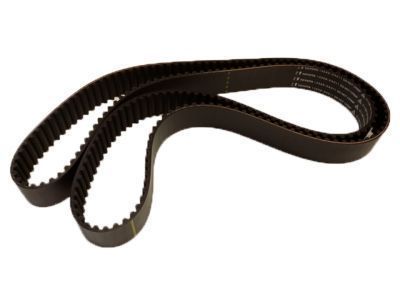
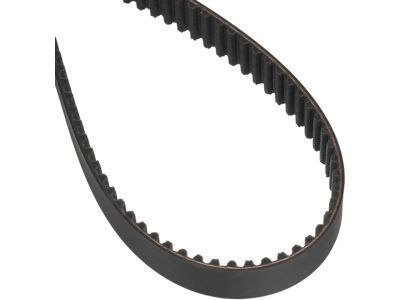
2000 Toyota Camry Timing Belt
Part Number: 13568-09080$60.54 MSRP: $84.98You Save: $24.44 (29%)Ships in 1-2 Business DaysProduct Specifications- Other Name: Belt, Timing; Engine Timing Belt; Timing Belt Kit
- Replaces: 13568-09050
- Part Name Code: 13568
- Item Weight: 1.00 Pounds
- Item Dimensions: 14.0 x 12.1 x 2.1 inches
- Condition: New
- Fitment Type: Direct Replacement
- SKU: 13568-09080
- Warranty: This genuine part is guaranteed by Toyota's factory warranty.

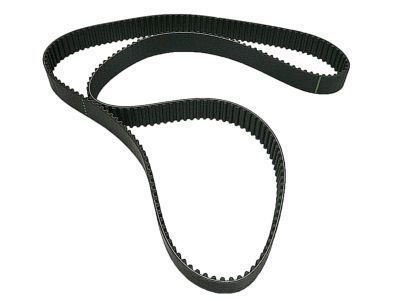
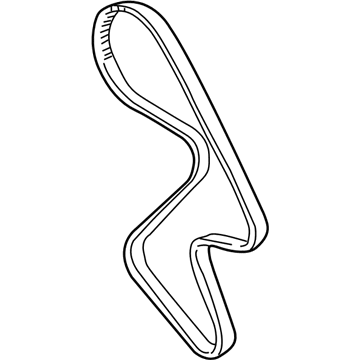
2000 Toyota Camry Timing Belt
Part Number: 13568-09041$43.13 MSRP: $60.03You Save: $16.90 (29%)Ships in 1-3 Business DaysProduct Specifications- Other Name: Belt, Timing; Engine Timing Belt; Timing Belt Kit
- Manufacturer Note: (L)
- Replaces: 13568-74010, 13568-03010, 13568-79025, 13568-79225, 13568-74020, 13568-79095, 13568-74011, 13568-74012
- Part Name Code: 13568
- Item Weight: 1.10 Pounds
- Item Dimensions: 14.0 x 11.8 x 2.2 inches
- Condition: New
- Fitment Type: Direct Replacement
- SKU: 13568-09041
- Warranty: This genuine part is guaranteed by Toyota's factory warranty.
2000 Toyota Camry Timing Belt
Looking for affordable OEM 2000 Toyota Camry Timing Belt? Explore our comprehensive catalogue of genuine 2000 Toyota Camry Timing Belt. All our parts are covered by the manufacturer's warranty. Plus, our straightforward return policy and speedy delivery service ensure an unparalleled shopping experience. We look forward to your visit!
2000 Toyota Camry Timing Belt Parts Q&A
- Q: How to Service and Repair a Timing Belt on 2000 Toyota Camry?A: The first step for servicing or repairing a timing belt starts with the removal of right-hand front wheel and fender apron seal along with generator drive belt and PS pump drive belt by releasing their 2 bolts. Unfasten the engine coolant reservoir hose from both the water outlet and the ground strap connectors. The right-hand engine mounting stay along with the M/T equivalent, engine moving control rod, and No.2 right-hand engine mounting bracket must be removed first before proceeding with the No.2 generator bracket detachment that requires removing the generator pivot bolt and releasing the nut and bracket. Special Service Tools 09213-54015 (91651-0855) and 09330-00021 combined with Tools 09950-50012 (09951-05010, 09952-05010 and 09353-05010, 09953-05020, 09954-05020) enable removal of the crankshaft pulley bolt and pulley. First remove all 4 bolts from the No.1 timing belt cover then take away the timing belt guide before removing the No.2 timing belt cover by disconnecting the engine wire protectors and unscrewing 5 bolts. Uninstall the right-hand engine mounting bracket through the removal of two bolts along with a nut. Set the No.1 cylinder to TDC/compression through temporary installation of the crankshaft pulley bolt which allows turning the crankshaft until the timing marks line up while inspecting the camshaft timing pulleys against the No.3 timing belt cover alignment. The timing belt requires inspection for three installation marks and one front mark before removal; add new marks if any of these are absent. Disengage the timing belt tensioner mechanism through alternating steps of releasing the 2 bolts and subsequently detaching the rotating belt. Special Service Tools: 09249-63010, 09960-10010 (09962-01000, 09963-01000) and Special Service Tools: 09960-10010 (09962-01000, 09963-01000) must be used to remove the RH and LH timing pulleys respectively. A 10 mm hexagon wrench allows you to remove the No.2 idler pulley and the No.1 idler pulley. To eliminate the crankshaft timing pulley begin by dissembling the bolt and timing belt plate while using Special Service Tool: 09950-50012 (09951-05010, 09952-05010, 09953-05010, 09953-05020, 09954-05010) to detach the pulley without damaging the sensor part. Look for damage in the timing belt while verifying its ability to maintain shape without bending or twisting before checking if it touches oil, water, or steam. Also check for oil leakage and normal operation in the idler pulleys and timing belt tensioner. Begin installation by placing the crankshaft timing pulley with correct alignment of its pulley set key then put the timing pulley so its sensor side faces toward the inside. After that install the timing belt plate. Use a 10 mm hexagon wrench to install the No.1 idler pulley with adhesive Part No. 08833-00080 where the smooth operation must be confirmed. Install the No.2 idler pulley before proceeding to the right-hand camshaft timing pulley where you should use Special Service Tool: 09240-63010, 09960-10010 (09962-01000, 09963-01000) to install the pulley bolt. Complete the same process for installing the left-hand camshaft timing pulley. Execute a final check of all timing marks while keeping the No.1 cylinder aligned at TDC/compression position. Fit the timing belt according to the prescribed sequence while working on a cold engine and clean pulleys. Install the timing belt tensioner following procedure by pressing the push rod and fastening its position with a 1.27 mm hexagon wrench. The timing belt tensioner installation requires an alternating tightening process of its two bolts along with valve timing confirmation by checking all timing marks while turning the crankshaft. The correct procedure includes adding the right-hand engine mounting bracket followed by the sequence of No.2 timing belt cover, timing belt guide, No.1 timing belt cover and crankshaft pulley while ensuring each gasket remains secure. Reinstall the drive belts and replace the fender apron seal while reinstating ground strap connectors along with engine coolant reservoir hose and right-hand engine mounting components and No.2 generator bracket in the last step before putting the wheel back in place. The vehicle needs to undergo an on-road examination to identify unusual noises while verifying shock quality and detecting slippage during operation as well as normal shift points and smooth behavior.
