×
ToyotaParts- Hello
- Login or Register
- Quick Links
- Live Chat
- Track Order
- Parts Availability
- RMA
- Help Center
- Contact Us
- Shop for
- Toyota Parts
- Scion Parts
My Garage
My Account
Cart
OEM 2000 Toyota Solara Ball Joint
Control Arm Joint- Select Vehicle by Model
- Select Vehicle by VIN
Select Vehicle by Model
orMake
Model
Year
Select Vehicle by VIN
For the most accurate results, select vehicle by your VIN (Vehicle Identification Number).
1 Ball Joint found

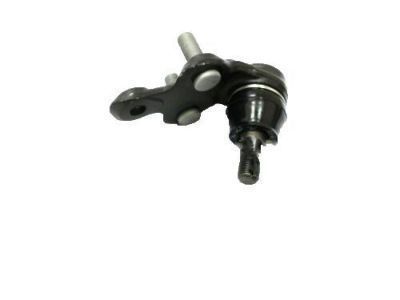
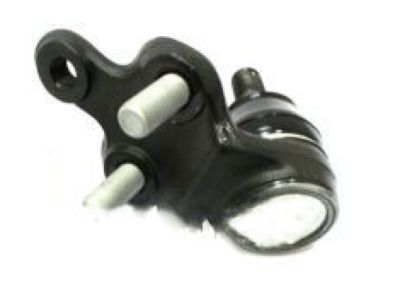
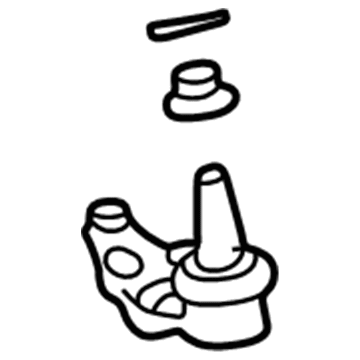
2000 Toyota Solara Ball Joint, Lower
Part Number: 43330-39435$70.97 MSRP: $99.62You Save: $28.65 (29%)Ships in 1-3 Business DaysProduct Specifications- Other Name: Joint Assembly, Lower Ball; Suspension Ball Joint, Front; Joint Assembly, Lower Ball, Front Passenger Side; Joint Assembly, Lower Ball, Front Driver Side; Suspension Ball Joint
- Position: Lower
- Replaces: 43330-09050, 43330-39285
- Item Weight: 2.00 Pounds
- Item Dimensions: 5.7 x 3.3 x 2.5 inches
- Condition: New
- Fitment Type: Direct Replacement
- SKU: 43330-39435
- Warranty: This genuine part is guaranteed by Toyota's factory warranty.
2000 Toyota Solara Ball Joint
Looking for affordable OEM 2000 Toyota Solara Ball Joint? Explore our comprehensive catalogue of genuine 2000 Toyota Solara Ball Joint. All our parts are covered by the manufacturer's warranty. Plus, our straightforward return policy and speedy delivery service ensure an unparalleled shopping experience. We look forward to your visit!
2000 Toyota Solara Ball Joint Parts Q&A
- Q: How to service and repair the ball joint on 2000 Toyota Solara?A: Repair and service of the ball joint begins with removing the front axle hub followed by using a screwdriver to remove the dust deflector before taking off the cotter pin and nut. The Special Service Tool 09628-62011 assists in lowering ball joint detachment. To inspect the ball joint rotation condition begin with 5 back-and-forth motions of the ball joint stud followed by continuous torque wrench use to turn the nut at a rate of 1 turn every 2 to 4 seconds taking the torque reading at turn 5 between 1.0 - 3.4 Nm (10 - 35 kgf-cm, 8.7 - 30 inch lbs.). The lower ball joint installation process starts with tightening the nut to 123 Nm (1,250 kgf-cm, 90 ft. lbs.) then inserting a new cotter pin while validating that the holes match up; otherwise, increase the nut torque to 60 degrees. To install the new dust deflector use Special Service Tools that include 09316-60011 (09316-00011, 09316-00041) 09608-32010 and a hammer while aligning the ABS speed sensor hole in the deflector with its matching position in the knuckle. Complete the installation by putting back the front axle hub.


