×
ToyotaParts- Hello
- Login or Register
- Quick Links
- Live Chat
- Track Order
- Parts Availability
- RMA
- Help Center
- Contact Us
- Shop for
- Toyota Parts
- Scion Parts
My Garage
My Account
Cart
OEM 2000 Toyota Land Cruiser Coil Springs
Strut Spring- Select Vehicle by Model
- Select Vehicle by VIN
Select Vehicle by Model
orMake
Model
Year
Select Vehicle by VIN
For the most accurate results, select vehicle by your VIN (Vehicle Identification Number).
4 Coil Springs found

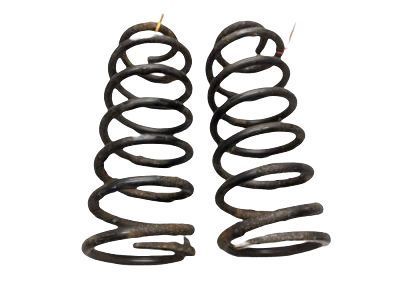
2000 Toyota Land Cruiser Coil Spring, Rear Driver Side
Part Number: 48231-6A690$253.84 MSRP: $362.42You Save: $108.58 (30%)Ships in 1-3 Business DaysProduct Specifications- Other Name: Spring, Coil, Rear; Coil Spring, Rear Left; Coil Spring Rear; Coil Springs; Spring; Spring, Coil, Rear Driver Side
- Manufacturer Note: H=504,GREEN & PINK PAINTED
- Position: Rear Driver Side
- Part Name Code: 48231B
- Item Weight: 18.00 Pounds
- Item Dimensions: 18.1 x 11.1 x 5.8 inches
- Condition: New
- Fitment Type: Direct Replacement
- SKU: 48231-6A690
- Warranty: This genuine part is guaranteed by Toyota's factory warranty.

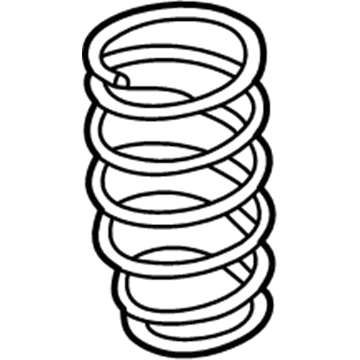
2000 Toyota Land Cruiser Coil Spring, Rear Passenger Side
Part Number: 48231-6A680$247.90 MSRP: $353.95You Save: $106.05 (30%)Ships in 1-3 Business DaysProduct Specifications- Other Name: Spring, Coil, Rear; Coil Spring, Rear Right; Coil Springs; Spring; Spring, Coil, Rear Passenger Side
- Manufacturer Note: H=498,GREEN&GREEN PAINTED
- Position: Rear Passenger Side
- Part Name Code: 48231A
- Item Weight: 17.40 Pounds
- Item Dimensions: 17.9 x 11.7 x 5.7 inches
- Condition: New
- Fitment Type: Direct Replacement
- SKU: 48231-6A680
- Warranty: This genuine part is guaranteed by Toyota's factory warranty.
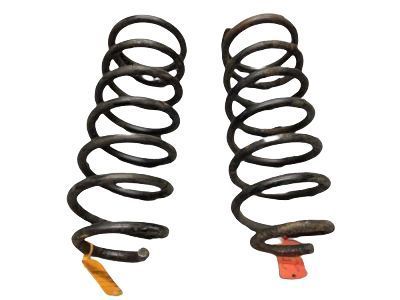
2000 Toyota Land Cruiser Coil Spring, Rear Driver Side
Part Number: 48231-6A670$199.25 MSRP: $284.48You Save: $85.23 (30%)Product Specifications- Other Name: Spring, Coil, Rear; Coil Spring, Rear Left; Coil Springs; Spring; Spring, Coil, Rear Driver Side
- Manufacturer Note: H=492,YELLOW&BROWN PAINTED
- Position: Rear Driver Side
- Part Name Code: 48231B
- Item Weight: 4.30 Pounds
- Item Dimensions: 17.9 x 10.7 x 5.8 inches
- Condition: New
- Fitment Type: Direct Replacement
- SKU: 48231-6A670
- Warranty: This genuine part is guaranteed by Toyota's factory warranty.
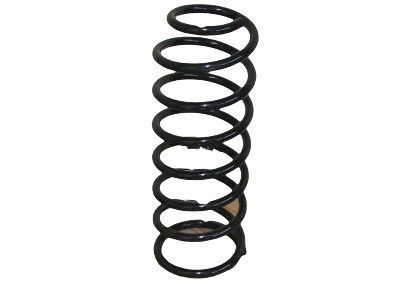
2000 Toyota Land Cruiser Coil Spring, Rear Passenger Side
Part Number: 48231-6A660$193.91 MSRP: $276.87You Save: $82.96 (30%)Product Specifications- Other Name: Spring, Coil, Rear; Coil Spring, Rear Right; Coil Springs; Spring; Spring, Coil, Rear Passenger Side
- Manufacturer Note: H=486;YELLOW & PURPLE PAINTED
- Position: Rear Passenger Side
- Part Name Code: 48231A
- Item Weight: 4.20 Pounds
- Item Dimensions: 17.9 x 11.2 x 5.9 inches
- Condition: New
- Fitment Type: Direct Replacement
- SKU: 48231-6A660
- Warranty: This genuine part is guaranteed by Toyota's factory warranty.
2000 Toyota Land Cruiser Coil Springs
Looking for affordable OEM 2000 Toyota Land Cruiser Coil Springs? Explore our comprehensive catalogue of genuine 2000 Toyota Land Cruiser Coil Springs. All our parts are covered by the manufacturer's warranty. Plus, our straightforward return policy and speedy delivery service ensure an unparalleled shopping experience. We look forward to your visit!
2000 Toyota Land Cruiser Coil Springs Parts Q&A
- Q: How to remove and reinstall the coil springs on 2000 Toyota Land Cruiser?A: The first step to remove the coil spring requires the removal of rear wheels with a specified torque of 131 Nm (1,340 kgf-cm, 97 ft. lbs.). A jack will support the rear axle housing before you disconnect the shock absorber by removing its bolt which needs 98 Nm (1,000 kgf-cm, 72 ft. lbs.) torque and then you can take out the nut and two retainers along with cushion and shock absorber when you hold the piston rod with 69 Nm (704 kgf-cm, 51 ft. lbs.). You should disconnect the lateral control rod by removing its nut, washer and bolt with 150 Nm (1,530 kgf-cm, 111 ft. lbs.) torque and stabilize the suspension before torquing the nut and bolt for installation. Perform breather hose disconnection followed by a slow descent of the axle housing for safety before extracting the coil spring and its insulator. During reassembly of the coil spring end it must be in its proper position before moving forward. The frame installation process requires sufficient torque on the bolt and follow spring of 28 Nm (290 kgf-cm, 21 ft. lbs.). Check the shock absorber rod operation for unusual sounds and resistance by compressing and extending it while inspecting for any abnormalities that would require a replacement. Before discarding the shock absorber perform a 2 - 3mm (0.079 - 0.118 inch) diameter drainage hole to let out gas while being mindful that flying chips can occur and the released gas has no color, odors, or harmful effects. To remove and install the bushing Special Service Tools 09710-14013 (09710-00061) together with 09710-28012 (09710-07031) and 09950-70010 (09951-07100) can be utilized with a press. The installation sequence begins by performing all operations in the opposite direction of removal.


