×
ToyotaParts- Hello
- Login or Register
- Quick Links
- Live Chat
- Track Order
- Parts Availability
- RMA
- Help Center
- Contact Us
- Shop for
- Toyota Parts
- Scion Parts
My Garage
My Account
Cart
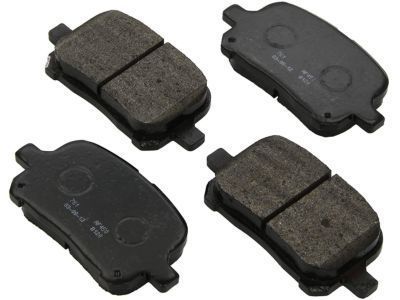
OEM Toyota Solara Brake Pad Set
Disc Brake Pad Set- Select Vehicle by Model
- Select Vehicle by VIN
Select Vehicle by Model
orMake
Model
Year
Select Vehicle by VIN
For the most accurate results, select vehicle by your VIN (Vehicle Identification Number).
5 Brake Pad Sets found

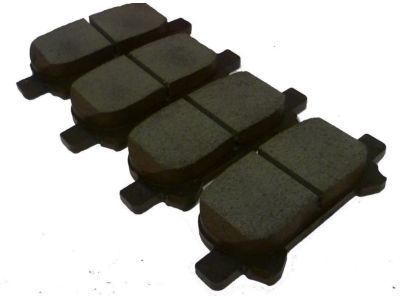
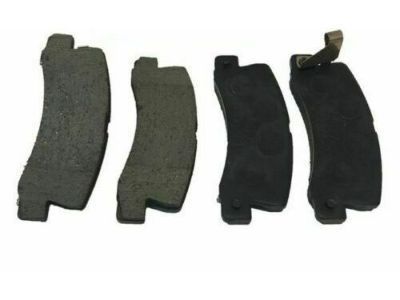
Toyota Solara Brake Pads, Rear
Part Number: 04466-33060$57.23 MSRP: $79.27You Save: $22.04 (28%)Ships in 1-2 Business Days
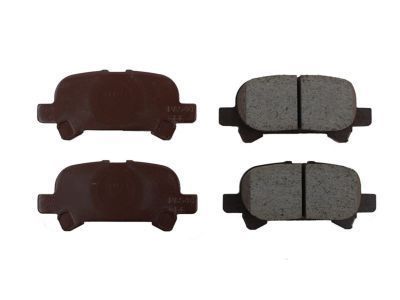
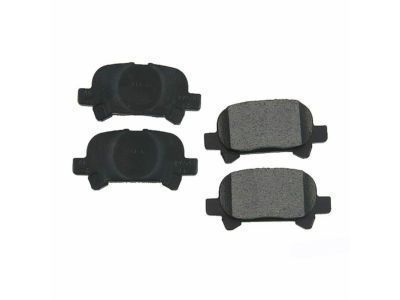
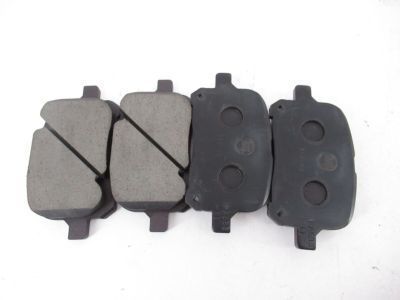
Toyota Solara Brake Pads, Rear
Part Number: 04466-33040$46.47 MSRP: $64.61You Save: $18.14 (29%)Ships in 1 Business Day
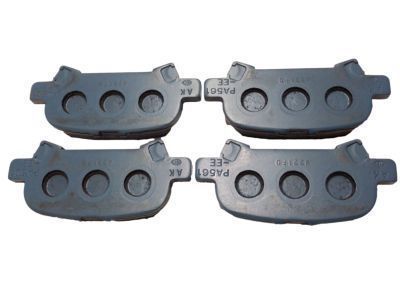
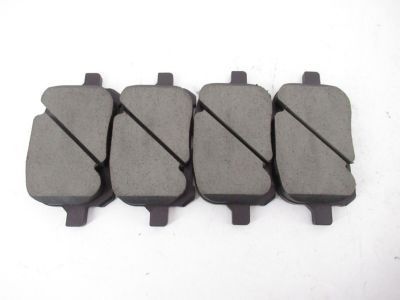
Toyota Solara Brake Pads, Rear
Part Number: 04466-06030$57.23 MSRP: $79.27You Save: $22.04 (28%)Ships in 1-3 Business Days
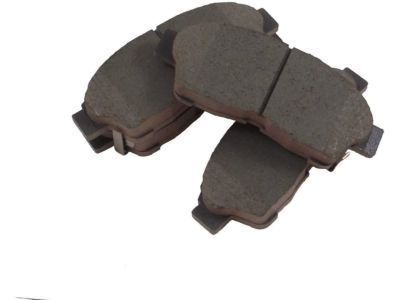
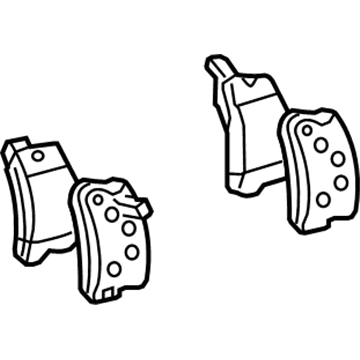
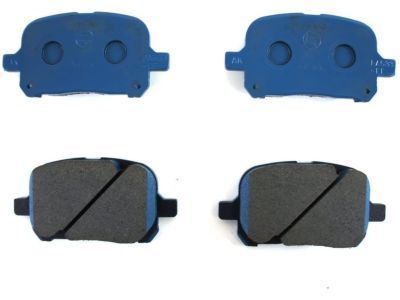
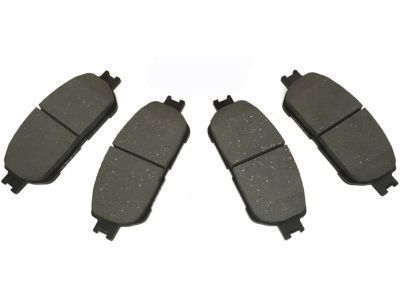
Toyota Solara Pad Kit, Disc Brake, Front
Part Number: 04465-33121$76.89 MSRP: $106.79You Save: $29.90 (28%)Ships in 1-2 Business Days
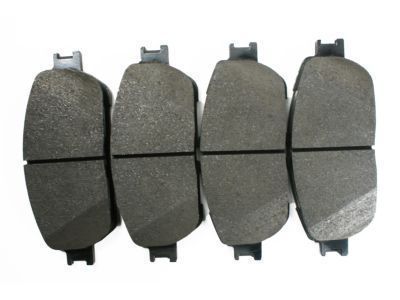
Toyota Solara Brake Pads, Front
Part Number: 04465-08030$76.07 MSRP: $105.63You Save: $29.56 (28%)Ships in 1-2 Business Days
Toyota Solara Brake Pad Set
Choose genuine Brake Pad Set that pass strict quality control tests. You can trust the top quality and lasting durability. Shopping for OEM Brake Pad Set for your Toyota Solara? Our website is your one-stop destination. We stock an extensive selection of genuine Toyota Solara parts. The price is affordable so you can save more. It only takes minutes to browse and find the exact fit. Easily add to cart and check out fast. Our hassle-free return policy will keep you stress-free. We process orders quickly for swift delivery. Your parts will arrive faster, so you can get back on the road sooner.
Toyota Solara Brake Pad Set Parts and Q&A
- Q: How to replace the front Brake Pad Set on Toyota Solara?A:Inspection of pad lining thickness through the caliper inspection hole is necessary before pad replacement. Pads require replacement when the lining measures less than 1.0 mm (0.039 inch). The brake caliper needs lifting by removing the bracket bolt and its attached flexible hose followed by removing the bottom installation bolt while securing the caliper without disconnecting the hose. Start by removing both brake pads together with their four anti-squeal shims next remove the pad wear indicator plate with the four shims then take the two pad support plates that may remain usable as long as they are free of deformation cracks wear and clean of rust and dirt. Without disc runout inspection verify that two pad support plates are suitable for installation. To replace the pads, both anti-squeal shims and wear indicator plates should be replaced simultaneously by first installing the pad wear indicator plate on the inner pad followed by brake grease application on both sides of the inner anti-squeal shims before adding the two anti-squeal shims to each pad. Insert the inner pad first while orienting its pad wear indicator plate in an upward position followed by the outer pad but maintain oils and greases off friction surfaces. To install the caliper you must first draw out a little brake fluid from the reservoir before using a hammer handle or similar tool to press the piston while loosening the bleeder plug if necessary (install the caliper last with an installation bolt torque set to 34 Nm or 350 kgf-cm or 25 ft.lbs.). Insert the front wheel onto its hub and torque it to 103 Nm (1,050 kgf-cm, 76 ft. lbs.), but before doing so which torque the flexible hose and bracket with 29 Nm (300 kgf-cm, 21 ft. lbs.). Use the brake pedal to create several depression strokes before examining that fluid reaches the max mark.
- Q: How to replace the rear Brake Pad Set on Toyota Solara?A:Begin by removing the rear wheel after temporarily connecting the disc with its 3 hub nuts. Check pad lining thickness through the inspection hole of the caliper unit when it reaches under 1.0 mm (0.039 inch). Replace these pads at this time. After separating the caliper from the bracket by taking out the bolt and flexible hose assembly the installation bolt must be removed from the caliper while keeping it suspended securely with flexible hose in place. Start by removing 2 pads with their 4 anti-squeal shims followed by 4 pad support plates using another set of 4 anti-squeal shims. Check the support plates can be reused if they lack deformation and have no cracks, wear and free of rust and debris. You should verify the disc thickness along with examining runout before putting on the 4 pad support plates. New pad installation requires users to replace all existing anti-squeal shims; place two shims on each pad before installing them upward with their wear indicator plate visible and grease the shims' inner sides while maintaining no contact between greasy materials and friction surfaces. The caliper installation starts with drawing a small amount of brake fluid from the reservoir followed by piston compression using a hammer handle or similar tool; resistance during this step requires bleeder plug loosening until some fluid drains out before continuing. The caliper belongs to a torque value of 20 Nm (200 kgf-cm, 14 ft. lbs.) while the flexible hose and bracket bolt needs to be tightened to 29 Nm (300 kgf-cm, 21 ft. lbs.). To complete the installation position the rear wheel before torquing it to 103 Nm (1,050 kgf-cm, 76 ft. lbs.). Continuing with installation requires depressing the brake pedal multiple times followed by a fluid level check at the max line.
