×
ToyotaParts- Hello
- Login or Register
- Quick Links
- Live Chat
- Track Order
- Parts Availability
- RMA
- Help Center
- Contact Us
- Shop for
- Toyota Parts
- Scion Parts
My Garage
My Account
Cart
OEM Toyota Sienna Parking Brake Shoe
Emergency Parking Brake Shoe- Select Vehicle by Model
- Select Vehicle by VIN
Select Vehicle by Model
orMake
Model
Year
Select Vehicle by VIN
For the most accurate results, select vehicle by your VIN (Vehicle Identification Number).
8 Parking Brake Shoes found

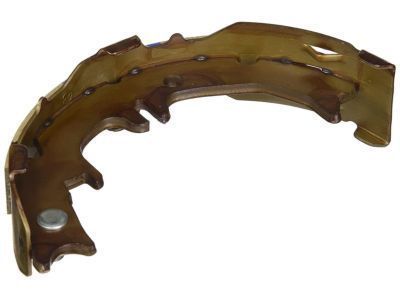
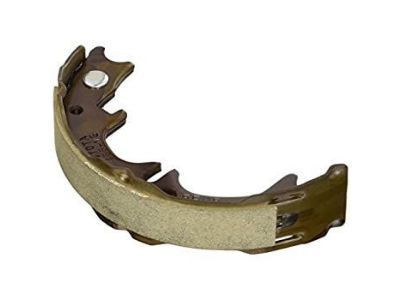
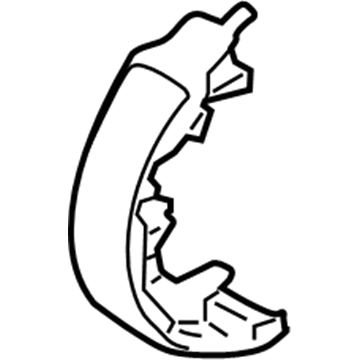
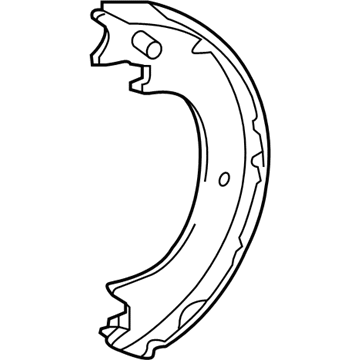
Toyota Sienna Shoes, Driver Side
Part Number: 46590-08010$33.21 MSRP: $46.23You Save: $13.02 (29%)Ships in 1-3 Business Days
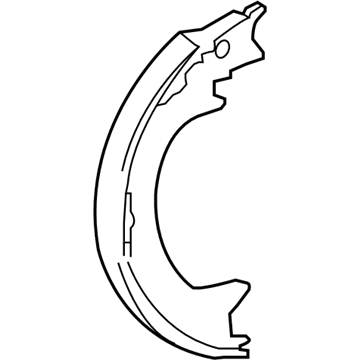
Toyota Sienna Shoes, Passenger Side Or Center
Part Number: 46550-08010$33.21 MSRP: $46.23You Save: $13.02 (29%)Ships in 1-3 Business Days
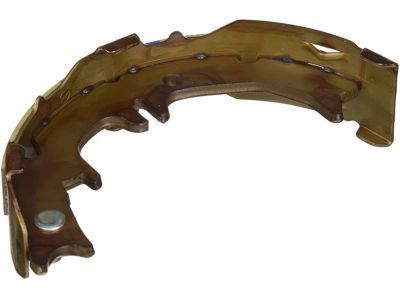
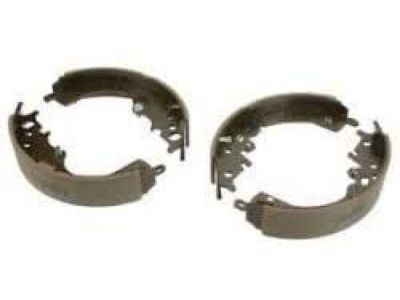
Toyota Sienna Shoe Assembly, Parking Brake, Passenger Side Or Center
Part Number: 46540-44010$47.55 MSRP: $66.19You Save: $18.64 (29%)Ships in 1-3 Business Days
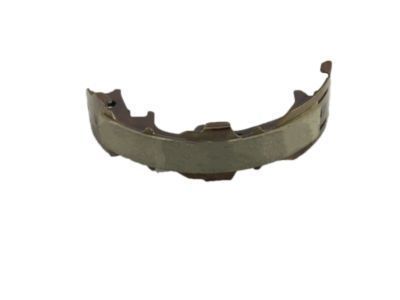
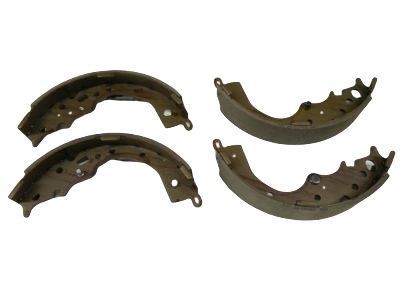
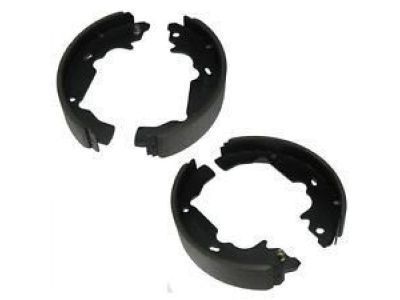
Toyota Sienna Brake Shoes, Rear
Part Number: 04495-08030$85.78 MSRP: $120.42You Save: $34.64 (29%)Ships in 1-2 Business DaysToyota Sienna Parking Brake Shoes, Driver Side
Part Number: 46590-0E020$35.72 MSRP: $49.71You Save: $13.99 (29%)Ships in 1-3 Business DaysToyota Sienna Parking Brake Shoes, Passenger Side Or Center
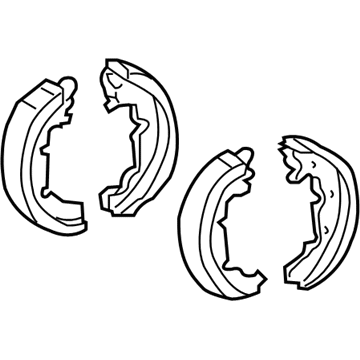
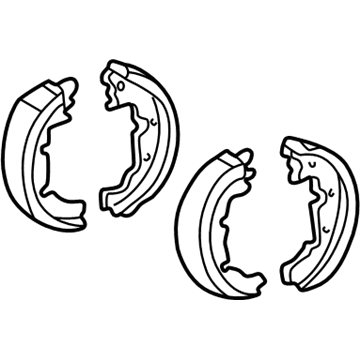
Part Number: 46550-0E020$35.72 MSRP: $49.71You Save: $13.99 (29%)Ships in 1-3 Business DaysToyota Sienna Parking Brake Shoes
Part Number: 46540-48040$39.54 MSRP: $55.05You Save: $15.51 (29%)Ships in 1-3 Business Days
Toyota Sienna Parking Brake Shoe
Choose genuine Parking Brake Shoe that pass strict quality control tests. You can trust the top quality and lasting durability. Shopping for OEM Parking Brake Shoe for your Toyota Sienna? Our website is your one-stop destination. We stock an extensive selection of genuine Toyota Sienna parts. The price is affordable so you can save more. It only takes minutes to browse and find the exact fit. Easily add to cart and check out fast. Our hassle-free return policy will keep you stress-free. We process orders quickly for swift delivery. Your parts will arrive faster, so you can get back on the road sooner.
Toyota Sienna Parking Brake Shoe Parts and Q&A
- Q: How to overhaul the Parking Brake Shoe on Toyota Sienna?A:The first step for parking brake assembly overhaul involves wheel removal followed by separating the rear disc Brake Caliper assembly LH without disconnecting the flexible hose. The rear disc removal requires releasing the parking brake while matching the disc mark to the axle hub position; adjust the shoe until the wheel turns smoothly when brake removal is problematic. A brake drum gauge should be used to measure the brake disc's inside diameter which must be between 190 mm (7.480 inch) and 191 mm (7.520 inch). The removal of parking brake shoe assembly LH No.1 requires needle-nose pliers to start by detaching two shoe return tension springs then disconnecting the tension spring while sliding out the assembly until completion of the shoe hold-down compression spring, two cups, and shoe hold-down compression spring Pin No.1. First disconnect the parking brake shoe adjusting screw set and the parking brake shoe strut LH before you can take out the parking brake shoe assembly LH No.2 using a return spring unconnect then slide the assembly before removing the shoe hold-down compression spring and its two cups along with the shoe hold-down compression spring pin No.2 and finally disconnect the Parking Brake Cable No.3 from the parking brake shoe lever. The parking brake shoe lining thickness should be inspected using a ruler since it meets standards at 2.5 mm (0.098 inch) and remains valid at 1.0 mm (0.039 inch). Apply chalk to the inside of the brake disc to inspect contact between the brake disc and shoe lining by sufficiently grinding the shoe lining when needed. To access the parking brake shoe lever LH remove the C-washer by unthreading it and detach the lever and shim from the assembly. Secure both shoe lever and shim together using a new C-washer after coating the assembly area with high-temperature grease. Use a feeler gauge to measure clearance before installing if the result exceeds 0.35 mm (0.0138 inch) since this indicates potential replacement of the shim material. The parking brake shoe assembly LH No.2 must receive the parking brake cable No.3 while using shoe hold-down compression spring pin No.2, shoe hold-down compression spring, and two cups to connect them. High-temperature grease should be applied to the adjusting bolt prior to installing the set of parking brake shoe adjusting screws LH along with parking brake shoe strut LH followed by installing parking brake shoe assembly LH No.1 with its components. Make sure each part is properly installed with no oil or grease touching the friction surfaces. You should perform the parking brake shoe clearance adjustments after placing temporary hub nuts to keep the disc in position while removing the hole plug to make the expansion adjustments before the disc locks then performing return adjustments until reaching eight notches. Check the free rotation of the brake disc before installing the hole plug to reconnect the LH rear disc brake caliper assembly and reattach the rear wheel using a torque of 103 Nm (1,050 kgf-cm, 76 ft. lbs.). End this procedure by checking and adjusting the travel distance of the parking brake pedal according to specifications.
- Q: What is the procedure to service and repair the Parking Brake Shoe on Toyota Sienna?A:The service and repair of the parking brake assembly start with rear wheel removal and caliper assembly disassembly without hose disconnect. After releasing the parking brake you can remove the rear disk through alignment of the hub matchmarks before adjusting the shoe if required until wheel motion becomes free. After using needle-nose pliers to disconnect the 2 shoe return tension springs detach the tension spring and slide out the assembly alongside the shoe hold-down compression spring, 2 cups and shoe hold-down compression spring pin No. 1. Start by disconnecting the parking brake shoe adjusting screw set alongside the parking brake shoe strut LH and then parking brake shoe assembly LH No. 2 using a return spring disconnection method followed by sliding out the assembly and removing the shoe hold-down compression spring, 2 cups and shoe hold-down compression spring pin No. 2 for Parking Brake Cable No. 3 conversion from parking brake shoe lever. Uninstall the parking brake shoe lever LH through removal of the C-washer and shim part. A brake drum gauge should be used to check the brake disc's inside diameter against the specified 190 mm standard and 191 mm maximum limits while a ruler should evaluate parking brake shoe lining thickness to confirm the standards between 2.5 mm and 1.0 mm. An examination for correct brake disc and shoe lining contact requires measuring and adjusting the brake lining when necessary after applying chalk between them. First apply high-temperature grease to the attachment area between backing plate and shoe and then install parking brake shoe lever LH with new C-washer and perform clearance measurement before replacing shim if necessary. After installing the parking brake shoe assembly LH No. 2 and joining the parking brake cable No. 3 users must add grease to the parking brake shoe adjusting screw set before adding the parking brake shoe strut LH and parking brake shoe assembly LH No. 1 with all its components. First install all components correctly while avoiding any oil or grease contamination on friction areas before installing the rear disc. Next adjust the parking brake shoe clearance by putting on the hub nuts temporarily while removing the hole plug for shoe adjustment until disc locking occurs. Afterward contract the adjuster once for smooth rotation until reaching 8 notches. Finish the process by fitting the rear disk Brake Caliper assembly LH then add the rear wheel and torque it to 103 Nm (1,050 kgf-cm, 76 ft. lbs.). Lastly, check and align the parking brake pedal travel before adjusting when needed.
