×
ToyotaParts- Hello
- Login or Register
- Quick Links
- Live Chat
- Track Order
- Parts Availability
- RMA
- Help Center
- Contact Us
- Shop for
- Toyota Parts
- Scion Parts
My Garage
My Account
Cart
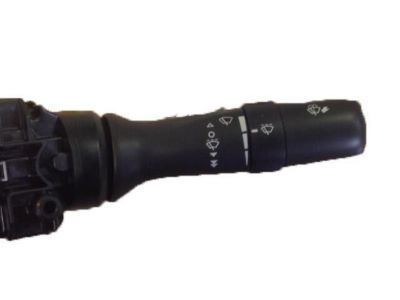
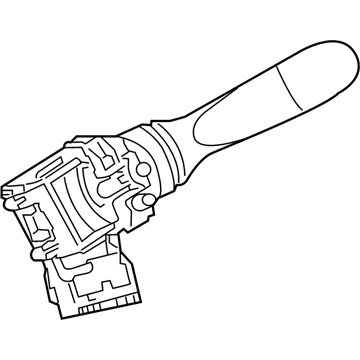
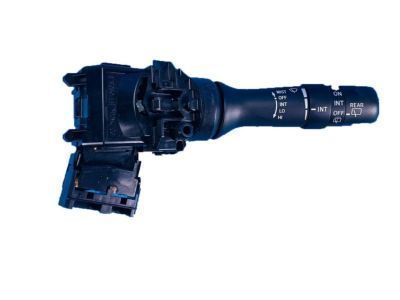
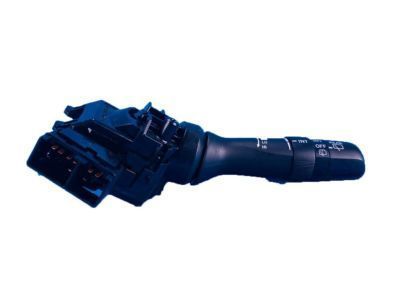
OEM Toyota Prius Wiper Switch
Windshield Wiper Switch- Select Vehicle by Model
- Select Vehicle by VIN
Select Vehicle by Model
orMake
Model
Year
Select Vehicle by VIN
For the most accurate results, select vehicle by your VIN (Vehicle Identification Number).
14 Wiper Switches found


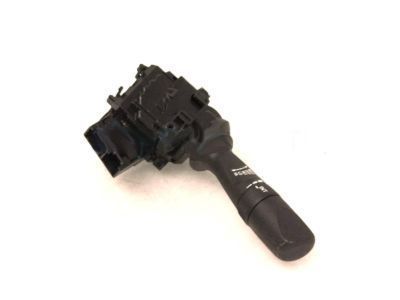
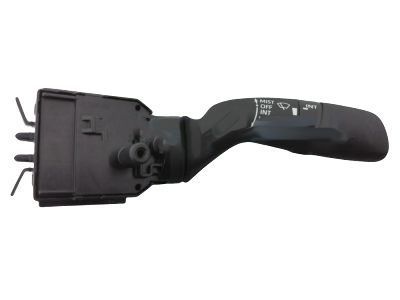
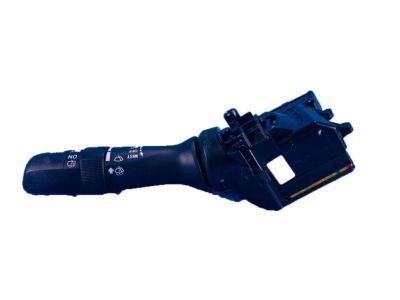
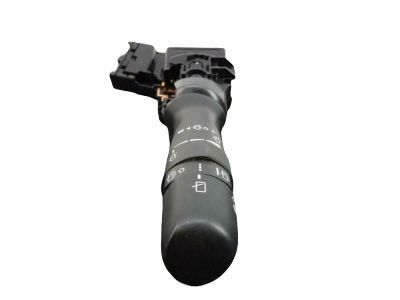
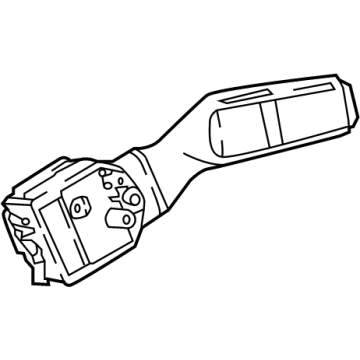
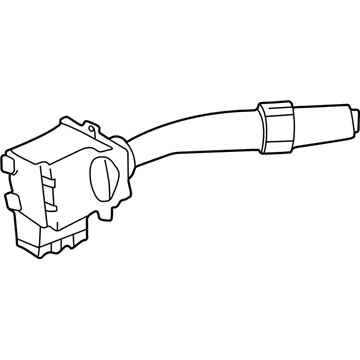
Toyota Prius Wiper Switch
Part Number: 84652-06400$133.59 MSRP: $189.10You Save: $55.51 (30%)Ships in 1 Business Day
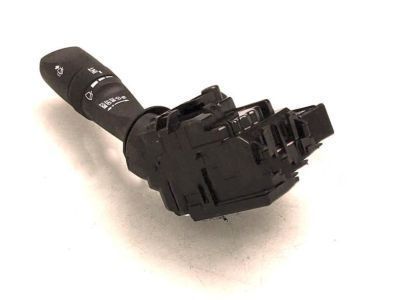
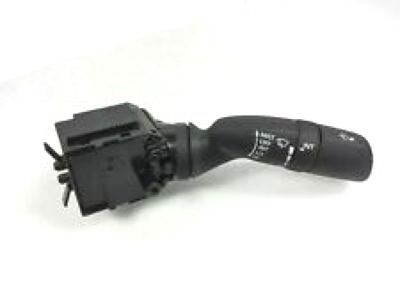
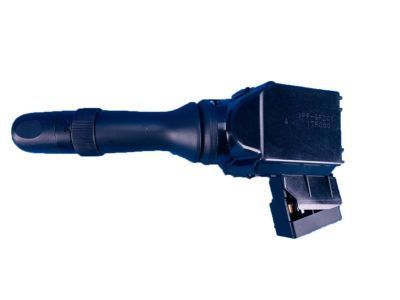
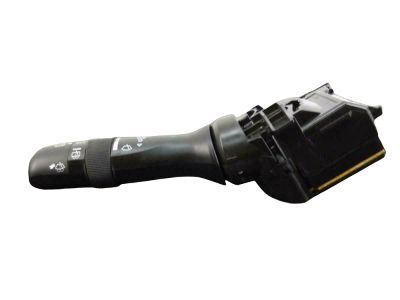
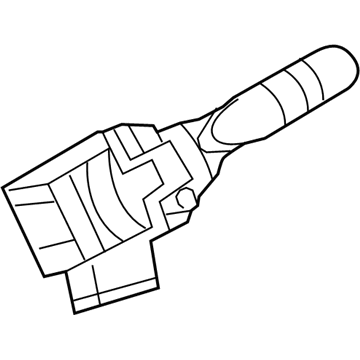
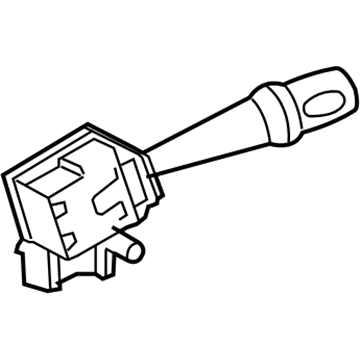
Toyota Prius Wiper Switch
Part Number: 84652-12B30$133.53 MSRP: $189.03You Save: $55.50 (30%)Ships in 1-3 Business Days
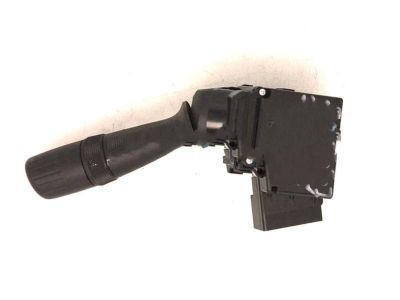
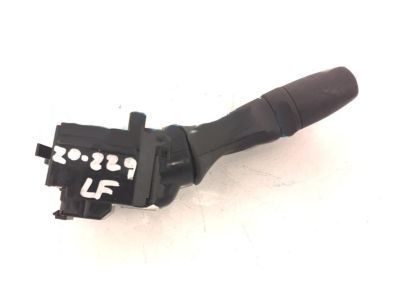
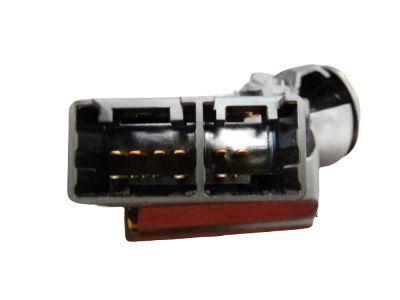
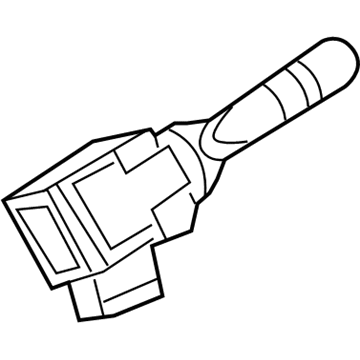
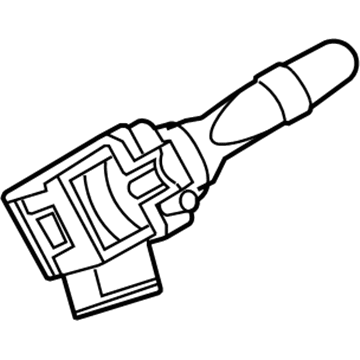
Toyota Prius Wiper Switch
Part Number: 84652-76010$229.49 MSRP: $327.67You Save: $98.18 (30%)Ships in 1-2 Business Days
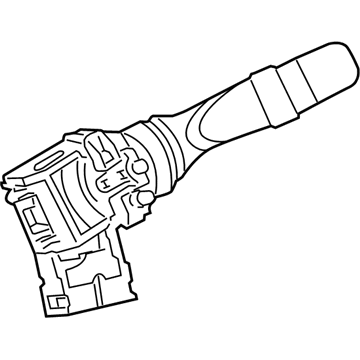
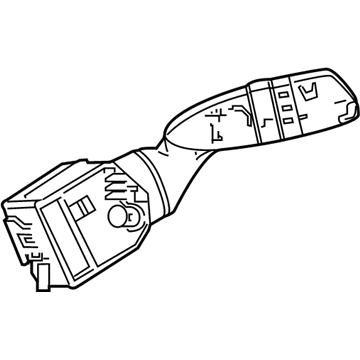
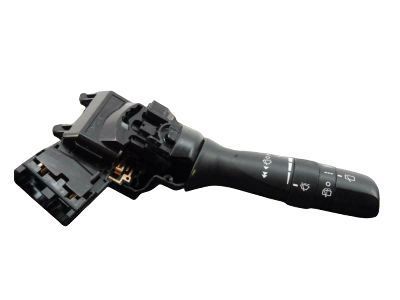
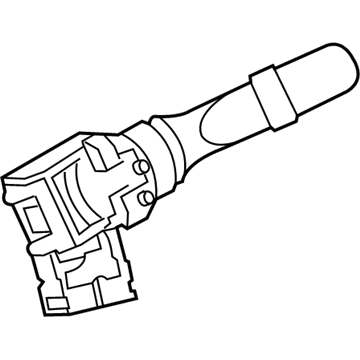
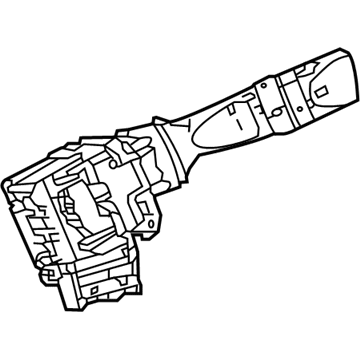
Toyota Prius Switch Assembly, Windshield Wiper (W/Relay, Wiper Control)
Part Number: 84652-48180$229.49 MSRP: $327.67You Save: $98.18 (30%)Ships in 1-3 Business DaysToyota Prius Wiper Switch
Part Number: 84652-62070$133.59 MSRP: $189.10You Save: $55.51 (30%)Ships in 1-3 Business DaysToyota Prius Wiper Switch
Part Number: 84652-47040$295.08 MSRP: $421.31You Save: $126.23 (30%)Ships in 1-3 Business DaysToyota Prius Wiper Switch
Part Number: 84652-0R050$207.24 MSRP: $295.89You Save: $88.65 (30%)Ships in 1-2 Business DaysToyota Prius Wiper Switch
Part Number: 84652-47190$163.67 MSRP: $231.69You Save: $68.02 (30%)Ships in 1-3 Business DaysToyota Prius Wiper Switch
Part Number: 84652-47170$163.43 MSRP: $231.36You Save: $67.93 (30%)Ships in 1-3 Business DaysToyota Prius Wiper Switch
Part Number: 84652-42220$118.43 MSRP: $167.65You Save: $49.22 (30%)Ships in 1-3 Business DaysToyota Prius Wiper Switch
Part Number: 84652-2G011$169.35 MSRP: $239.74You Save: $70.39 (30%)Ships in 1-3 Business DaysToyota Prius Wiper Switch
Part Number: 84652-12A30$133.94 MSRP: $189.60You Save: $55.66 (30%)Ships in 1-3 Business DaysToyota Prius Wiper Switch
Part Number: 84652-47031$202.35 MSRP: $288.90You Save: $86.55 (30%)Ships in 1 Business Day
Toyota Prius Wiper Switch
Choose genuine Wiper Switch that pass strict quality control tests. You can trust the top quality and lasting durability. Shopping for OEM Wiper Switch for your Toyota Prius? Our website is your one-stop destination. We stock an extensive selection of genuine Toyota Prius parts. The price is affordable so you can save more. It only takes minutes to browse and find the exact fit. Easily add to cart and check out fast. Our hassle-free return policy will keep you stress-free. We process orders quickly for swift delivery. Your parts will arrive faster, so you can get back on the road sooner.
Toyota Prius Wiper Switch Parts and Q&A
- Q: How to service the wiper switch on Toyota Prius?A:Service on the wiper switch must start by disconnecting the negative battery terminal cable followed by waiting a minimum of 90 seconds to avoid Air Bag and seat belt pretensioner activation. Service of the wiper switch requires removing the No. 2 and No. 3 Steering Wheel cover lowers in addition to the steering pad assembly and steering wheel assembly and the tilt lever bracket and steering column cover. The wiper and washer switch assembly removal process begins with disconnecting the connector along with gentle pushing to release the claw until the assembly is free so avoid damaging the claw. You should use the claw to secure the wiper switch installation before reconnecting its connector. The installation order begins with the steering wheel assembly along with the spiral cable sub-assembly and tilt lever bracket followed by the steering column cover and concluding with both No. 2 and No. 3 steering wheel cover lowers while ending with the steering pad assembly. The last steps include connecting the cable to the negative terminal then inspecting the steering pad assembly and checking the SRS warning light before initiating system initialization due to system dependency on this procedure.
- Q: How to install the wiper and washer Wiper Switch on Toyota Prius?A:Install the wiper and washer switch by using the claw to attach the wiper switch while connecting the connector. The first step should be attaching the steering column cover followed by the tilt lever bracket installation. The installation sequence begins with attaching the spiral cable sub-assembly to the Steering Wheel assembly. Following that step install the No. 2 steering wheel cover lower while removing the No. 3 steering wheel cover lower. The cable installation for the steering pad assembly should now be completed while connecting it to the negative battery terminal. Mother check the warning light of SRS and visually inspect the steering pad assembly. Some systems need initializations which follow battery cable connection and disconnection at the negative (-) terminal.
