×
ToyotaParts- Hello
- Login or Register
- Quick Links
- Live Chat
- Track Order
- Parts Availability
- RMA
- Help Center
- Contact Us
- Shop for
- Toyota Parts
- Scion Parts
My Garage
My Account
Cart
OEM Toyota Land Cruiser Transmission Oil Cooler
Trans Oil Cooler- Select Vehicle by Model
- Select Vehicle by VIN
Select Vehicle by Model
orMake
Model
Year
Select Vehicle by VIN
For the most accurate results, select vehicle by your VIN (Vehicle Identification Number).
3 Transmission Oil Coolers found
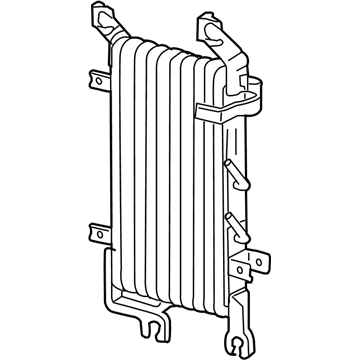
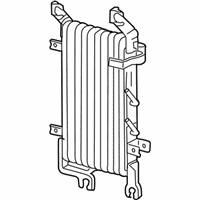
Toyota Land Cruiser Transmission Cooler Part Number: 32910-60161
$435.83 MSRP: $638.71You Save: $202.88 (32%)Ships in 1-3 Business Days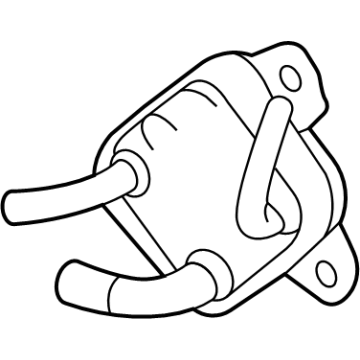
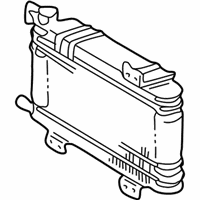
Toyota Land Cruiser Cooler Assembly, Oil Part Number: 32910-60200
$169.19 MSRP: $239.51You Save: $70.32 (30%)Ships in 1-2 Business Days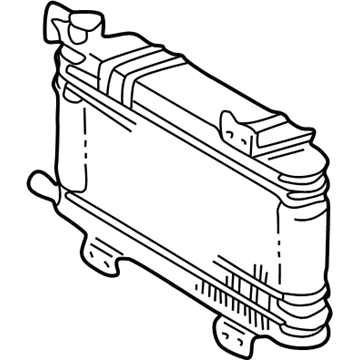
Toyota Land Cruiser Transmission Cooler Part Number: 32910-60130
$678.72 MSRP: $994.67You Save: $315.95 (32%)
Toyota Land Cruiser Transmission Oil Cooler
Choose genuine Transmission Oil Cooler that pass strict quality control tests. You can trust the top quality and lasting durability. Shopping for OEM Transmission Oil Cooler for your Toyota Land Cruiser? Our website is your one-stop destination. We stock an extensive selection of genuine Toyota Land Cruiser parts. The price is affordable so you can save more. It only takes minutes to browse and find the exact fit. Easily add to cart and check out fast. Our hassle-free return policy will keep you stress-free. We process orders quickly for swift delivery. Your parts will arrive faster, so you can get back on the road sooner.
Toyota Land Cruiser Transmission Oil Cooler controls the temperature of the oil by transferring the heat of the oil into the engine coolant and thus preventing thermal breakdown of the lubricant in case of strenuous activity. The Toyota Land Cruiser Transmission Oil Cooler is an oil-to-water heat exchanger that is plumbed into the radiator circuit. Thus, the oil is in its working temperature within a very short time and the top temperatures are not excessive during long uphill trips or towing heavy weight. The cooler maintains the viscosity of the oil and ensures that it lubricates the internal parts uniformly by holding the oil in a safe band. The Toyota Land Cruiser Transmission Oil Cooler has two passages of coolant and oil. The heat is passed through the walls of the passages, yet the two fluids are separated. A Transmission Oil Cooler may lose its effectiveness when the coolant side is filled with debris and internal corrosion can produce leaks that can lead to oil and coolant mixing. Frequent coolant flow thus affects the performance of the Toyota Land Cruiser Transmission Oil Cooler, and a complete housing is needed to ensure good service.
Toyota Land Cruiser Transmission Oil Cooler Parts and Q&A
- Q:How to service and repair the air-cooled transmission oil cooler on Toyota Land Cruiser?A:The first step in servicing and repairing the air-cooled Transmission Oil Cooler is to remove the radiator grille sub-assembly by removing the 3 screws and releasing the 2 clips. The power steering oil cooler sub-assembly should be separated by the removal of 2 bolts (7.5 Nm (76 kgf-cm, 66 inch lbs.)). Now remove the oil cooler by loosening the 2 clips to disconnect the 2 hoses; then remove the 4 bolts securing the oil cooler with a torque of 12 Nm (117 kgf-cm, 8 ft. lbs.). Next, remove bolts (8), 2 oil cooler brackets and the 2 stays using a torque of 4.9Nm(50 kgf-cm, 43 inch lbs.). To disconnect the two hoses, loosen the 2 clips from the oil cooler pipe bracket, then undo the 2 bolts (4.9 Nm; 50 kgf-cm; 43 inch lbs.). Then again loosen the 2 clips to disconnect the 2 hoses. The installation takes place in reverse order from removal and check fluids after installation.
- Q:How to install the oil cooler assembly with the air-cooled transmission oil cooler on Toyota Land Cruiser?A:With the inlet and outlet hoses connected, the rear transmission oil cooler air duct can be installed using 4 bolts. Next, attach the air-cooled oil cooler tube to the transmission oil cooler air duct using a bolt, which will be torqued to 4.9 Nm (50 kgf-cm, 43 in-lbf). Place the oil cooler (temporarily) on the radiator support so that 2 claws are inserted in the holes and 4 bolts to be installed in sequence shown and torque is to specification of 12 Nm (122 kgf-cm, 9 ft-lbf). Next, the 4 bolts must be used to install the oil-cooler air duct, these bolts must be torqued to 4.9 Nm (50 kgf-cm, 43 in-lbf). To the fan shroud, temporarily install the oil cooler tube with bolt A. Next, Install and tighten bolt B to its specified torque. Finally, After that, Tighten bolt A to 5.0 Nm (51 kgf-cm, 44 in-lbf). Please connect the inlet No. 4 oil cooler hose. Ensure the pinching portion of each clip is facing the correct direction and the paint marks are aligned. Ensure proper orientation of clips while attaching inlet oil cooler hoses No. 2 and No. 3. Attach inlet No. 1 and outlet No. 1 oil cooler hoses as shown ensuring that the clip orientation and paint mark alignment are correct, and pass the hose through flexible hose clamp before closing. Connect the transmission oil cooler hoses as shown. Also install the water by-pass pipe with a bolt to 18 Nm (184 kgf-cm, 13 ft-lbf) ensuring correct clip orientation. Add automatic transmission fluid as necessary. Mount the inner fender apron rear seal RH, inner fender apron front seal RH, head lamp assembly RH, front bumper assembly, No. 1 engine under cover, No. 2 engine under cover, inner fender splash shield sub-assembly LH, and inner fender splash shield sub-assembly RH to the specified procedures.
Related Toyota Land Cruiser Parts
 Toyota Land Cruiser Thermostat
 Toyota Land Cruiser Water Pump
 Toyota Land Cruiser A/C Idler Pulley
 Toyota Land Cruiser Coolant Reservoir Hose
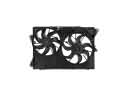 Toyota Land Cruiser Cooling Fan Assembly
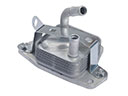 Toyota Land Cruiser Engine Oil Cooler
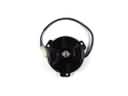 Toyota Land Cruiser Fan Motor
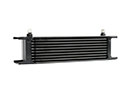 Toyota Land Cruiser Power Steering Cooler
 Toyota Land Cruiser Thermostat Gasket
 Toyota Land Cruiser Thermostat Housing
 Toyota Land Cruiser Water Hose
 Toyota Land Cruiser Water Pump Gasket