×
ToyotaParts- Hello
- Login or Register
- Quick Links
- Live Chat
- Track Order
- Parts Availability
- RMA
- Help Center
- Contact Us
- Shop for
- Toyota Parts
- Scion Parts
My Garage
My Account
Cart
OEM 2010 Toyota Yaris Coil Springs
Strut Spring- Select Vehicle by Model
- Select Vehicle by VIN
Select Vehicle by Model
orMake
Model
Year
Select Vehicle by VIN
For the most accurate results, select vehicle by your VIN (Vehicle Identification Number).
4 Coil Springs found

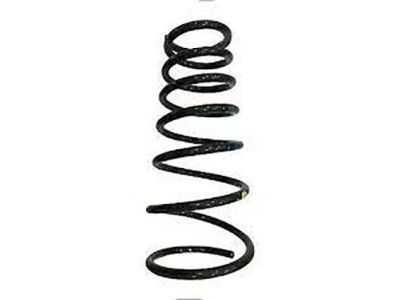
2010 Toyota Yaris Coil Spring, Rear
Part Number: 48231-52A51$121.25 MSRP: $171.64You Save: $50.39 (30%)Ships in 1-3 Business DaysProduct Specifications- Other Name: Spring, Coil, Rear; Coil Spring, Rear, Rear Left, Rear Right; Coil Springs; Spring; Spring, Coil, Rear Passenger Side; Spring, Coil, Rear Driver Side
- Position: Rear
- Replaces: 48231-52A50
- Item Weight: 6.20 Pounds
- Item Dimensions: 16.8 x 10.7 x 5.6 inches
- Condition: New
- Fitment Type: Direct Replacement
- SKU: 48231-52A51
- Warranty: This genuine part is guaranteed by Toyota's factory warranty.

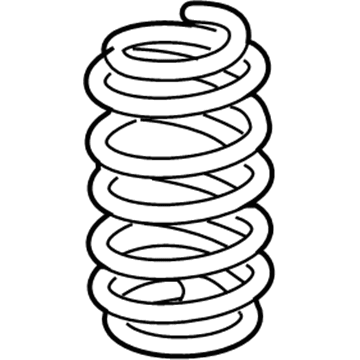
2010 Toyota Yaris Coil Spring, Rear
Part Number: 48231-52C01$95.62 MSRP: $134.22You Save: $38.60 (29%)Ships in 1-2 Business DaysProduct Specifications- Other Name: Spring, Coil, Rear; Coil Spring, Rear, Rear Left, Rear Right; Coil Springs; Spring; Spring, Coil, Rear Passenger Side; Spring, Coil, Rear Driver Side
- Position: Rear
- Replaces: 48231-52C00
- Item Weight: 5.40 Pounds
- Item Dimensions: 16.7 x 10.8 x 5.7 inches
- Condition: New
- Fitment Type: Direct Replacement
- SKU: 48231-52C01
- Warranty: This genuine part is guaranteed by Toyota's factory warranty.
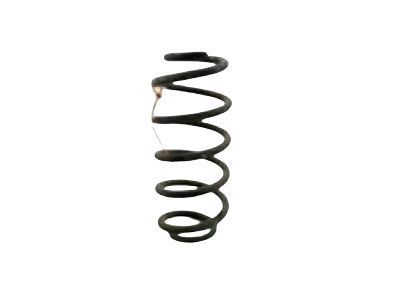
2010 Toyota Yaris Coil Spring, Front
Part Number: 48131-52E11$89.69 MSRP: $125.90You Save: $36.21 (29%)Ships in 1-3 Business DaysProduct Specifications- Other Name: Spring, Coil, Front; Coil Spring, Front, Front Left; Coil Springs; Spring; Spring, Front Coil, Passenger Side; Spring, Front Coil, Driver Side
- Position: Front
- Replaces: 48131-52E10
- Item Weight: 6.80 Pounds
- Item Dimensions: 16.1 x 7.0 x 5.7 inches
- Condition: New
- Fitment Type: Direct Replacement
- SKU: 48131-52E11
- Warranty: This genuine part is guaranteed by Toyota's factory warranty.
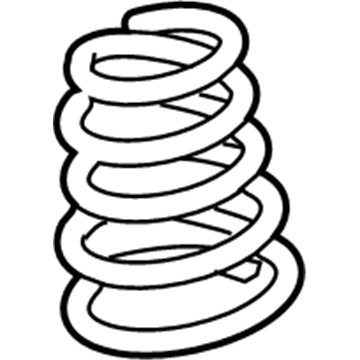
2010 Toyota Yaris Coil Spring, Front
Part Number: 48131-52E20$90.17 MSRP: $126.56You Save: $36.39 (29%)Ships in 1-3 Business DaysProduct Specifications- Other Name: Spring, Coil, Front; Coil Spring, Front, Front Left; Coil Springs; Spring; Spring, Front Coil, Passenger Side; Spring, Front Coil, Driver Side
- Position: Front
- Item Weight: 6.20 Pounds
- Item Dimensions: 16.1 x 7.0 x 5.8 inches
- Condition: New
- Fitment Type: Direct Replacement
- SKU: 48131-52E20
- Warranty: This genuine part is guaranteed by Toyota's factory warranty.
2010 Toyota Yaris Coil Springs
Looking for affordable OEM 2010 Toyota Yaris Coil Springs? Explore our comprehensive catalogue of genuine 2010 Toyota Yaris Coil Springs. All our parts are covered by the manufacturer's warranty. Plus, our straightforward return policy and speedy delivery service ensure an unparalleled shopping experience. We look forward to your visit!
2010 Toyota Yaris Coil Springs Parts Q&A
- Q: How to install the rear coil springs and complete the associated procedures on 2010 Toyota Yaris?A: Position the axle beam in front of the coil spring insulator lower and then place the coil spring insulator upper facing downward so its gap faces the coil spring end. Finally, install the coil spring onto the axle beam, keeping the paint mark on the underside of the vehicle and pointing toward the rear. The right-hand side installation matches the exact process used for the left-hand side installation. After closing the rear shock absorber on both sides, install the rear shock absorber caps and the rear flexible hoses to the axle beam using new clips and a union nut wrench to connect the brake tube with 15 Nm torque without the wrench or 14 Nm with it while maintaining the wrench in parallel alignment with the torque wrench. After installing the skid control sensor wire to the axle beam at 6.0 Nm torque you must connect its connector then finish by mounting the rear wheel at 103 Nm torque. Lower the vehicle from the jack before performing multiple suspension bounces for stability. Then adjust rear axle beam and both shock absorbers tightly. When working with the sedan fixed seat type the technician must first install the rear seatback assembly and the rear seat cushion cover pad sub-assembly followed by the cable connection to the negative battery terminal at 5.4 Nm torque. The technician needs to complete reservoir brake fluid addition before moving to bleeding the master cylinder and brake lines then inspecting the reservoir fluid level along with brake fluid leakage spots and validating correct rear wheel alignment. The ABS sensor signal needs verification for both hatchback and sedan models while VSC sensor signal verification should be completed if the vehicle is equipped with VSC.


