×
ToyotaParts- Hello
- Login or Register
- Quick Links
- Live Chat
- Track Order
- Parts Availability
- RMA
- Help Center
- Contact Us
- Shop for
- Toyota Parts
- Scion Parts
My Garage
My Account
Cart
OEM 2009 Toyota Yaris Coil Springs
Strut Spring- Select Vehicle by Model
- Select Vehicle by VIN
Select Vehicle by Model
orMake
Model
Year
Select Vehicle by VIN
For the most accurate results, select vehicle by your VIN (Vehicle Identification Number).
4 Coil Springs found

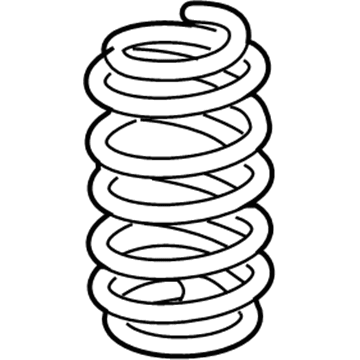
2009 Toyota Yaris Coil Spring, Rear
Part Number: 48231-52A51$121.25 MSRP: $171.64You Save: $50.39 (30%)Ships in 1-3 Business DaysProduct Specifications- Other Name: Spring, Coil, Rear; Coil Spring, Rear, Rear Left, Rear Right; Coil Springs; Spring; Spring, Coil, Rear Passenger Side; Spring, Coil, Rear Driver Side
- Position: Rear
- Replaces: 48231-52A50
- Item Weight: 6.20 Pounds
- Item Dimensions: 16.8 x 10.7 x 5.6 inches
- Condition: New
- Fitment Type: Direct Replacement
- SKU: 48231-52A51
- Warranty: This genuine part is guaranteed by Toyota's factory warranty.

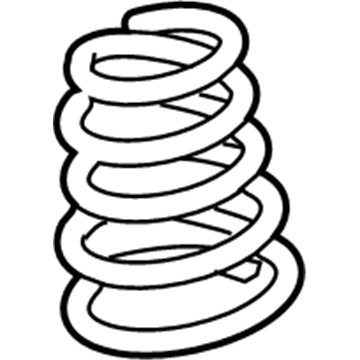
2009 Toyota Yaris Coil Spring, Rear
Part Number: 48231-52C01$95.62 MSRP: $134.22You Save: $38.60 (29%)Ships in 1-2 Business DaysProduct Specifications- Other Name: Spring, Coil, Rear; Coil Spring, Rear, Rear Left, Rear Right; Coil Springs; Spring; Spring, Coil, Rear Passenger Side; Spring, Coil, Rear Driver Side
- Position: Rear
- Replaces: 48231-52C00
- Item Weight: 5.40 Pounds
- Item Dimensions: 16.7 x 10.8 x 5.7 inches
- Condition: New
- Fitment Type: Direct Replacement
- SKU: 48231-52C01
- Warranty: This genuine part is guaranteed by Toyota's factory warranty.
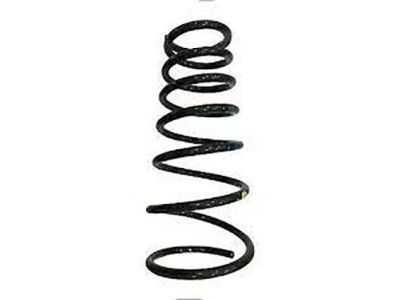
2009 Toyota Yaris Coil Spring, Front
Part Number: 48131-52E11$89.69 MSRP: $125.90You Save: $36.21 (29%)Ships in 1-3 Business DaysProduct Specifications- Other Name: Spring, Coil, Front; Coil Spring, Front, Front Left; Coil Springs; Spring; Spring, Front Coil, Passenger Side; Spring, Front Coil, Driver Side
- Position: Front
- Replaces: 48131-52E10
- Item Weight: 6.80 Pounds
- Item Dimensions: 16.1 x 7.0 x 5.7 inches
- Condition: New
- Fitment Type: Direct Replacement
- SKU: 48131-52E11
- Warranty: This genuine part is guaranteed by Toyota's factory warranty.
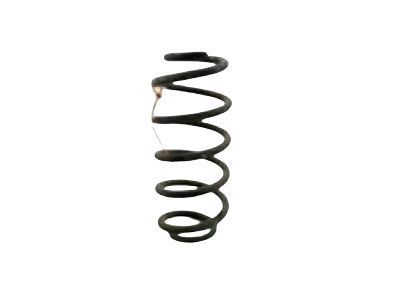
2009 Toyota Yaris Coil Spring, Front
Part Number: 48131-52E20$90.17 MSRP: $126.56You Save: $36.39 (29%)Ships in 1-3 Business DaysProduct Specifications- Other Name: Spring, Coil, Front; Coil Spring, Front, Front Left; Coil Springs; Spring; Spring, Front Coil, Passenger Side; Spring, Front Coil, Driver Side
- Position: Front
- Item Weight: 6.20 Pounds
- Item Dimensions: 16.1 x 7.0 x 5.8 inches
- Condition: New
- Fitment Type: Direct Replacement
- SKU: 48131-52E20
- Warranty: This genuine part is guaranteed by Toyota's factory warranty.
2009 Toyota Yaris Coil Springs
Looking for affordable OEM 2009 Toyota Yaris Coil Springs? Explore our comprehensive catalogue of genuine 2009 Toyota Yaris Coil Springs. All our parts are covered by the manufacturer's warranty. Plus, our straightforward return policy and speedy delivery service ensure an unparalleled shopping experience. We look forward to your visit!
2009 Toyota Yaris Coil Springs Parts Q&A
- Q: How to remove and replace the rear coil springs on 2009 Toyota Yaris?A: The first step to change rear coil springs starts by disconnecting the battery terminal cable. The first step requires removal of the rear seat cushion cover pad sub-assembly for Sedan Fixed Seat Type and the rear seatback assembly for Sedan Fixed Seat Type. You must drain brake fluid from the rear wheel before moving on to rear-wheel removal. Specific attention should be given to wash brake fluid off painted areas immediately. The skid control sensor wire with ABS disconnects via a screwdriver that unlocks the connector claws while separating the wire connector around the claw to avoid damaging its connector. First remove the nut which allows the skid control sensor wire to separate. You need to use a union nut wrench to detach both components of the rear LH flexible hose before removing its clip to disconnect it from the axle beam. The same step should be repeated for the rear right-hand flexible hose. Do not remove the two bolts on the rear axle beam to loosen them. Initiate removal of the rear absorber cap (which applies to Hatchback models) then take off the rear shock absorber caps from the LH and RH sides of the vehicle. The rear shock absorber removal requires following these steps for both sides of the vehicle since the procedures are identical between sides. Use the jacks to lower the spring assemblies while allowing the rear coil spring LH to detach together with its coil spring insulator upper and lower. The same process must be applied to the rear coil spring RH.


